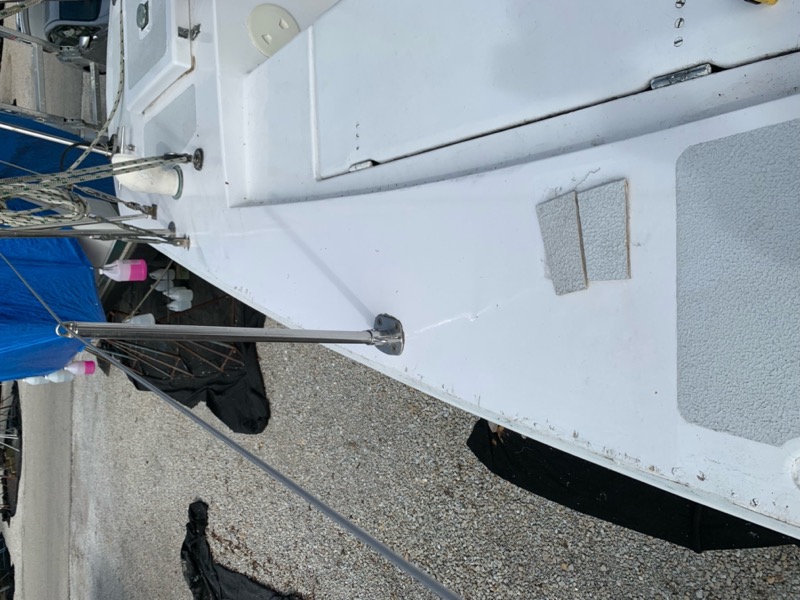
Replacing Wet Deck Core
This project started because I couldn’t figure out why my starboard deck was still leaking. I had found and filled (with epoxy) every single fastener hole that could possibly exist. Where could the water possibly be coming from?!?
Finally, I started poking around (literally) on the underside of the deck with a pick. That’s how I discovered the culprit.
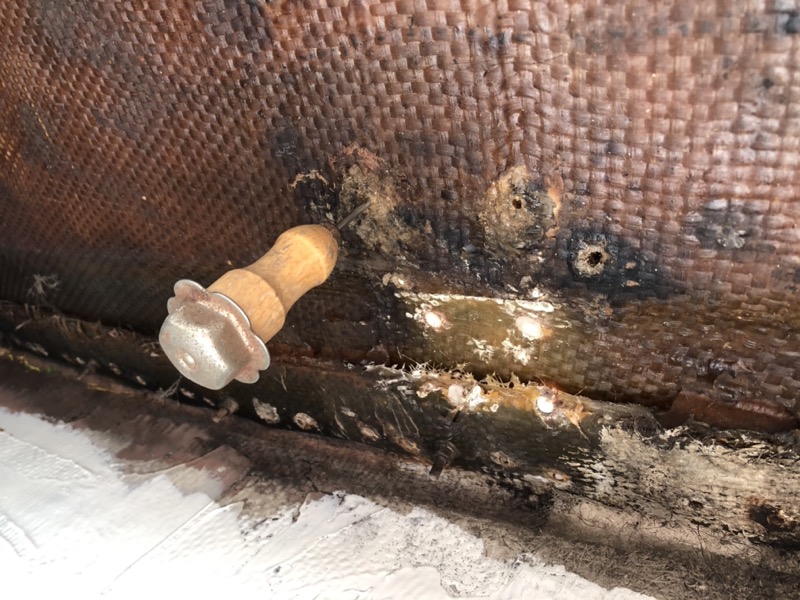
Apparently a previous owner had removed some piece of deck hardware and filled the fastener holes with boat caulk or some other polysulfide. Under the non-skid paint was… effectively nothing. I could easily poke straight through the deck in at least four places.
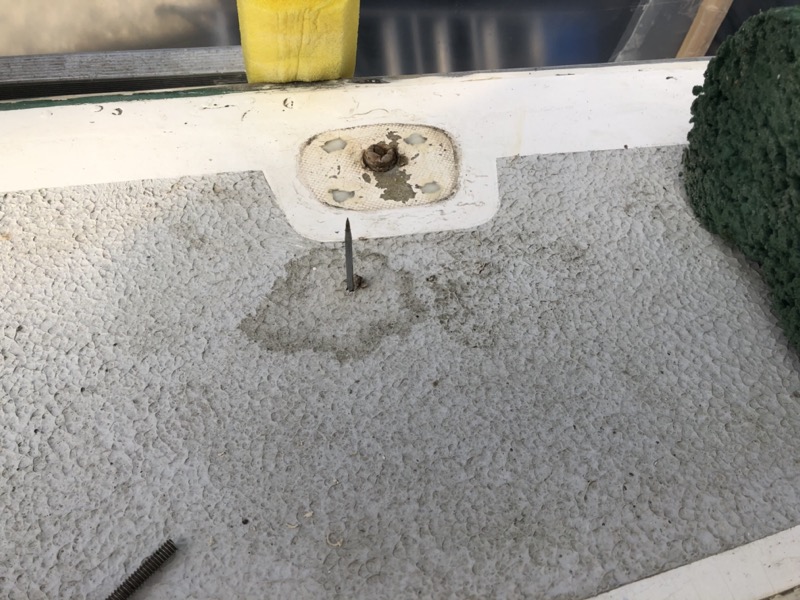
Further poking around suggested—unsurprisingly—that the balsa core around the holes was very wet. That meant that the core would have to be replaced, which meant that the fiberglass would have to be removed.
In cases like this it’s common to attempt to remove the outer deck fiberglass as one intact piece that afterwards is glassed back in place. For a couple of reasons, I decided not to go this route and made little attempt to preserve the original deck. The first reason is that I initally hoped that the affected area was much smaller than it turned out to be. Unfortunately, removing one small piece just exposed more wet core, and I enlarged the excavation area piece by piece, giving me 8-10 small pieces of deck instead of one large one. The second reason is that the area in question was in an awkward spot, immediately adjacent to the starboard cockpit seat, and I wasn’t confident that the original deck could be fit back in place correctly. Besides, I wanted the experience of laying up new fiberglass.
In any event, it wasn’t long before I had removed several feet of my starboard deck. The balsa core underneath was wet and spongy, even several feet from the original holes.
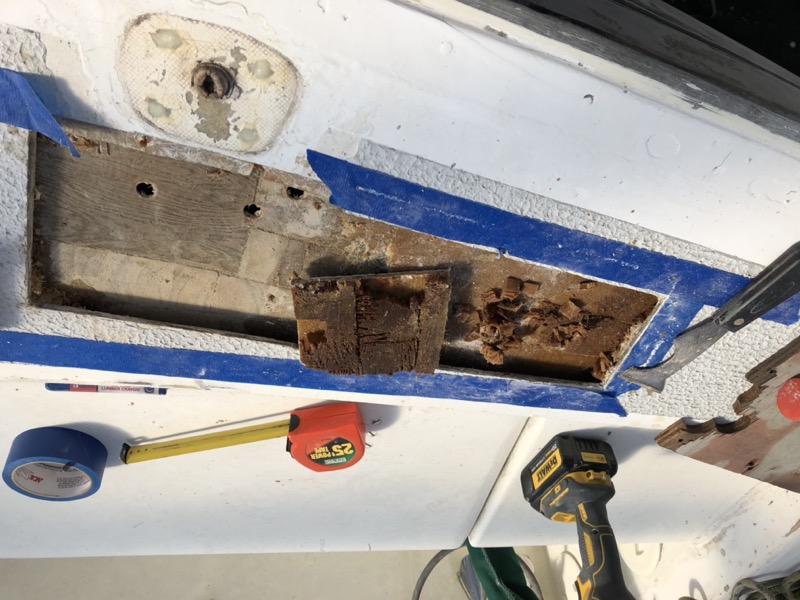
Eventually I removed an area almost 4 feet long. Towards the bow I finally enountered reasonably dry balsa. But in the stern direction I kept pulling out wet core as far back as I could reach. I suspect that the deck behind the cockpit was similarly wet, possibly attributable to a similar but separate flaw. I didn’t have time to continue excavating the deck past the cockpit, but I needed some way to protect the new balsa from the old (wet) balsa further to stern. After talking it over with Sonny I decided to make and insert a “dam” consisting of a small piece of epoxy-sealed plywood. We would place this at the stern-most end of the repair and seal it so that the new balsa and the existing balsa behind it were not in contact.
The rest of the deck behind the cockpit would have to wait for another day. By the way, because Allied decks are so incredibly thick, I have not noticed any “sponginess” behind the cockpit, even though readings with a moisture meter strongly suggest the core is wet.
After removing the deck and wet balsa core, I let the bottom fiberglass layer dry out, filled the egregious holes properly with epoxy, ground a 2” tab all the way around the repair area, and installed the “dam” underneath the stern-most edge.
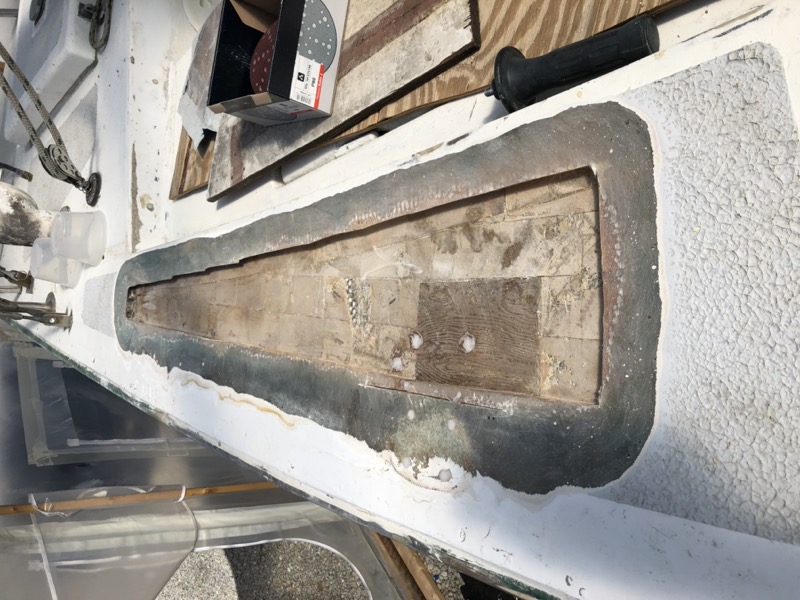
Once again, Sonny kindly helped out with glassing in fresh 1/2” balsa core, which we topped with 3 laminated layers of 10oz cloth.
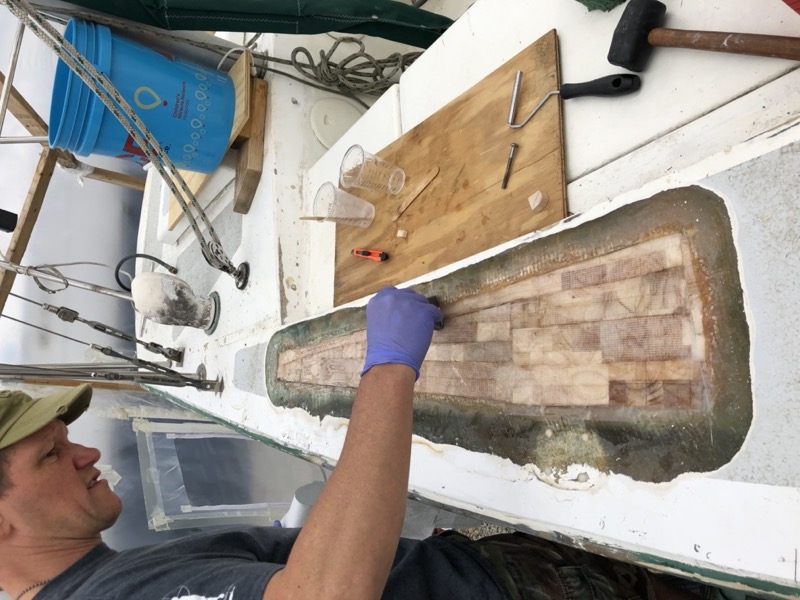
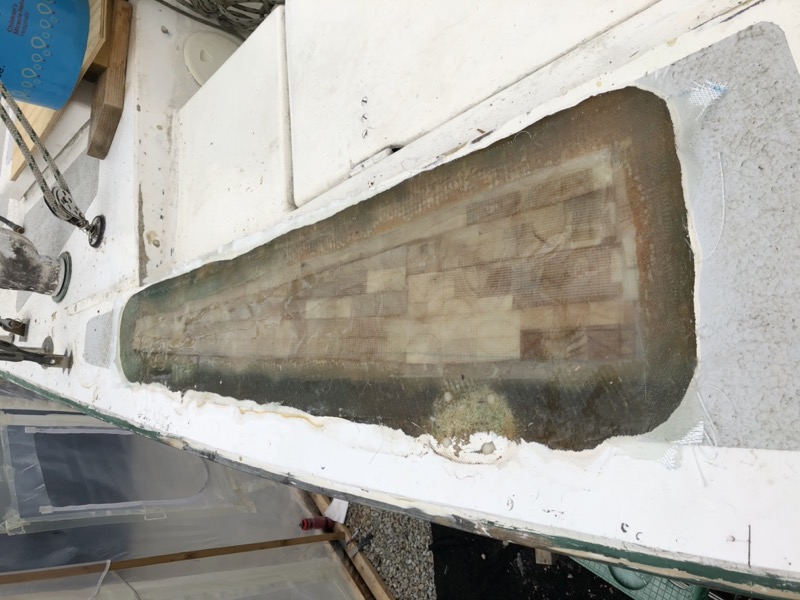
After the initial layup cured I needed to do add more fiberglass to reinforce the new deck and bring it level with the original. This is a combination of cloth and epoxy thickened with fumed silica.
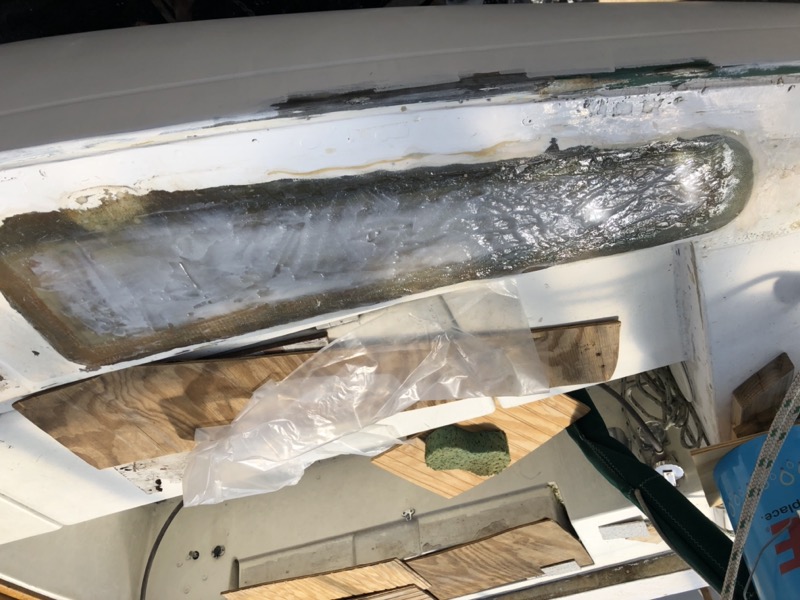
Finally, I faired the new deck area, first with epoxy thickened with microballons (which is gray) and then using Total Boat’s Total Fair (which mixes green).
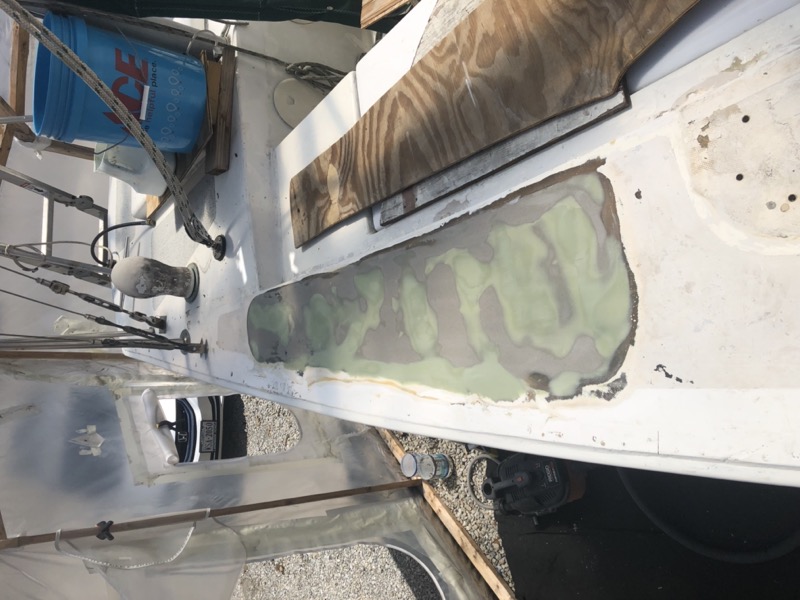
All that remained after that was to apply primer and paint.
