
Ugh! There's an UGLY Hole in My Transom
I was still basking in the glow of my freshly painted hull when I noticed a faint but telltale crack in the paint, right down the center of the transom. Ugh, I thought; that can’t be good. My memory went back to when I was sanding and fairing the hull, prior to painting. Right behind that crack in the paint was a fiberglass repair that had seemed stable, but apparently was not. I would have to sand back all my hard work and investigate.
A bit of sanding quickly revealed the fiberglass repair right where I remembered it.
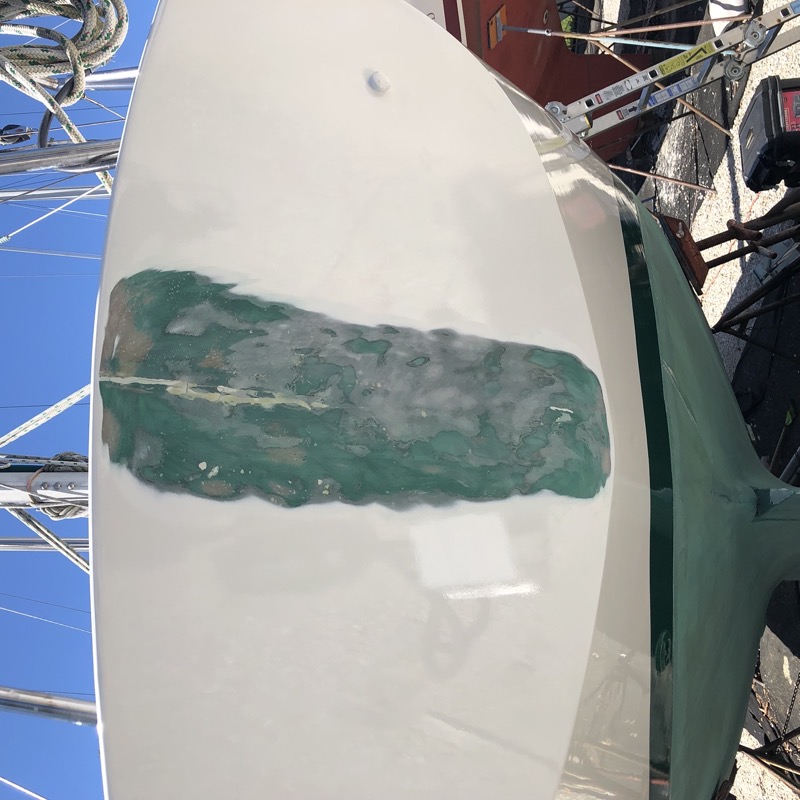
That looked like some sort of fiberglass filler. Well, okay, no problem. I would simply sand out the filler, expand the area to a beveled “trench” and patch it again, this time with a few strips of cloth to strengthen and stabilize the repair.
So I started sanding with the goal of removing all of that old filler. I sanded, and sanded, and sanded some more. The old filler was coming out easily, but so was a lot of beat up fiberglass. By the time I got back to solid substrate I had sanded a hole straight through the transom and into the lazarette.
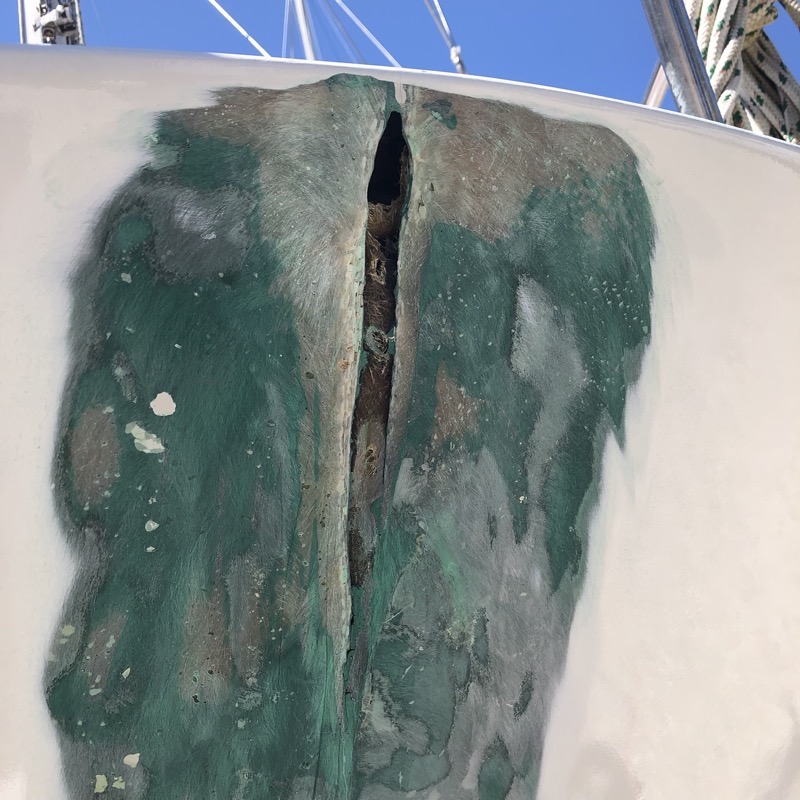
Damn it.
Fortunately, I had plenty of exopy and several weights of cloth. I would normally want to do a two-sided repair for something like this, building up fiberglass layers from both the inside (the lazarette) and the outside. However, the inside was inaccessible because of an additional fiberglass barrier. This would have to be a one-side repair.
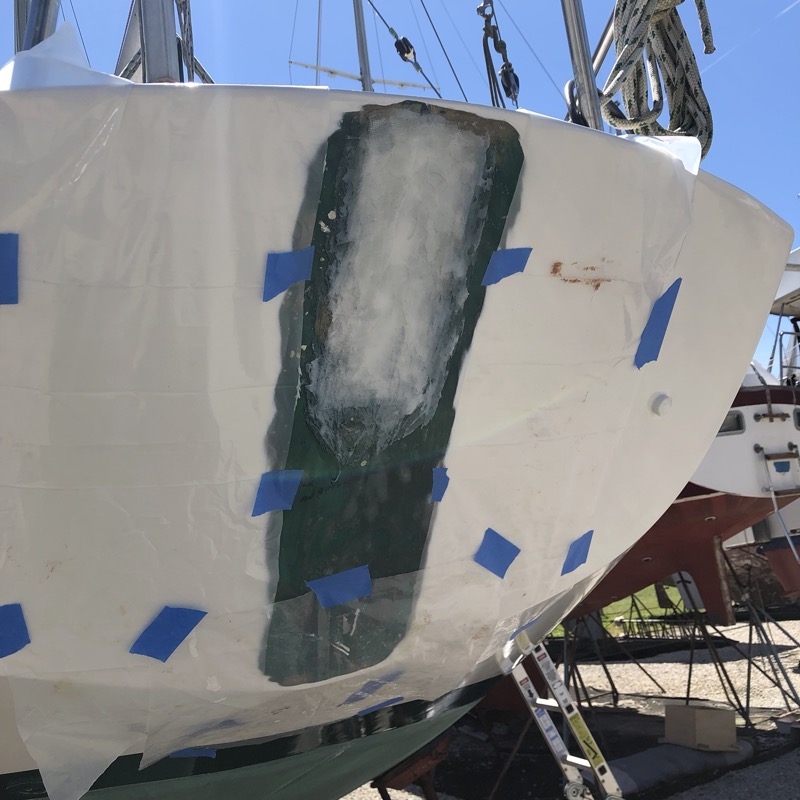
After sanding a beveled “tab” on both sides of the crack, I applied about 5 layers of cloth and epoxy thickened slightly with fumed silica to keep it from running down the vertical surface. I generally follow Andy Miller’s approach where smaller cloth pieces go on first, which puts the most layers of cloth in contact with the substrate.
The resulting repair looked like this:
Next, I sanded the repair smooth and faired with Total Fair, which mixes to green:
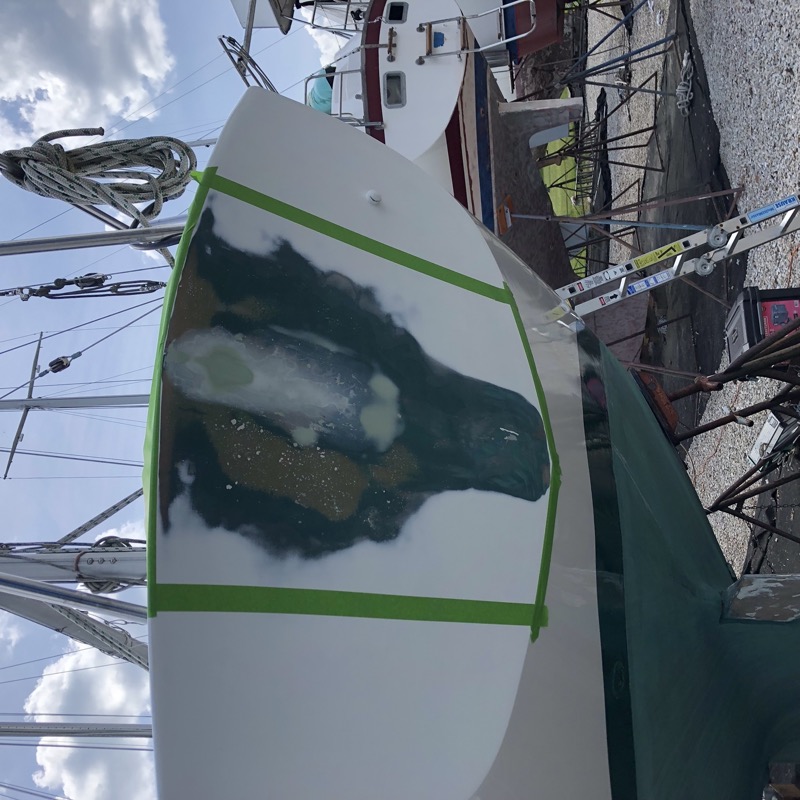
At this point I would ordinarily clean the surface and start repainting. But old fiberglass is particularly prone to pinholes, and I knew from the previous paint job that any surface sanding would expose plenty of them. They might not be very visible in the substrate, but a quick coat of white primer would make them painfully obvious:
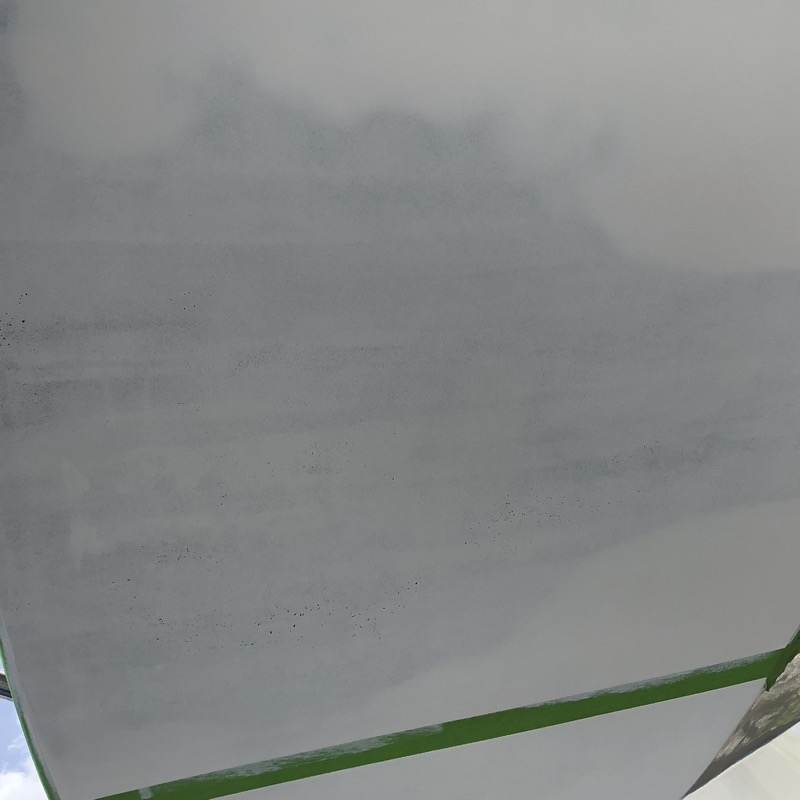
I was expecting a handful, of pinholes, but not this many! To fix them, I gouge out as many as I can find with a sharp blade. Even in this small area there were hundreds.
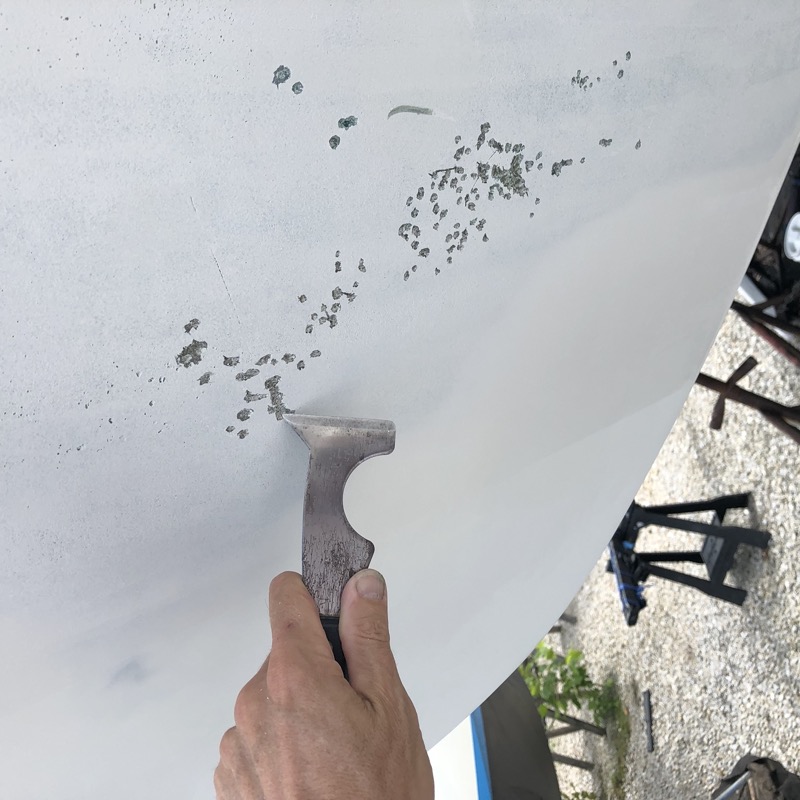
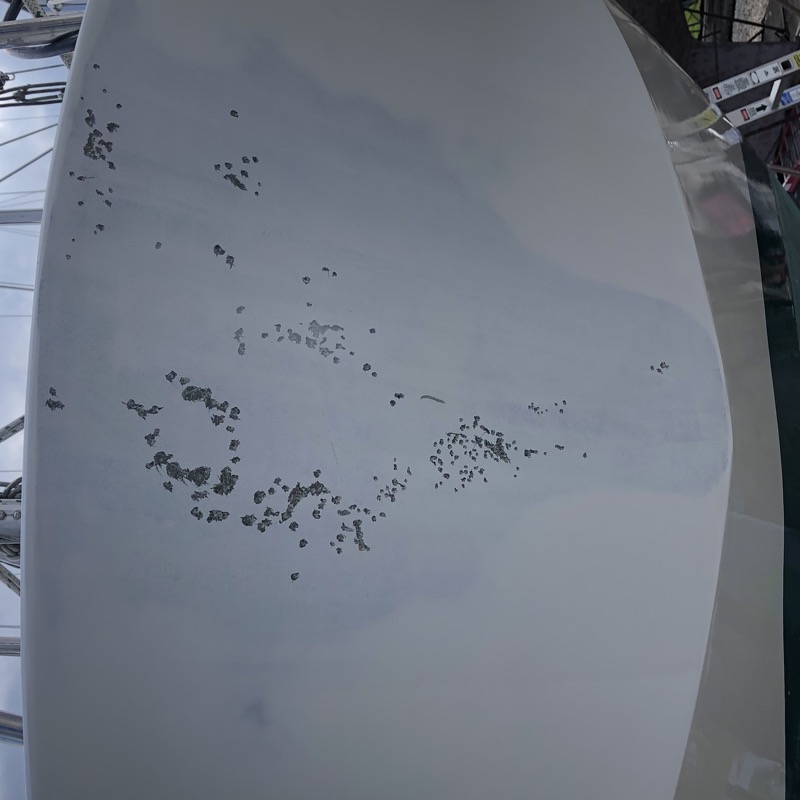
As before, I filled the pin holes with Total Fair, which I applied simply by pressing a small amount into each divot and leaving it proud. Here is the surface before and after sanding, which of course removed quite a bit of the previous coat of primer.
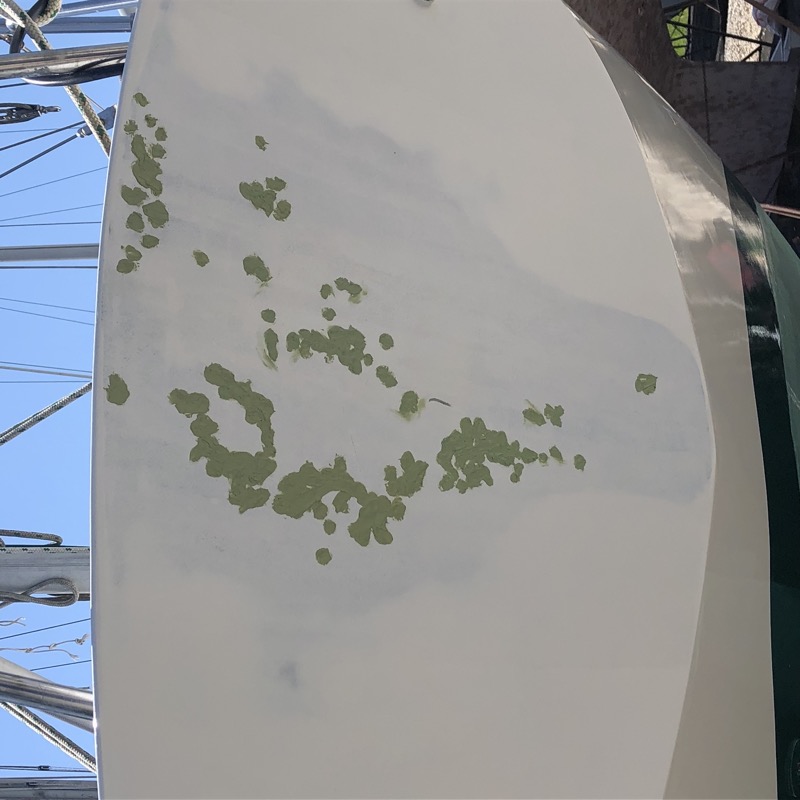
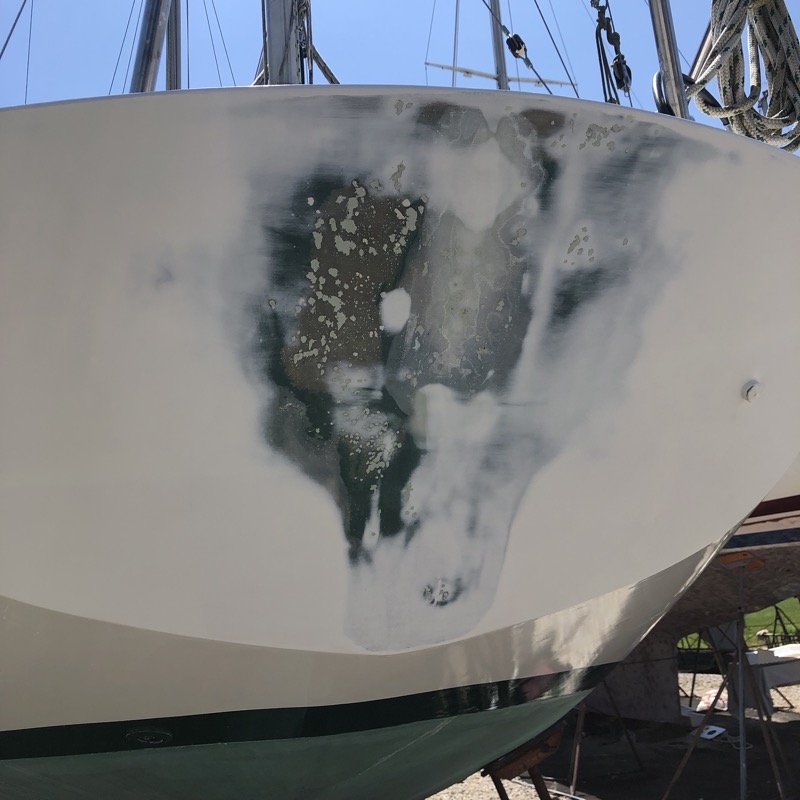
Fixing pin holes is a bit of a catch 22. Sanding the fairing compound typically exposes yet more pin holes, which aren’t visible until you apply fresh primer. So I actually did a couple of rounds of primer application followed by pin hole grinding, fairing and sanding, until all identified pin holes were filled and a first primer coat didn’t reveal any more.
Finally, I applied two additional coats of primer and several coats of topcoat to finish the job.
