Boat Cover Sandbags
With the addition of an extension apron across the transom my winter cover fits pretty well, with one exception. It can secure to the boat with external lines that wrap underneath the hull or internal lines that tie to stanchions and other deck anchors. The latter works better because the lines attach to the very edge of the cover, but only when the boat is on the hard. The former is the only choice when the boat winters in its slip, but it can allow puddles to form in a few places when it rains. So I set about making a set of sandbag weights to hang over the edge and pull the cover taut where it needed to be.
Alternatively, I could have bought sandbag weights online or even used jugs of antifreeze, but I decided to make my own that would match the cover.
As my general approach I followed this Sailrite tutorial. However, I wanted my bags to be more compact and heavier, and of course I need a loop to secure a line at the top.
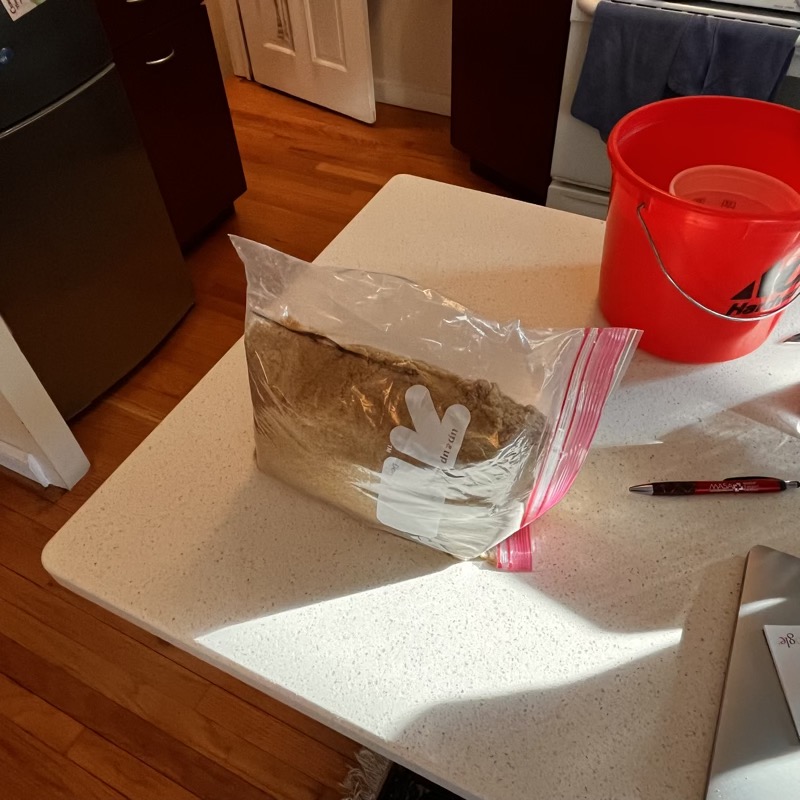
To get both the weight and the measurments right, I started by filling a freezer bag with playground sand until it seemed about the right weight. Initially this turned out to be about 6 pounds.
Because the bag would be suspended from its center, I figured that a relatively tall and narrow profile would work best. So I dropped the bag on the counter a few times to flatten it out and marked the fill point at the top of the bag. After pouring the sand back out the marked-up freezer bag gave me my finished dimensions. This same to 8” by 11” or 8” x 22” folded over at the bottom. With a 1/4” seam allowance this came to 8.5” x 22.5” for my fabric pattern.

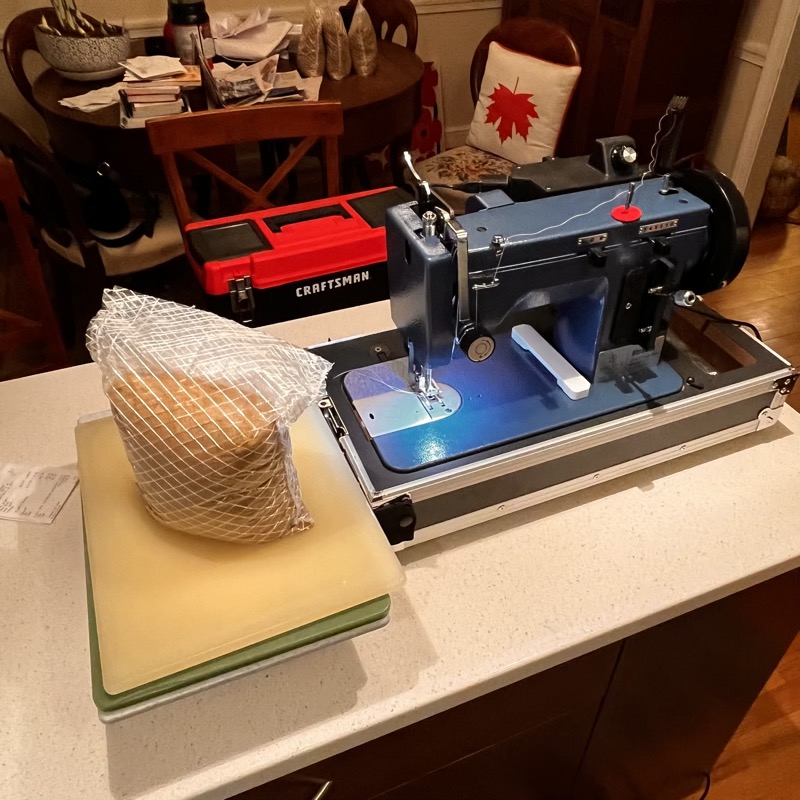
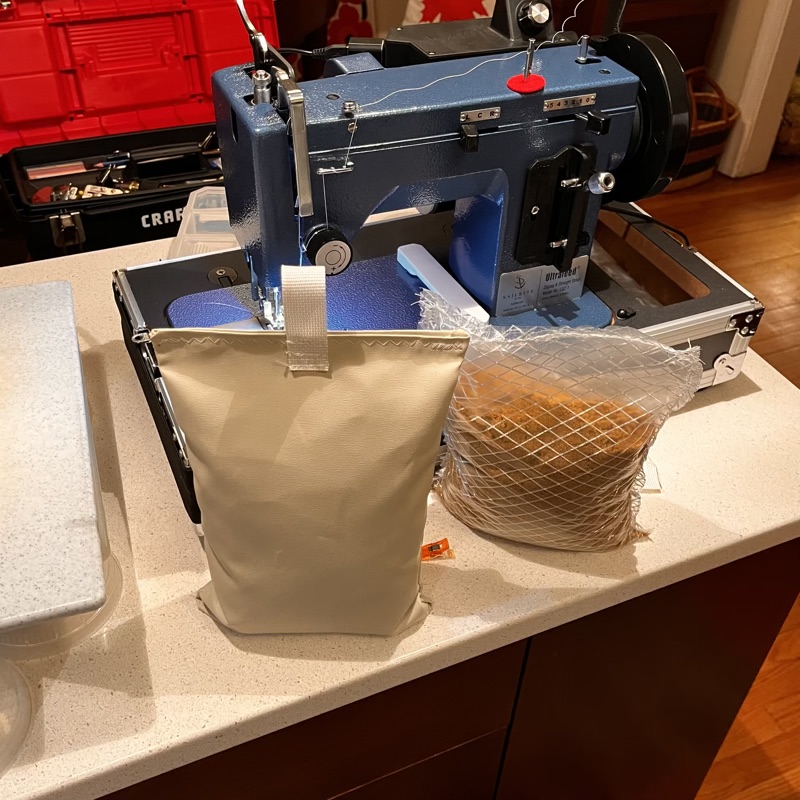
Next I cut the inner liners for four sandbags from Dura-Skrim following the Sailrite approach. After filling them sand I sewed the final end shut. My bags were intentionally much fuller than the ones in the Sailrite video since I didn’t want them to be as “baggy.” Still, I had to leave out about a pound of sand to allow enough space to sew the liner shut, so the finished weight was closer to 5 pounds. Even then the final seam was tricky since the weight of the bag needed a lot of support on the left side of the sewing machine. I set up a small platform for the seam that worked a bit like a table saw sled.

Still following the Sailrite approach, I used the same dimensions for the outer bag, and added a short webbing loop at the top.

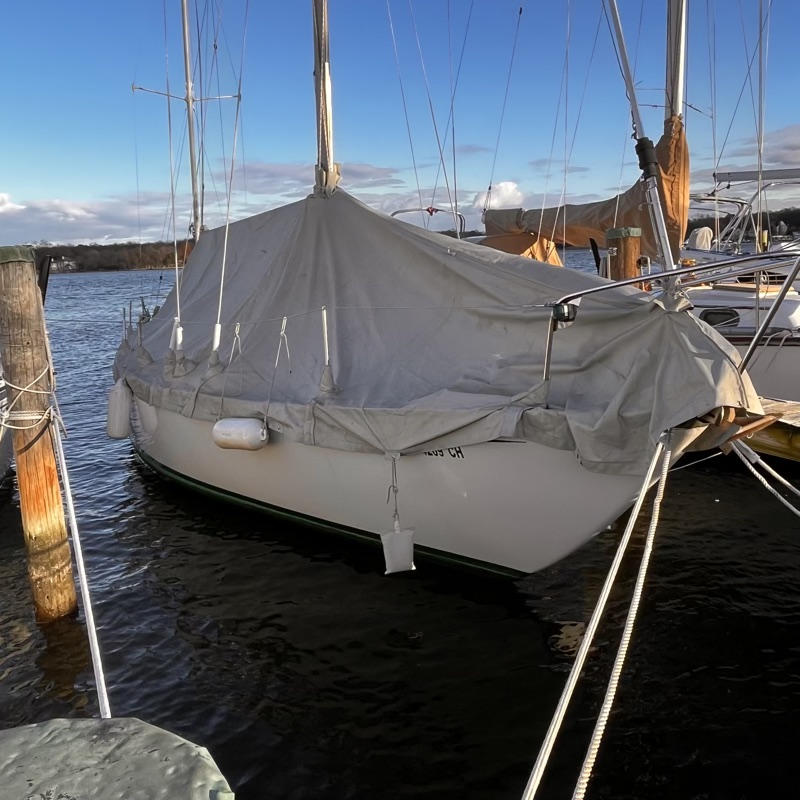
And finally, I attached the bags to the cover at key points using some extra 5/16” line. To start with I put one bag on each side near the bow and the other set close to mid ship. At this point I realized the cover overlapped the freeboard more than I expected, which meant there wasn’t much distance between the bottom of the sandbags and the water line as I thought. I had figured I’d need about 14-16” of line to secure each bag (not counting knots) but in most cases I had to tie the lines as short as possible so the bags wouldn’t get wet.

Overall I’m quite happy with how this turned out, but there are a couple things I would change next time. I could certainly use 2-3 more sets of sandbags, perhaps 8-10 in total, or even more for when I cover the boat on the hard. I might also oversize the bag dimensions by around 15-20% to make the final seams easier to sew and perhaps hold a bit more sand. I wouldn’t want to go much larger than that to prevent the mid-ship ones from dangling in the water.