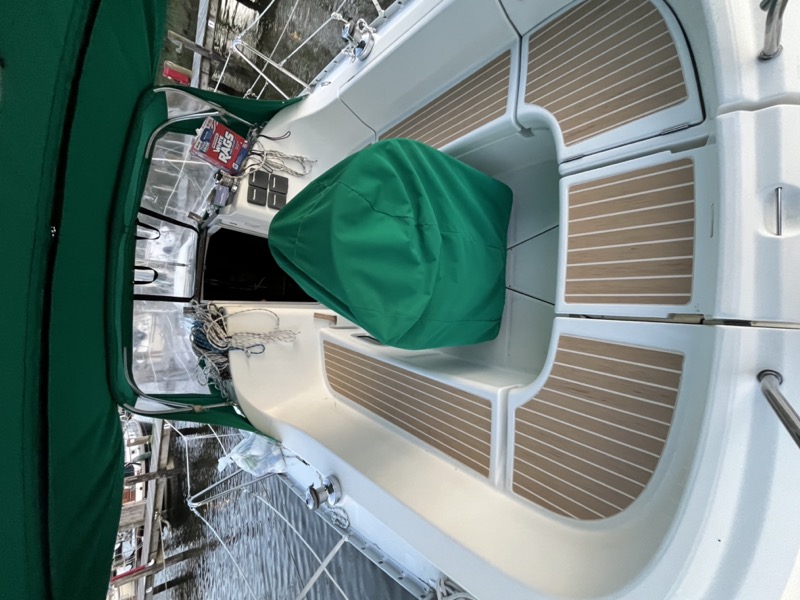
Replacing Cockpit Teak Seats With Plasdeck
A client just purchased a new-to-him Beneteau 311 and wasn’t keen about the teak-covered cockpit seats. The teak was checked, a bit dingy, and the adhesive bonding it to the seats was giving away in a few spots. He wanted it replaced, and after a few conversations we decided to go with Plasdeck, a synthetic replacement for teak decking.
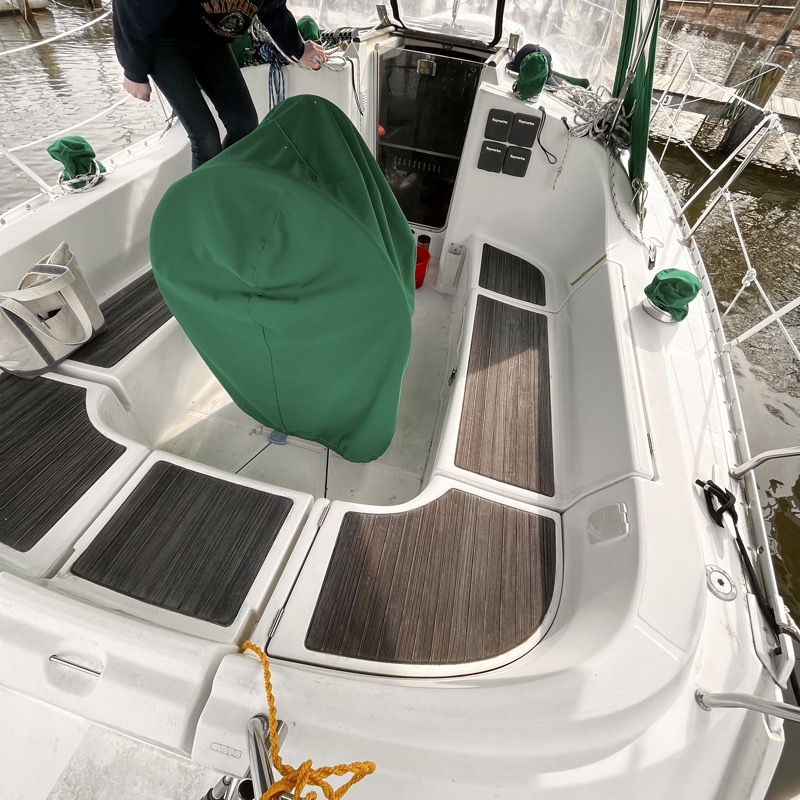
I’ve become a fan of the Plasdeck system for projects like this where it makes sense. The installation is very straight-forward and the instructions that Plasdeck provides, both for templating (if necessary) and for installation, are easy to follow. In this case they had a template for the Beneteau 311 already on file, and for a small fee they it to sent me on mylar sheet. I just needed to verify the fit and mark the alignment across sections so the spacer lines would line up. A few weeks later the finished sections arrived at my shop.
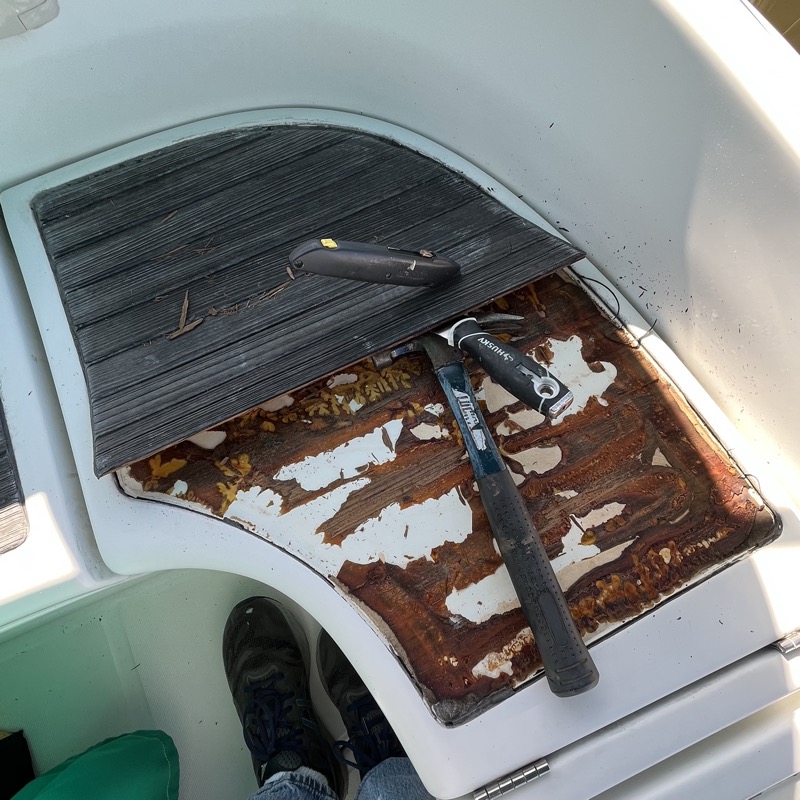
What I was dreading was removing the old teak, which to be sure comprised the majority of the labor. But after a little trial and error, it actually went much smoother than expected. I had planned to use an oscillating tool to cut through and lift up the old teak and then sand off any remaining bits and adhesive with my Festool 150. But it turned out that a simple paint scraper and hammer did the job a lot easier and cleaner, with much lower risk of inadvertently knicking the gelcoat.
In the process I landed on, the first step was to score the sealant around the perimeter of each piece with an exacto knife. Then remove the sealant between the first and second teak strips as shown in the picture below. I did this by cutting the sealant in a “V” and then lifting it out with my fingers. This allowed me to remove the first section more safely since the chisel or scraper blade isn’t in proximity to the exposed edge of the gelcoat on the seat. I then proceeded to remove the first strip by carefully but firmly tapping a chisel or scraper with a hammer.
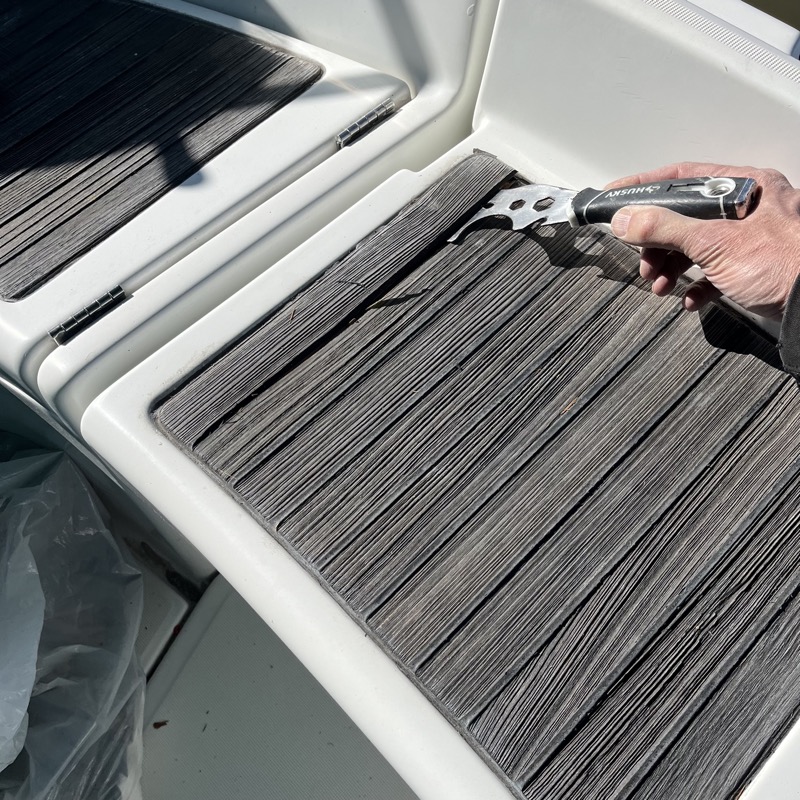
Once the first strip was removed there was plenty of working room to get under the remaining strips without the blade going anywhere near the gelcoat edges. I found it much easier to work across the grain as shown below as opposed to working along the grain, which tended to splinter the teak. When working across the grain the teak came up more or less in intact strips if I could keep the chisel’s blade underneath the sealant. After a bit of practice I could usually take up 2-3 strips at a time, cutting the sealant between strips to make it easier once the leading strip had fully released.
Here is a video showing the technique:
Initially I had planned to remove the remaining gunk and adhesive with a power sander, but again, a chisel proved more effective for the vast majority of cleanup.
Here is what things looked like with four of the six sections cleaned up:
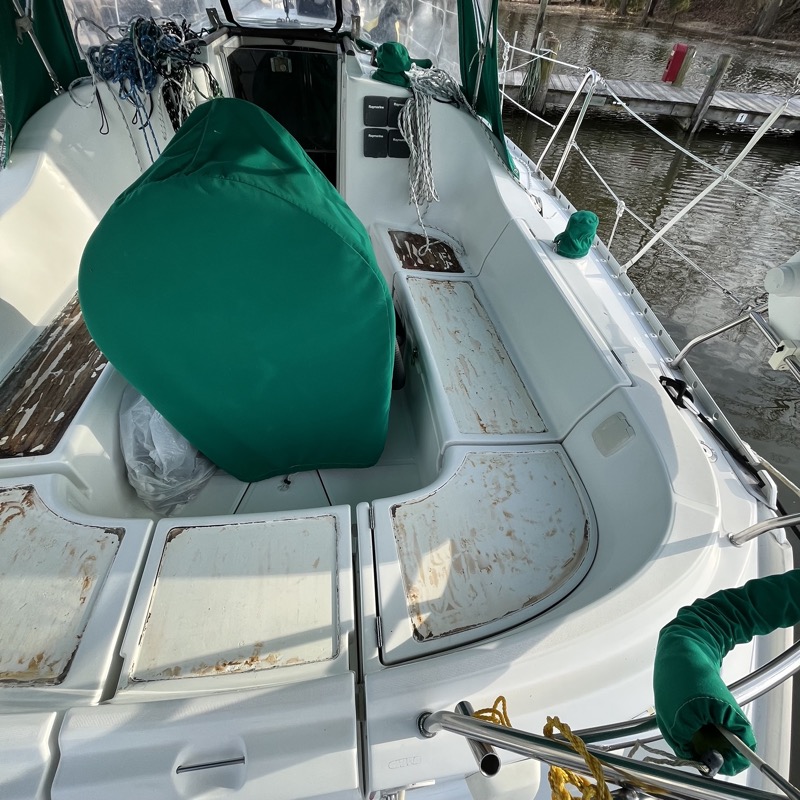
The installation guides from Plasdeck are easy to follow, so I won’t repeat them here. The sealant they provide is excellent even if it requires a sausage-tube style caulk gun which isn’t as common as the cartridge guns. I found that caulking around the edges was trickier and more time consuming than seating the sections. The one piece of advice I would add, particularly if the seats are recessed like they were here, is to tape the edges of both the Plasdeck sections (shown below) and the surrounding gelcoat (not shown below) before adding the edge sealant. Tape the Plasdeck sections before bedding them since it’s easier to trim the tape edges clean if the sections are upside down. Then use a shaping tool like this one to smooth and remove any excess sealant. This part of the job is messy so bring several rolls of paper shop towels.
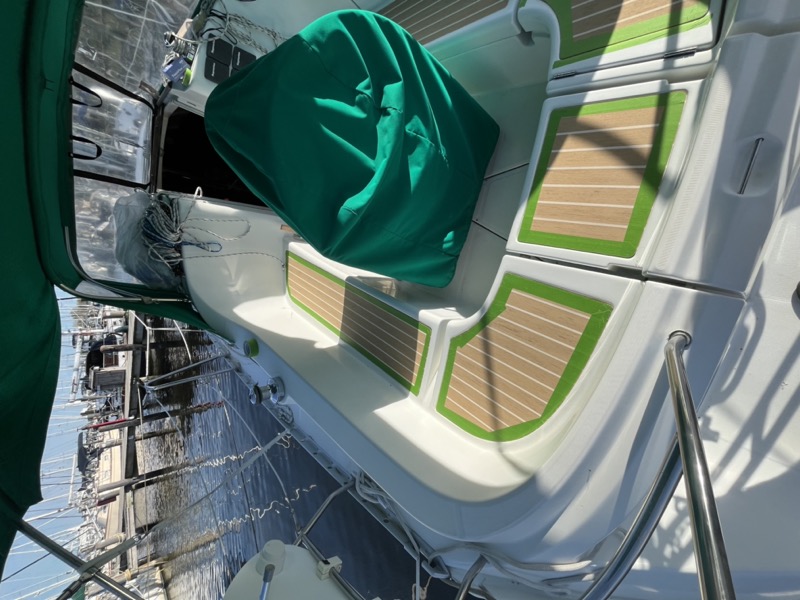
And here is the final result:
