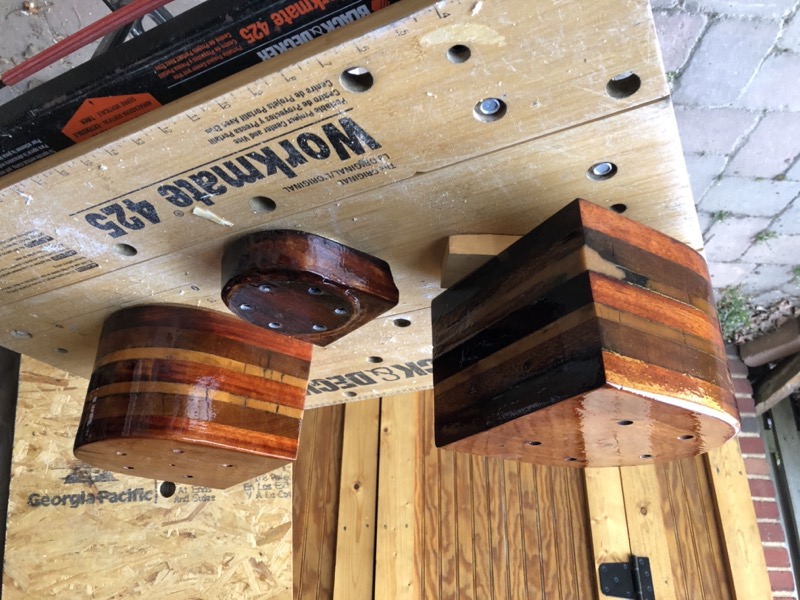
Winch Blocks
Winch blocks weren’t part of the original plan. But while fitting the port coaming Sonny noticed that the standalone starboard winch block had some serious rot issues of its own. That would need to be fixed, which would mean removing the winch, sanding off the old varnish, filling the rot with epoxy, and resealing. So the winch blocks would have to be part of the refurbishing after all. It turns out that removing the winch blocks was a lot easier than I thought, and I decided to refinish all of them. The winches themselves were way past due to be serviced anyway.
I had three objectives mind for the winch blocks:
- Fix the obvious rot issues and other cracks in the wood
- Level surfaces where the blocks mate with the deck and winch
- Seal the wood
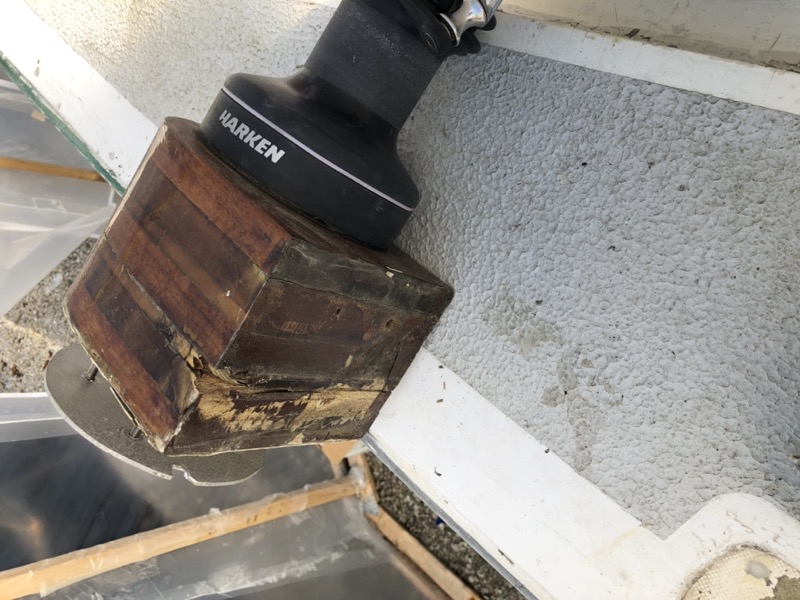
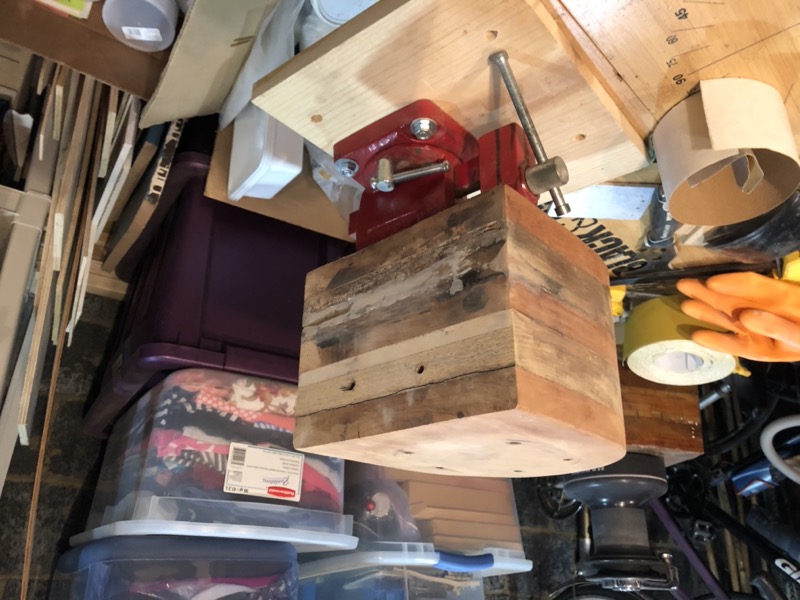
I started by drilling a few holes in a spare 2x4 to match the mount bolts on the bottom of the winch block. This secured the block firmly so I could go at it with a power sander.
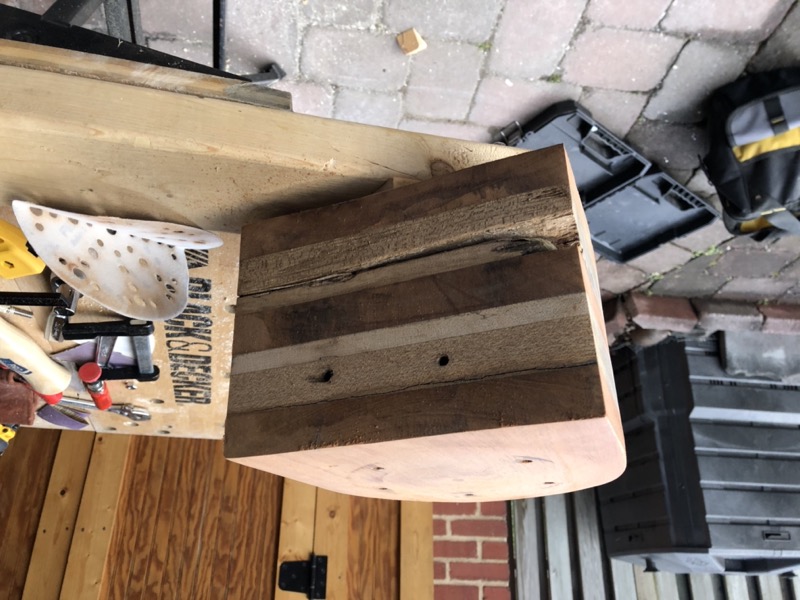
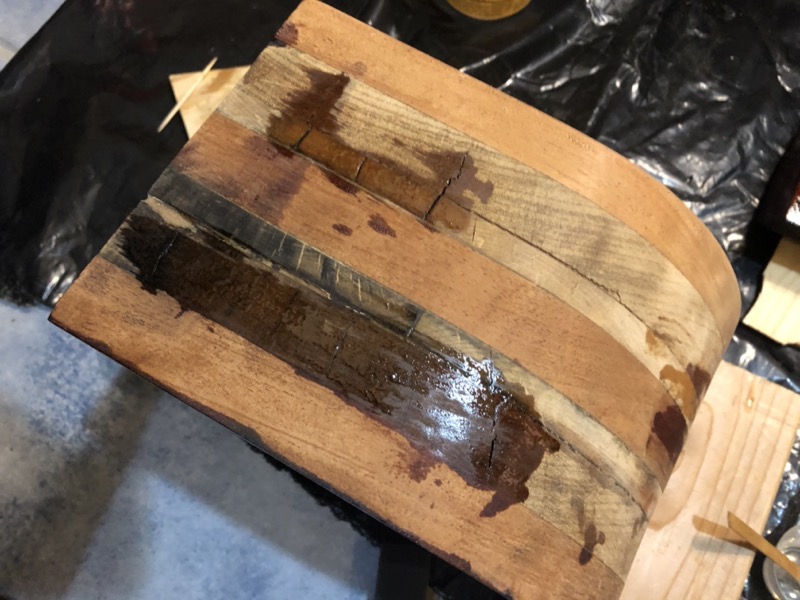
Next I set about filling in the rotted area with epoxy. This was my first time using a low viscocity epoxy and I was still getting used to it. For this job I mixed in a bit of acetone to encourage it to really soak into the rotted fibers. In hindsight I’m not sure that was necessary or even a good idea. Even though I taped off the edges the epoxy still ran everywhere, took forever to reach the green stage, and well over 24 hours to fully cure. That could have been because my garage was cold that day, and I moved future epoxy work to my warmer basement.
Once the low viscocity epoxy had gone green I followed up by filling the rest of the cavity with regular thickened epoxy.
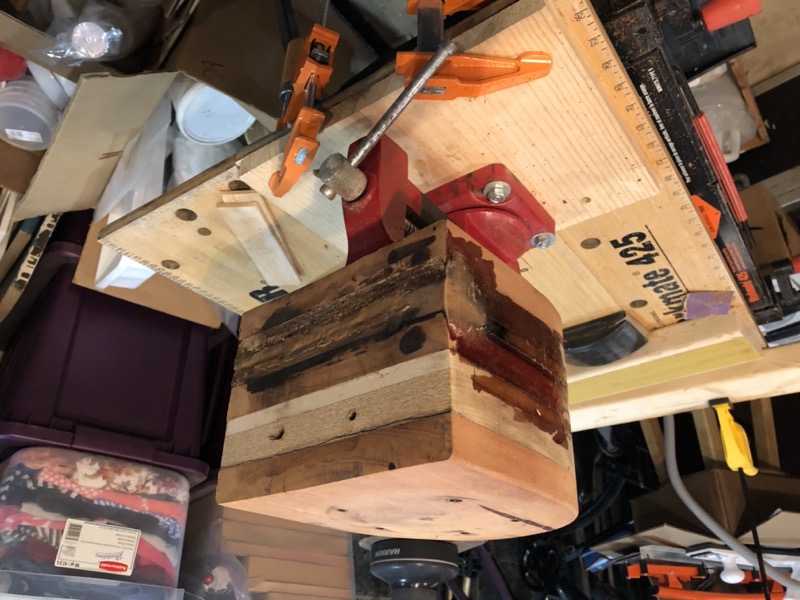
The winch block also had several much smaller stress fractures, so before sealing the wood it made sense to try to stabilize these with low V epoxy as well. For a space this small the best way I’ve found is to pour small amounts of epoxy over the crack and slowly work it in with a toothpick.
Fairing Up the Block Surfaces
Both jib winch blocks had “leveling” issues in that both the top and bottom sides had been rounded off. I’m not sure if they had always been this way or whether I had inadvertently rounded the surfaces with the sander while removing varnish (I suspect a bit of both). In any event, the blocks “wobbled” noticably when placed on a fair surface such as my workbench, as well as the deck. The top surfaces were also irregular, but that wasn’t as much of a concern because they actually mated reasonably with my Harken winches, which are an older model with an open base design.
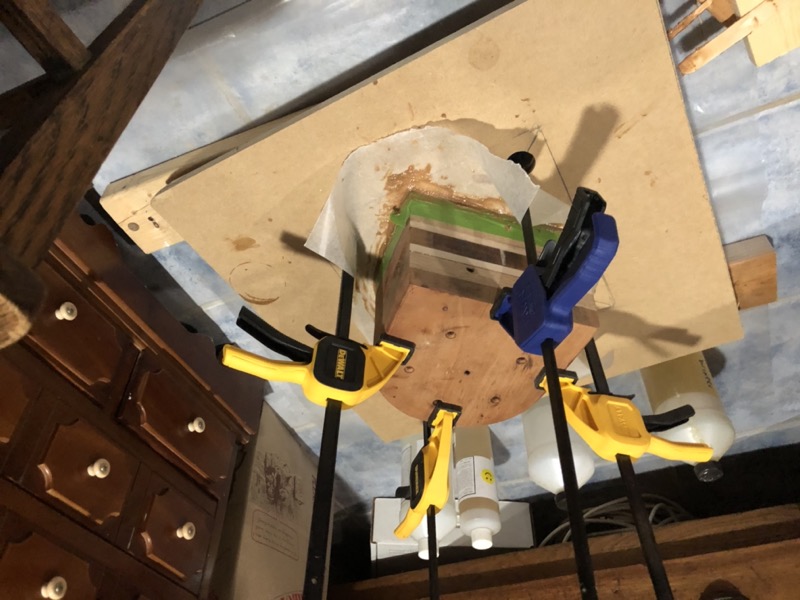
To level the bottom sides I set about using the same approach as I took previously with the end caps on the coamings; that is, coat the surface with thickened epoxy and press it flat against a fair surface covered in plastic. The challenge in this case was that the bottom of the winch blocks featured five holes for the fastener bolts, and inside each hole was a 1/4” coupling nut that I absolutely did not want to risk exposing to epoxy. Is there a good way to protect the fastener holes that wouldn’t adhere to the base or affect its level? The best option I could think of was leftover cheese wax, similar to paraffin, which I used to fill the fastener holes enough to protect the bolts but not sit too proud of the base. In hindsight this wasn’t a great idea as the wax didn’t release well from the epoxy, and I had to gouge and grind it out. But it served the primary purpose of protecting the couplings, and any ugliness wasn’t a big concern since it wouldn’t be visible and the entire surface would be finally sealed with Sikaflex.
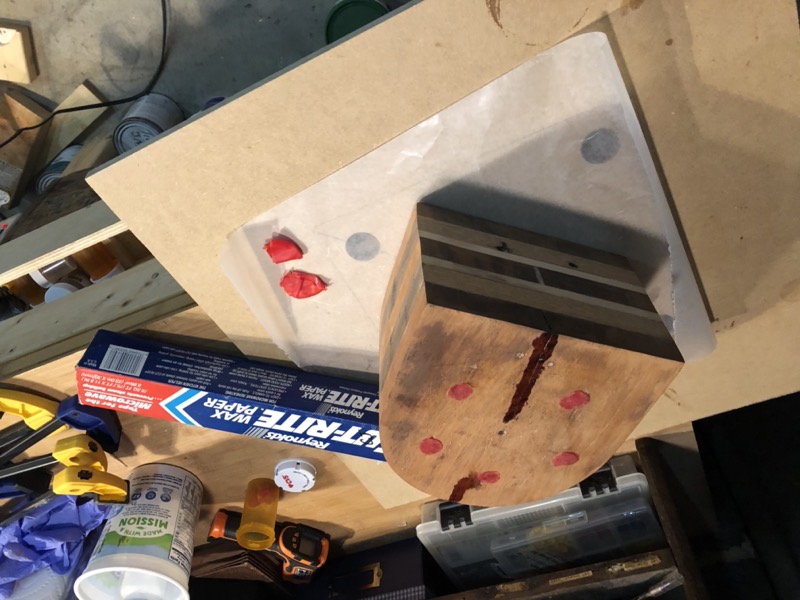
I also taped the sides of the block with simple masking tape; I’m not sure why I didn’t use plastic packing tape as it would clearly have been a better choice.
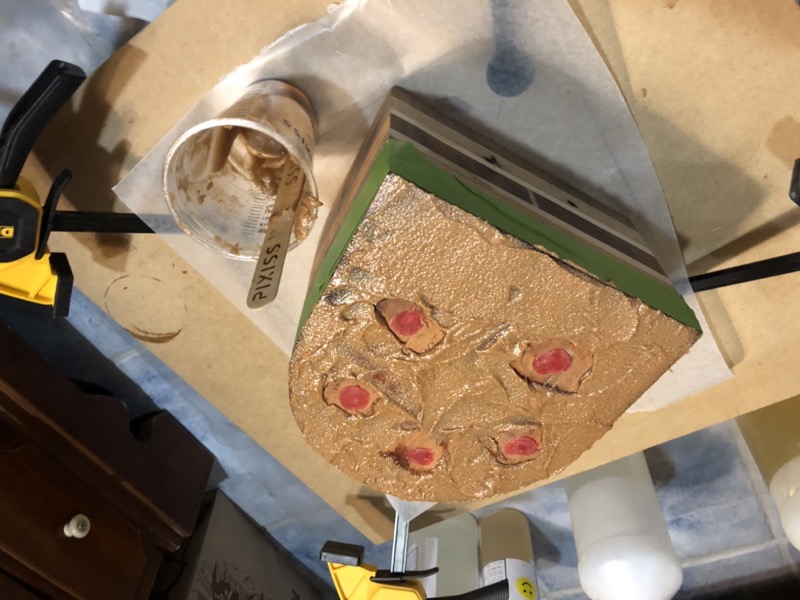
Then I covered the base of the block in a skin of epoxy, enough to just cover the surface to a depth commensurate with its unevenness, laid it on an epoxy-resistant fair surface, and waited for it to cure. The first time through I tried clamping the block to a piece of fair medium density fiberboard (MDF) covered in wax paper. The clamps turned out to be a mistake that only bent the MDF to fix the rounded bottom rather than the other way around, and I had to fair the block twice.
Here’s the finished based of the winch block after I scraped, ground and sanded out the protective wax, and sanded down the edges where the epoxy seeped out from beneath the base (as with the coaming end cap, I wanted a bit of seepage on all sides to ensure the epoxy is level and fully covers the surface).
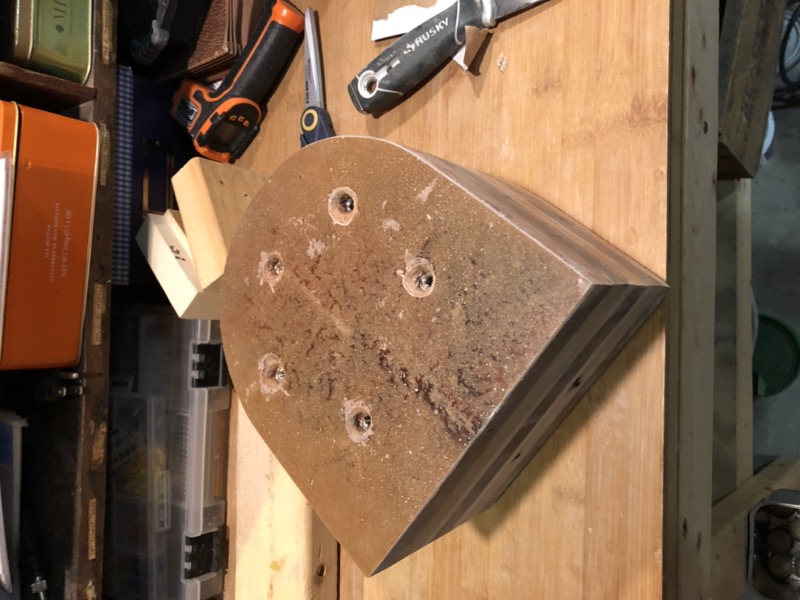
The process for the port block was much the same, except without the initial rot issues.
Main Sheet Block
Meanwhile, I sanded down the much smaller block for the main sheet winch that mounts against the coaming at the stern of the cockpit next to the mizzen mast. I did the sanding mostly by hand since the block is much smaller with several non-uniform surfaces.
The main sheet block turned out to be fairly level on the bottom side that mated with the deck. However, the top side had been rounded off, and unlike the jib winches, my main sheet winch had a solid base that needed a flat surface. But because this surface would be visible I wanted to use a clear epoxy coat, which meant thickeners were out. This would need a bit different process.
Note: this is one part where the description doesn’t match what actually happened, but it was easier and less confusing to narrate what I should have done instead. For that reason the photos don’t quite match the description.
I started by countersinking the fastener holes in the top of the base. I actually drilled the countersinks a bit deeper than I normally would for reasons that should be clear in a minute. Then I applied 2 layers of low viscosity epoxy using rubber stoppers to keep the fastener holes reasonably clean.
Next I took a piece of reasonably fair plywood, coated it with plastic shipping tape, and set it level with shims and the level app on my iPhone.
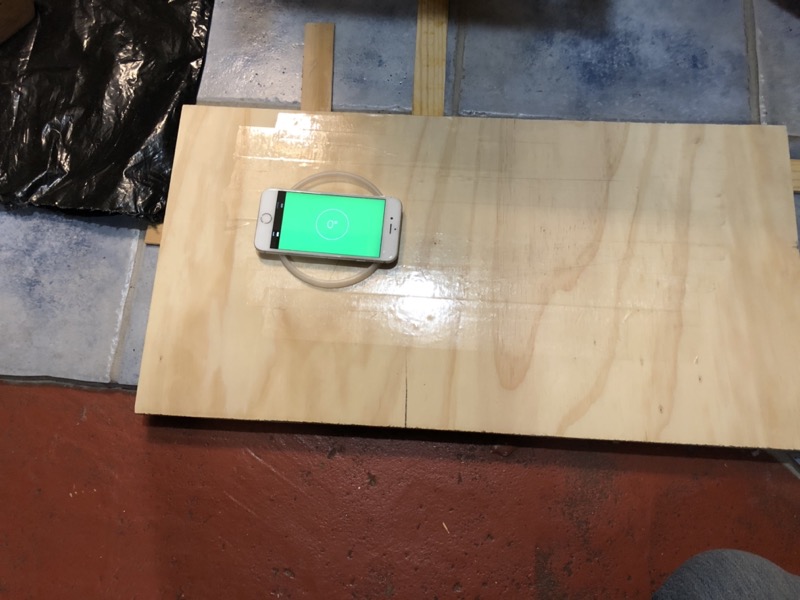
It turns out the top of the winch block is just slightly smaller in diameter than the top of a quart-sized yogurt container. This made a good perimeter to contain a pool of unthickened epoxy and keep it from running until it got slightly green (I cut the center out leaving just the rim).
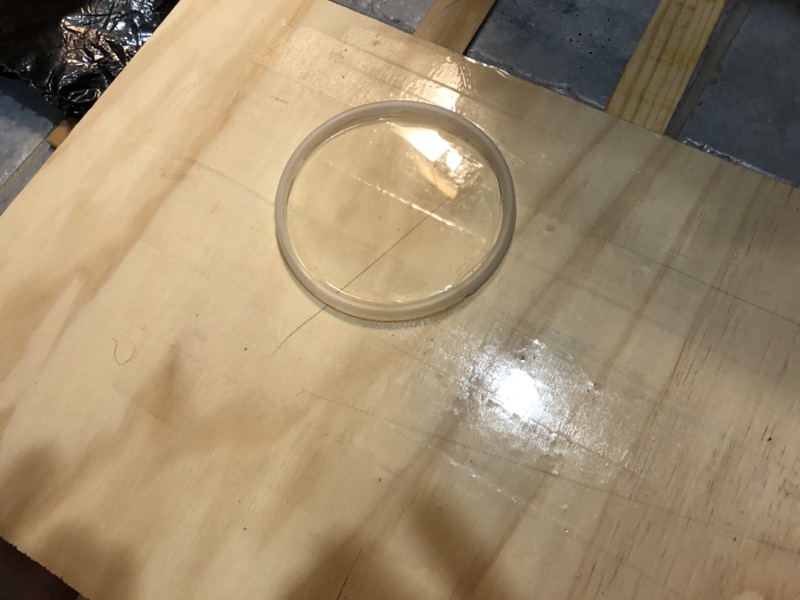
I calculated how much epoxy would be needed to fill the perimeter to a depth of about 1/10”, mixed up that amount, poured it into the yogurt container rim and waited until the epoxy started to become thick and a bit “green. This only took about 20 minutes since I was using “fast cure” hardener. I kept a bit of residual epoxy in the mix cup to swirl around to estimate how the epoxy pool on the plywood was doing.
Once the epoxy had thickened, I removed the yogurt container rim, set the winch block firmly upside down in the pool of epoxy, and let it cure overnight.
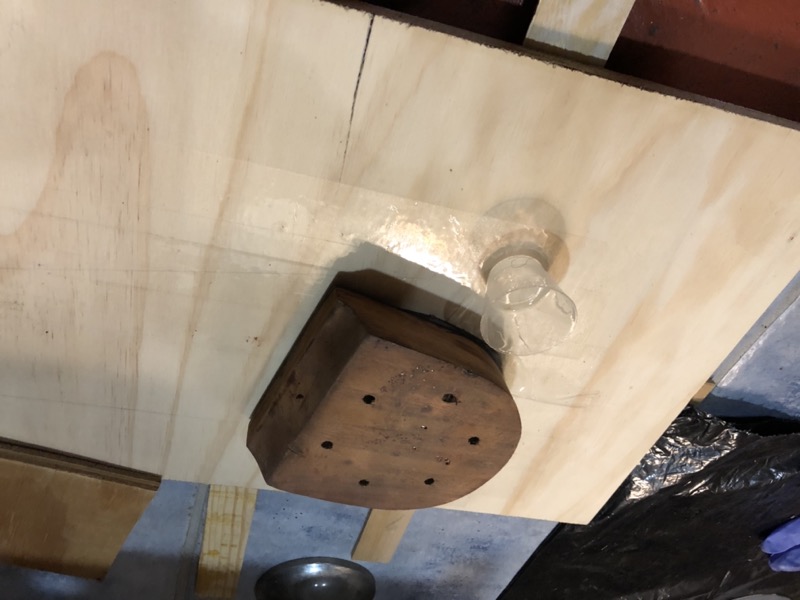
Here is what it looked like the next morning. The last step was to sand or cut off the edges, and redrill the countersink holes. Because I drilled the first set of countersinks a bit deeper than I normally would have, I could drill final ones without cutting all the way through to the mahogany, and the countersinks would remain fully sealed.
Finishing Up
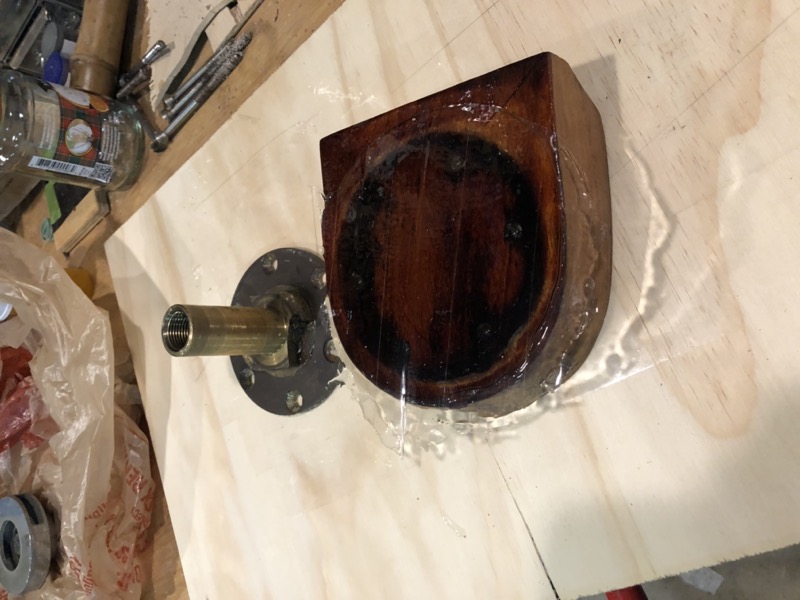
That’s nearly it for the winch blocks. To finish up, I just did some finish sanding and cleaned all the surfaces well with acetone, and applied 2 coats of penetrating epoxy. Prior to the epoxy coasts, I countersunk the fastener holes on the top of each jib winch block as I plan to seal the winches to the blocks with butyl tape. Of course, these will need several coats of varnish before they go into service, but already they look quite a bit better compared to that first picture.
