
Installation
Installing the coamings wouldn’t happen until the following season, after completion of the toerail project. I didn’t want to install the coamings until just before my splash date because, as explained earlier, the boat was slightly off balance on its jack stands, and water tended to puddle on the cockpit seats instead of draining properly. The new coamings would immediately be sitting in water until I could fix that by splashing the boat.
Installation required a “dry fit” before final installation. The dry fit was necessary because I had repaired and filled all the original fastener holes along the bottom edge of each coaming, along with the 5 holes for the through bolts that secured each of the winch blocks (actually, 6 bolts for the smaller main winch block). Thankfully, I still had the templates I made when I removed the winch blocks long ago.
The dry fit was also my chance to see how the shoulder on the port coaming (the one that I had to remove for repairs) would align with the side of the cabin.
Although I had templates for the winch block fastener holes, I didn’t know exactly where the blocks should be positioned on deck to mate with the coamings. This was important because the 3 holes for the #14 screws that secured the coamings to the winch blocks were already drilled, so they had to line up perfectly.
To get everything to line up, I decided to first install the screws at the head of each coaming (with screws through the cabin wall) and at the stern where they fastened to the stern piece. This meant that I needed to install the stern piece first. Then I screwed the winch block securely into the coaming. Finally, I pushed the coaming into place against the edge of the cockpit seat, and with the winch block in position, I drilled through two of the fastener holes with an extended length bit to mark the right position on deck. With two locations marked, the template showed me where to drill the remaining three holes.
Positioning the main winch block was relatively easy because it rested against the stern coaming but without a fastener.
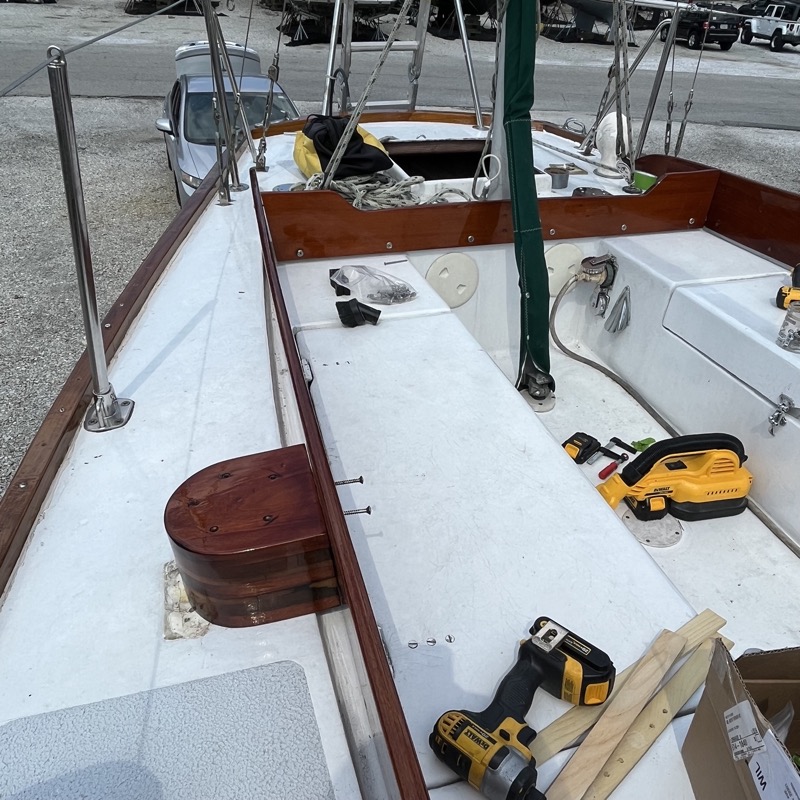
With the winch blocks positioned and their fastener holes drilled, I installed the winch blocks with the winches atop them. That gave me three secure points holding each coaming in place, and allowing me to drill the remaining fastener holes along the bottom edge.
With all three coaming pieces in place I finally got a look at the port-side shoulder. And as I expected, it didn’t quite fit right; there was a noticeable gap along both the top and inside edge:
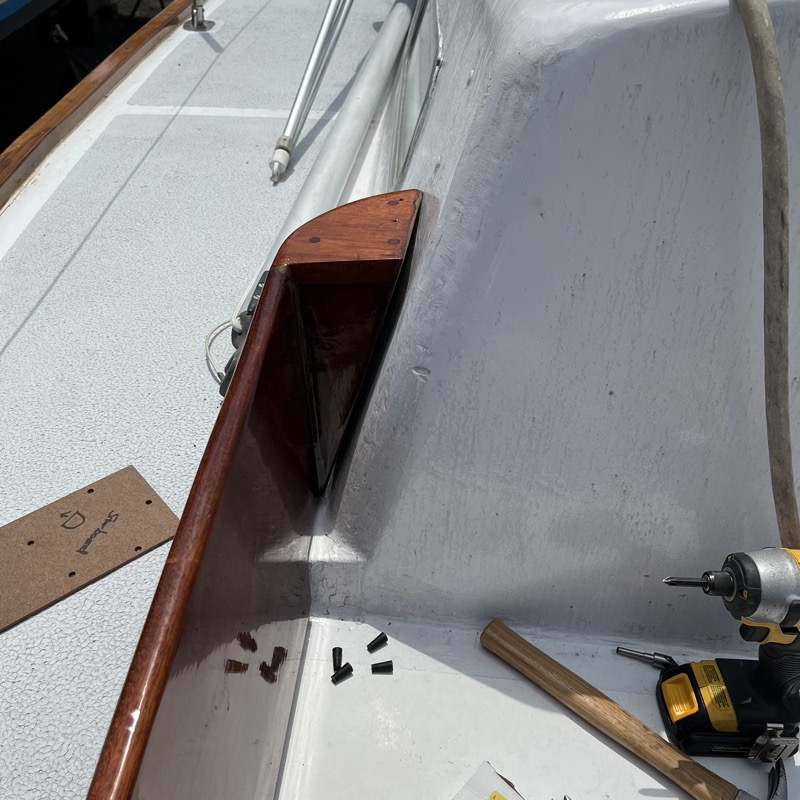
The gap was definitely too big to fill with any adhesive. But if there’s a silver lining here, it was that the gap is primarily on the cockpit side, not the deck side of the coaming. That would make any fix much less noticable, since ultimately it would be tucked underneath the dodger. Given its wedge shape, I decided to fill the gap with some mahogany shims.
To get the angle right, I made a template out of actual shims, and once I determined what angle I needed (thank you high school trig), I cut the filler pieces from some scrap mahogany.
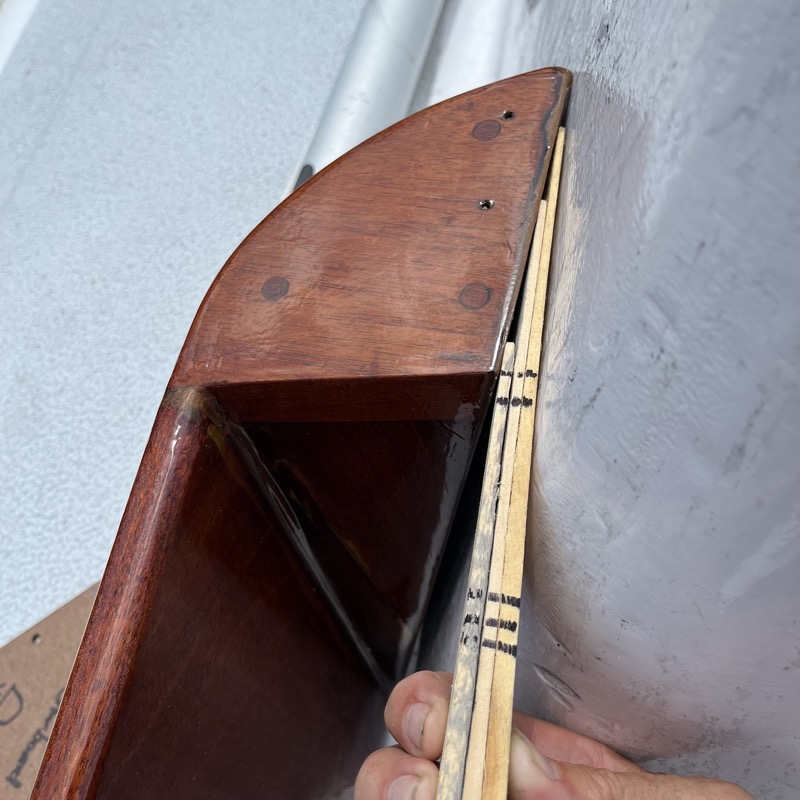
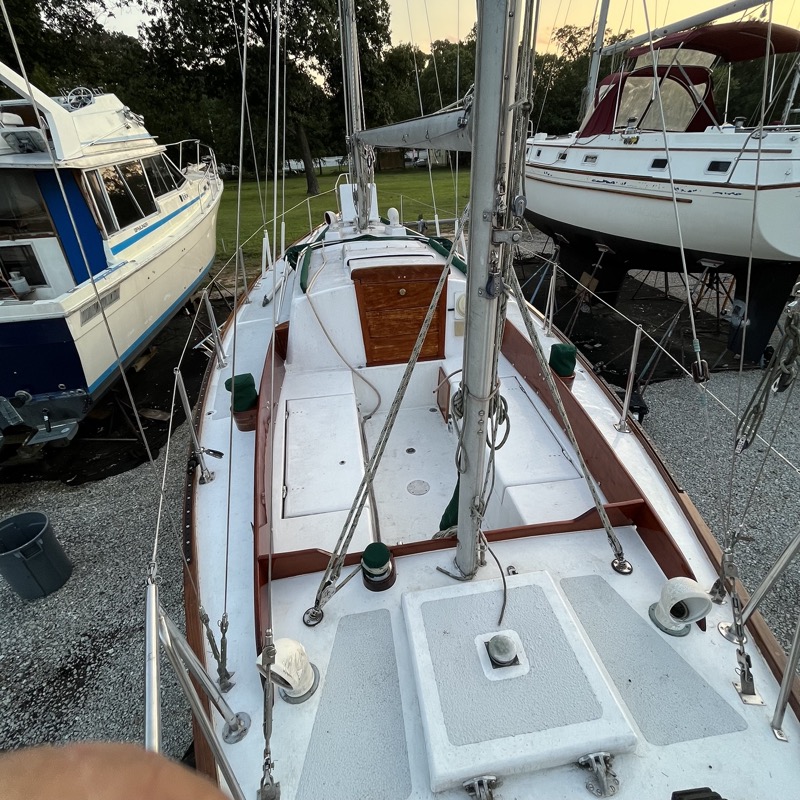
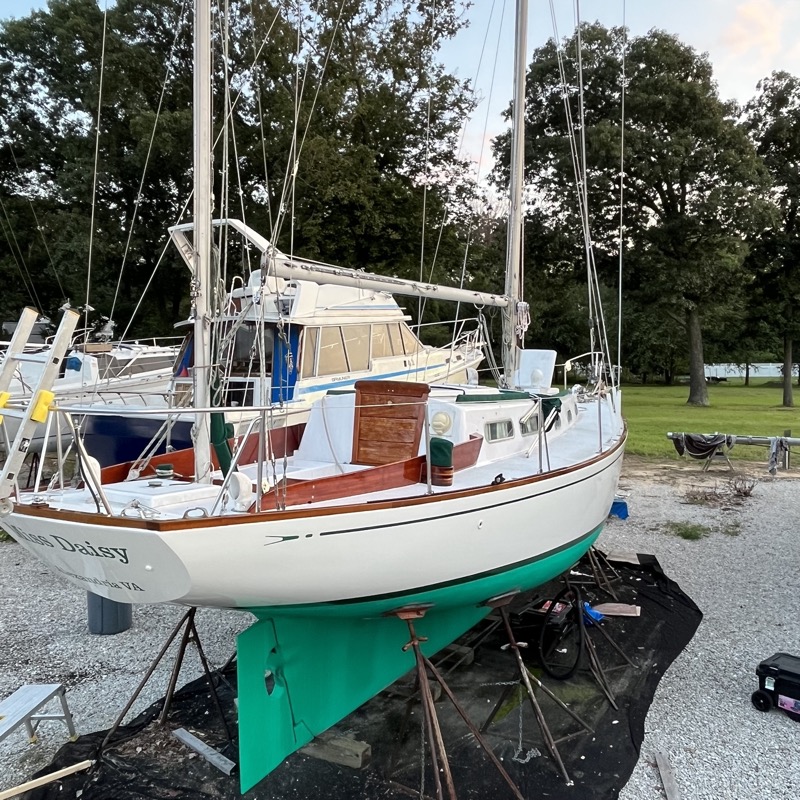
After everything was cut, bonded and varnished, the shoulder mated perfectly with the cabin, and I was very happy with the result.
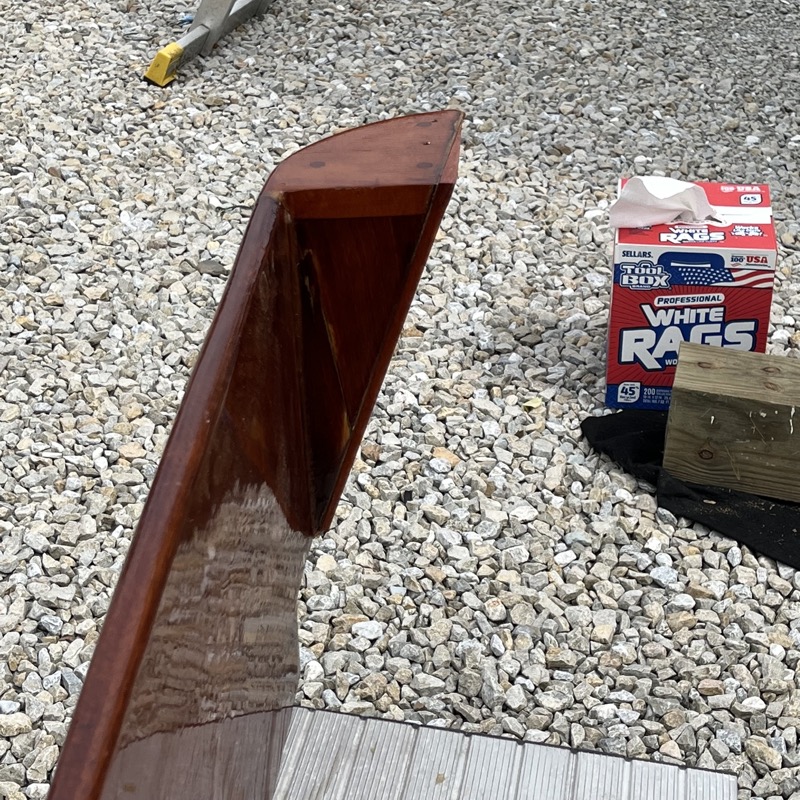
The final “wet” fit was basically the same exercise as the dry fit, but this time with Sikaflex 291 to seal all the seams and gaps. I was especially careful to seal the seams between the wood and the deck where water could intrude. If you’ve never worked with Sikaflex before, I highly recommend taping around all the application areas leaving about an 1/8” gap, and using a finishing tool like this one to get clean, consistent results.
The End