Finishing
I planned to finish the hatch cover with Interlux Brightside, my go-to one-part paint, which is what I had been using for the decks and cockpit. However, I went with a two-part epoxy primer (Alexseal) for the primer. For one, I had extra epoxy primer that I wanted to use up, but more importantly, I wasn’t entirely sure the outside of the hatch was entirely smooth, and an epoxy primer would give me the flexibility to apply fairing compound without having to sand the primer back off. The white primer would also make any defects readily apparent to the eye.

Sure enough: the trial coat showed nearly a dozen spots where the outer layer of fiberglass cloth had printed through the epoxy, resulting in a “honeycomb” effect. I had noticed a couple of these spots prior to the primer coat but there were quite a few more than I first realized.

In hindsight, I should have put more thought into my choice of materials, perhaps a lighter weight cloth or chopped strand mat (CSM) for the outer layers instead of 10-ounce cloth for everything (again, 10-ounce cloth is what I happened to have on hand). But that’s an experiment for another day. For this project, I simply sanded down the primer a bit and applied a thin coat of Total Fair to the areas that needed it, and sanded the surface smooth.

After another coat of primer, there were still a couple of spots with minor pinholes, but as a whole the surface was much improved, and I reckoned 3-4 coats of Brightside plus a non-skid coat would cover the remaining spots (which they did… mostly).
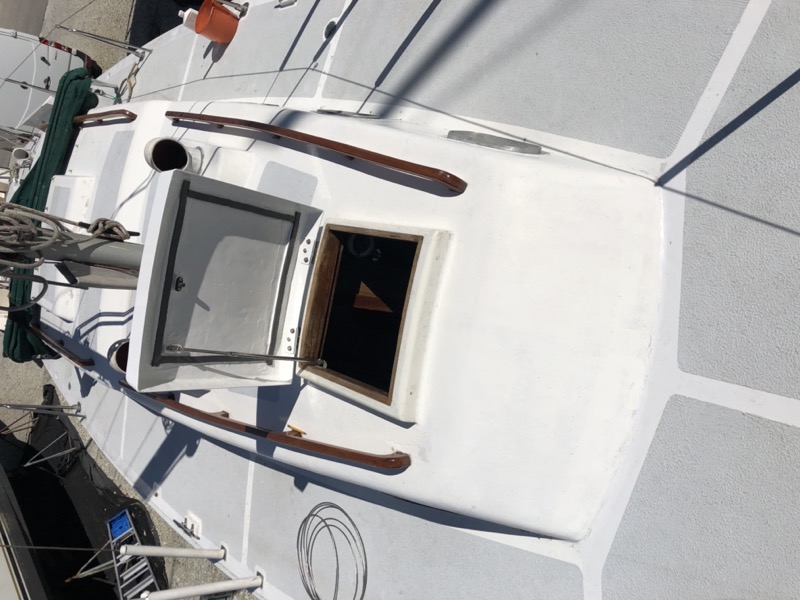
Here it is installed:

The End