Fitting and Hinges
Although I had tried to make the dimensions of the new hatch the same as the old one, I still had no assurances that it would properly fit the hatch. One consideration was that the cover sealed reasonably well to the hatch without significant gaps, allowing for some hatch tape. The other consideration was that the hinge mounts would line up correctly and the hatch would open and shut freely.
Fortunately, it fit pretty well on the first try. Sort of :)

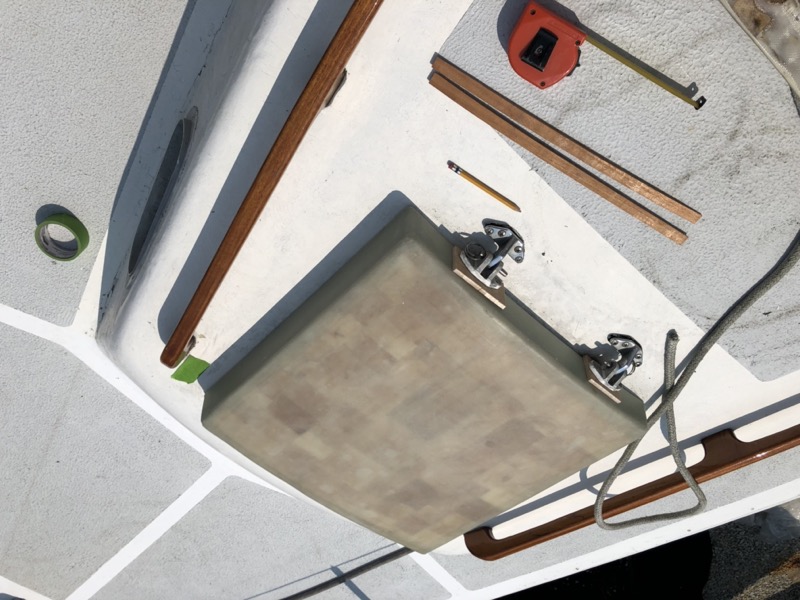
The good news was that the hatch cover fit nearly perfectly against the hinges. The old hatch had exterior mounting plates beneath each hinge for reinforcement which I estimated at 1/4” so I cut a pair of plywood spacers as placeholders for the G10 plates I would cut later. In terms of horizontal alignment, I centered the hatch by pushing it all the way to one side, measuring the distance between the edge of the hatch and an arbitrary point (marked with green tape in the photo) and then sliding the hatch back towards that point by half the distance.
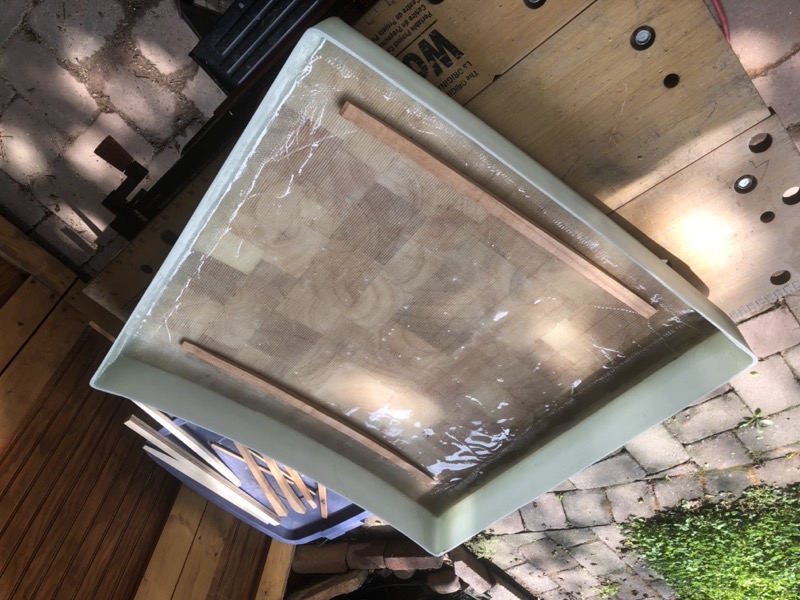
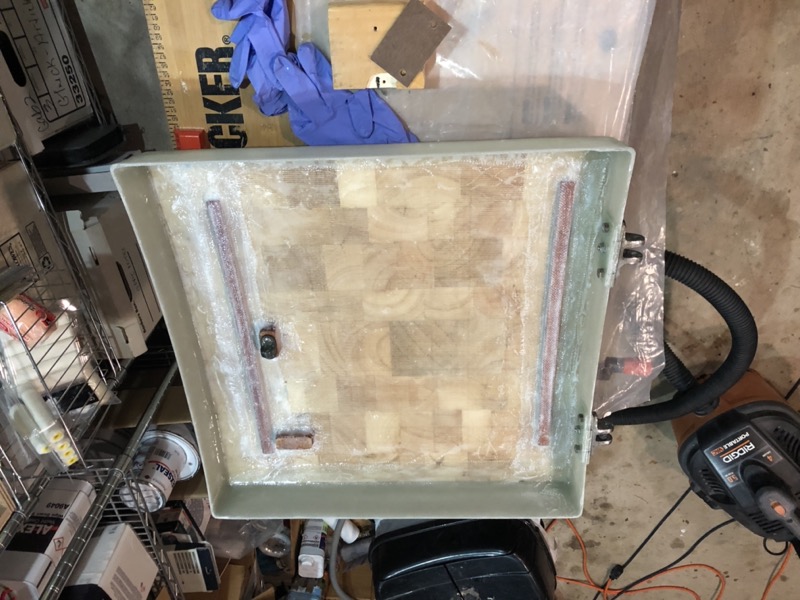
The bad news was that that I hadn’t realized that the hatch itself was curved port to starboard, but by a smaller arc than that I used for the mold. As a result there was a gap between the hatch and the front and back sides of the cover, particularly towards the center. Rather than start over, I cut a pair of spacers out of leftover mahogany that I would glass to the inside of the hatch cover and later cover with hatch tape.

I also cut some smaller mahogany pieces for the latch and strut mounts.
Confident in the fit, I cut mounting plates from 1/4” G10 fiberglass that were slightly larger than thee hinges, epoxied them to the back of the hatch cover, put the cover back in place on the hatch (with temporary hatch cover tape in place), marked the location of the fastener holes for the hinges, and drilled screw holes in the back of the hatch cover. Project nearly complete!
It wasn’t until I was driving back home from the marina that I realized I hadn’t actually tried to open and close the hatch cover to make sure it cleared the hatch. Sure enough: it scraped ever so slightly when I opened it, but enough to remove a bit of paint from the hatch. Doh!
Apparently my 1/4” mounting plates were a bit too thick and as a result there wasn’t enough clearance on the hinge side of the hatch cover. Somewhat bummed that I’d have to grind off the mounting plates, my funk was quickly dispelled by the quick work that my Festool sander made of this task. After a second fit with temporary 1/8” MDF mounting plates (this time the hatch opened and closed easily), I cut a second pair from 1/8” G10 and epoxied these in place. Since the back side of the hatch was a bit thin, I cut a matching pair to epoxy on the inside of the hatch cover for good measure.

After drilling fresh holes for the hinge hardware, the hatch was basically complete.
