Removing the old toe rails
My first step of course was to remove the existing toe rails. Ideally, I wanted to remove these as intact as possible to use them as templates for the new rails as I wanted to keep the same basic profile. I was initially worried that would prove difficult. I had nightmares of bent, stripped and broken fasteners that would need to be sawn through or worse.

In the end, toe rail removal wasn’t nearly as much of a nightmare as I feared, and I was able to do much (but not all) of it working solo. Most of the fasteners came out fairly clean, and once that was accomplished, steady pressure on the rails was enough to break the bond of the sealant. This was made easier by the fact that the rails were already quite rotten in several places.
Before starting the removal in earnest, I took a good set of pictures to documemt the profile of the existing rails, along with the location of rail-mounted hardware (chocks, pulleys, genoa tracks, etc) that would need to be mounted to the new rails more or less as they were. These pictures would turn out to be invaluable, as it would be quite some time before I would get around to finishing and installing the new rails, and pictures helped reconstruct the jumble of hardware pieces I had in various boxes. I also noted the approximate spacing of the existing rail fastener bolts. In the case of the Allied Seabreeze the bolts on the original toe rails are spaced 7” apart.

The most tedious and time consuming part of the toe rail removal stage was getting access to the several dozen nuts that secure the bolts beneath the deck. At 7” intervals, there are approximately 60 of these per side plus the transom plus additional bolts to secure rail-mounted hardware. I had to completely empty the lockers, lazarette and anchor chain locker, and temporarily remove several sections of paneling in the cabin. Other systems also needed to be temporarily relocated or removed, leading to several distracting (but useful) disoveries of unnecessary wiring and non-working systems that could be simply removed. got rid of a non-functional battery charger, internal phone wiring, inverter, bilge blower and several yards of electrical wiring that had just been snipped and left in place. For systems that I wanted to keep I tried to document parts, connections and fasteners with pictures and notes.
The toe rail fasteners were covered by covered by wooden plugs or bungs, which were easy to identify by sight. Sonny and I started by chiseling these out to expose the bolt heads beneath. If Sonny was working with me, he would hold the screw heads in place with a screwdriver while I went below and removed the nuts with an impact driver or crescent wrench (or I would hold the nut while he removed the screw from above). If I was working solo, I would hold the nut in place with grip-lock pliers, then remove the bolt from above, making sure to tie off the pliers so they didn’t fall into the bilge when the screw gave way :)
With the fasteners removed, we just broke the sealant bond by gently lifted off the rails in pieces. Several of the scarf joints had already softened which made it easy to remove the rails in large sections.

We labelled each piece and took the set back to Sonny’s shop to keep as a reference for a while.

Back at the boat yard, the removed toe rails left behind the exposed sealant, a thick, rubbery substance that I removed with a paint scraper.
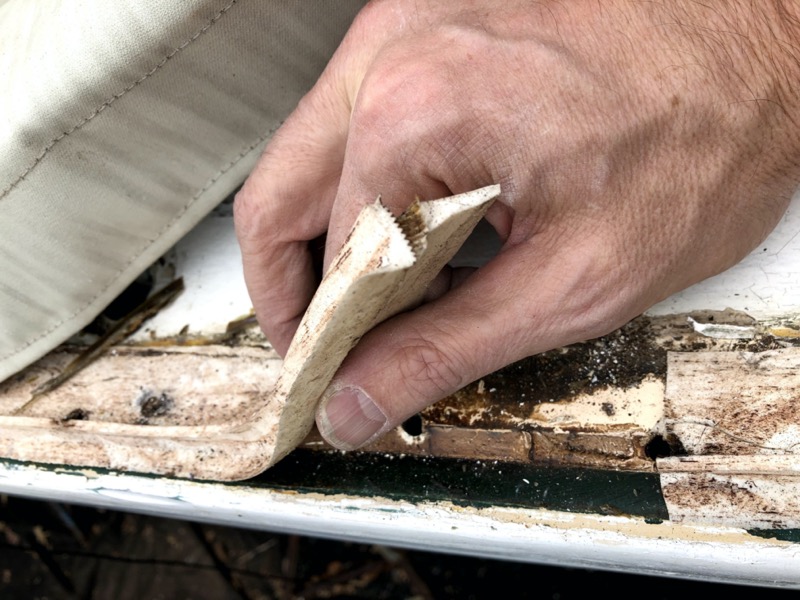
We guessed this was either 3M 101, which has been discontinued, or Sikaflex. The deck paint beneath the rails was already in rough shape and would need to be repainted, so I didn’t mind being overly aggressive to get all the old sealant off.
