
Test Fitting and Dry Fit
We planned to do the port and starboard rail installation in 3 steps:
- Test fit to mark the location of fasteners holes, check the mating of the toe rail to the hull, and drill fastener holes in the rails
- Dry fit the rail to the hull and drill fastener holes through the deck
- Apply sealant and complete final fit and installation
Test fit
At this point the goals are to make sure there aren’t any serious high or low spots in how the rail mates with the deck, as well as to mark the locations of the fastener holes in the toe rails. Except for some reinforcement at the bow and in the area of the genoa track, the old rails had fasteners about every 14 inches, so we decided to stick with that.
Before doing the test fit I went below and meticulously recorded the relative location of every bulkhead or other obstruction. I then marked these locations on deck so we wouldn’t inadvertently position a through bolt where we wouldn’t be able to secure it from below.
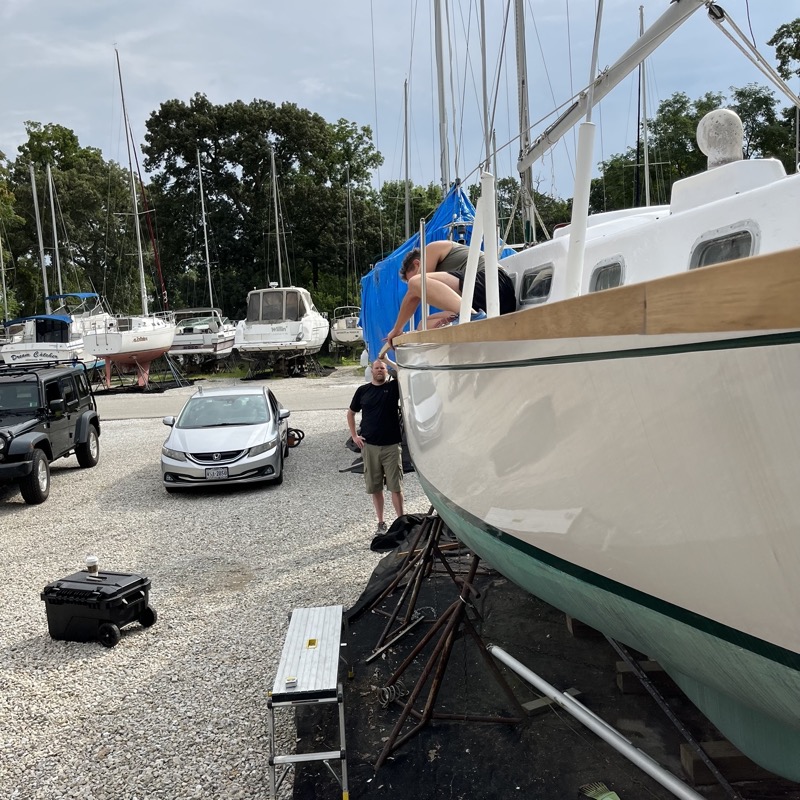
Next, we fit the rail to the deck. I held one of the rail while my friend Pete held the other end so that just a short section rested on deck and any point, sort of like a tangent line on an arc. Sonny worked on deck to mark spots that didn’t fit well on either the deck or hull side. Then we dropped the rail back to the ground, planed and/or sanded as necessary to level out the uneven spots, and measured again.
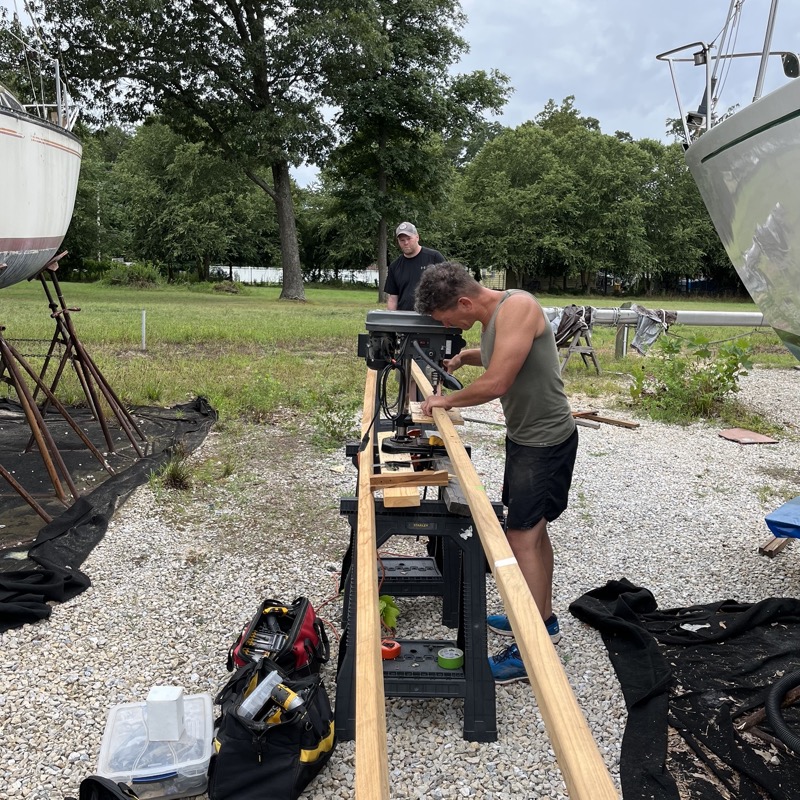
Finally, we marked the location of the fastener holes in the top of the rail, making sure to avoid bulkheads and other obstructions. We used a tabletop drill press to get nice, straight holes (I don’t trust myself using a handheld drill for this), and a high-quality counterbore bit with a 1/4” pilot bit sized to fit our fasteners. The bow-most piece required some adjustments on the drill press because the profile is angled out at that point, and the larger timber requires longer bolts.
The genoa track was a bit of an exception. My track takes 3/16” flathead machine bolts every 4”, no forstner bit, but countersunk for whatever sealant goes between the track and the toe rail (we’re planning on using butyl tape to seal the track).
Dry Fit
By this point I was over four years into this project, and increasingly anxious to get finished. The many delays were getting frustrating. If there was a silver lining, it was that when we first removed the rails four seasons ago, we almost immediately filled all the fastener holes left behind with permanent epoxy, leaving the deck almost perfectly water-tight.
But it had also been almost three full seasons since I first completed the each of the full toerail sections by gluing together the five individual lengths into a single 40-foot piece. All that time they had been stored in the yard supported on sawhorses, and for the most part wrapped tightly in dark plastic to try to fend off precipitation and sun damage. While it was exciting to finally be close to the end, it was particularly important to move as quickly as possible and minimize further delays. The dry fit would mean we would again be drilling holes in the deck, and once the rails were installed it would be difficult to protect them until I could get varnish applied.
The goals of the dry fit were to fasten the rails in place by drilling into the deck through the holes previously made in the toerails. We started at the bow and worked toward the stern. Sonny was on deck drilling each hole while I was underneath putting washers and nuts on each bolt. Several friends helped out by support the unsecured section of the rail, aided by lines and ratchet straps attached to either the main boom or a stanchion.
Things went fairly well, to a point. We started with the port rail, and the biggest challenge was that the unfastened section of the 2-inch thick rail became increasingly hard to bend as it got shorter and we worked our way to the stern. The ratchet straps provided essential mechanical leverge. Through the genoa track section we only drilled every 3rd or 4th fastener hole (since they were spaced 4” apart).
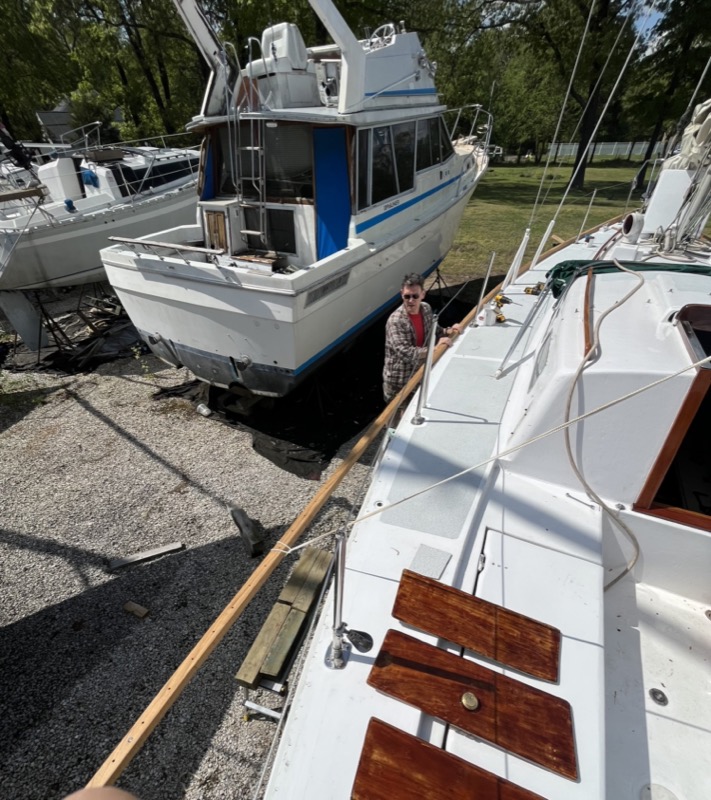
After about 2 hours we had the entire port rail secured, leaving about 3.5 feet of extra wood at the stern which I planned to cut as a last step. Initially I planned to cut off the residual after dry fitting both the toerails and the taffrail when I could see how the three sections joined together. But we decided it was better to wait until everything was permanently installed because we would need the extra length as leverage to get that stern piece in place for the final time.
We then proceeded to the starboard rail, but got only about halfway done before we heard a really loud POP which turned out to be the first scarf joint splitting completely open.
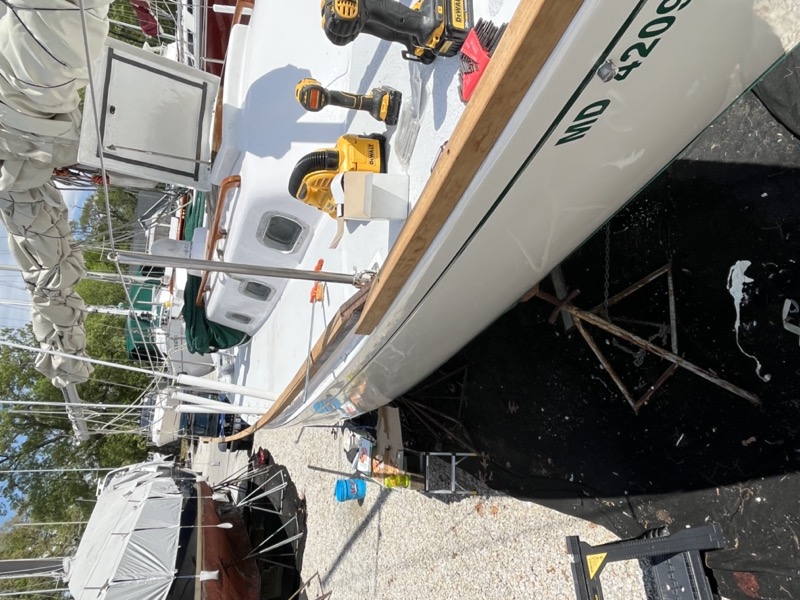
This was a discouraging setback which meant the day’s work was over. However, I was thankful that it was the scarf joint that split, not the wood itself, and that the split was almost perfectly clean. And at least at this point, I was thankful that if the joint was going to pop open at some point, that it happened during the dry fit and not later on.
At first we thought the split might be attributable to a weakened epoxy joint resulting from how the rails had been stored for the last three seasons. I had no choice but to keep them in the open yard, so I had wrapped them tightly in dark plastic to keep them dry and protected from the sun. But that also meant they probably got very hot for extended periods during the summer months, possibly hot enough to weaken the scarf joints (as happened when I steam bent the taffrail). It was through a later conversation with Tim Lackey that I concluded that the scarf joint itself was wrong, and we should have cut and glued the scarf joints from top-to-bottom instead of side-to-side. Top-to-bottom joints would be subject primarily to shearing force as opposed to tensile force which would be less likely to give way (caveat: I’m not an engineer, and I’m not confident I’m calling these by their proper names).
Oops!
It was too late to start over with proper scarf joints, so I would have to repair and reinforce the existing joint and hope for the best.
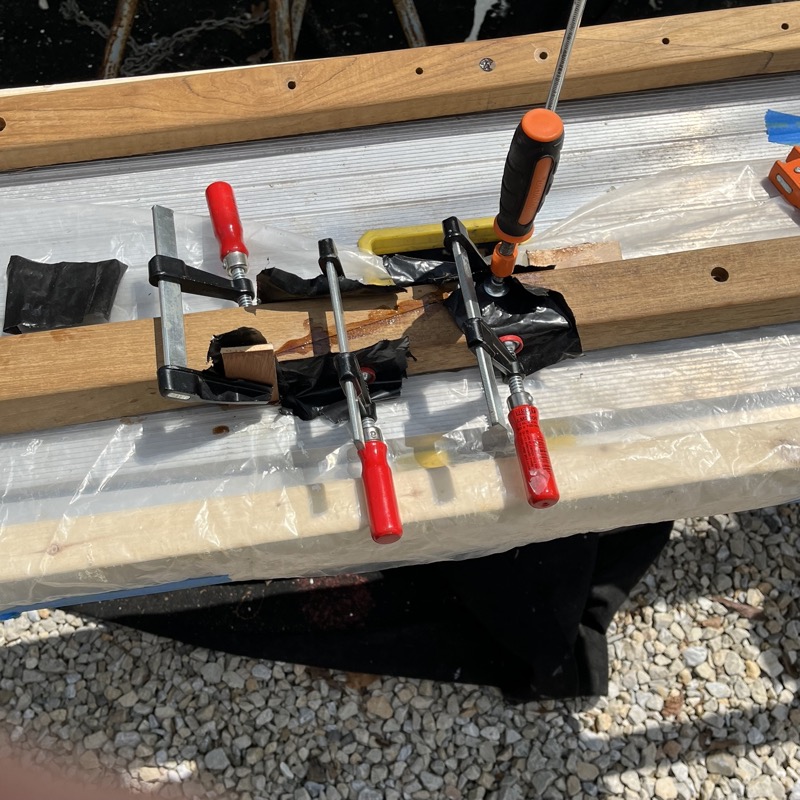
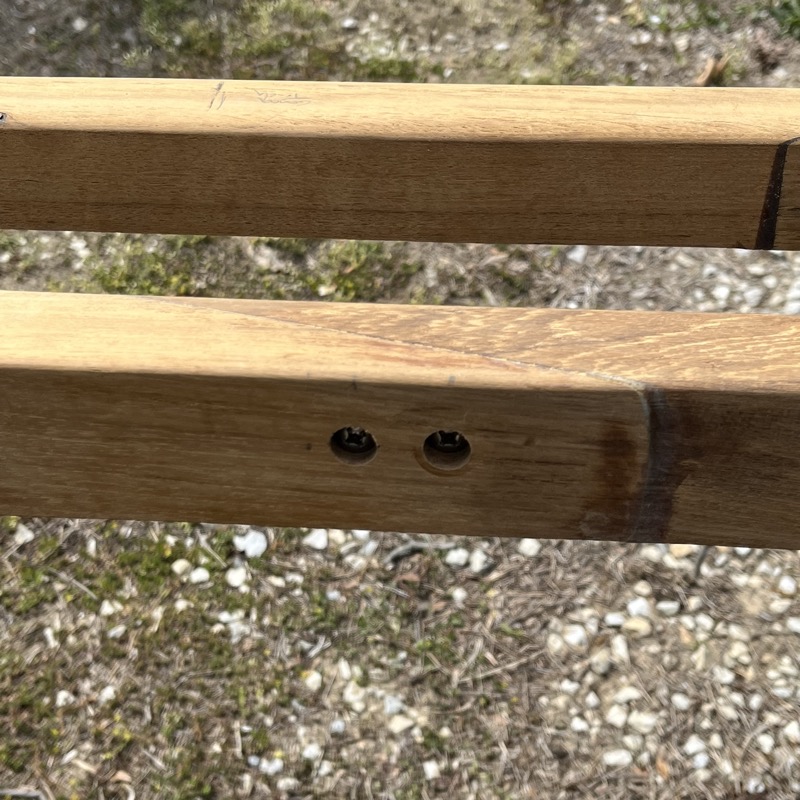
As reinforcement, I counterbored 1/4” holes through the joint and added bolts with reinforcing washers on both sides. It was tricky finding the right depth for the holes: just deep enough to accommodate a bung while not counterboring any closer to the joint than I had to. I also reinforced the corresponding joint on the port toerail, although it wasn’t showing any signs of undue stress at this point. After the final fit, I would cover these holes with bungs the same way I would for the deck fasteners.
With repairs complete, I reconvened my volunteer crew. The starboard-side dry fit proceeded without any further issues. The finished fit looked good, and again we had 3-4 feet of extra rail hanging off the stern.
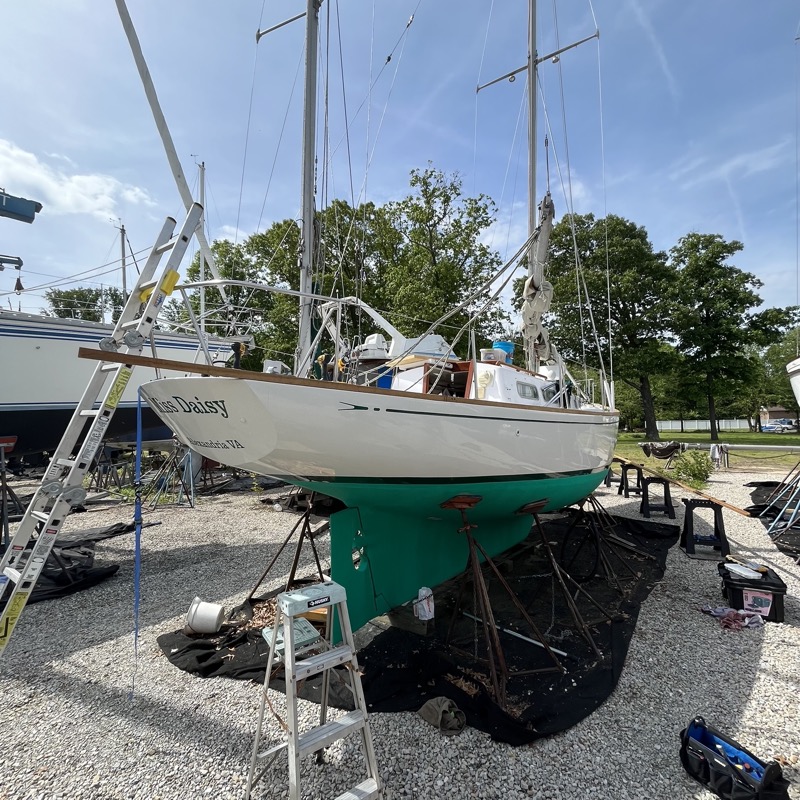
The last task of the dry fit stage was to trim the taffrail to length. I had already dry fit the taffrail by this point since it required no bending or extra crew. After each toerail dry fit was finished, I marked the deck where the inside of the rail lay, and used this as a guide for cutting the taffrail. Unfortunately, I had forgotten to do this when we dry fit the port rail, so I had to take my best guess on that side.
Once the taffrail was cut, we dropped it into place to check the fit.
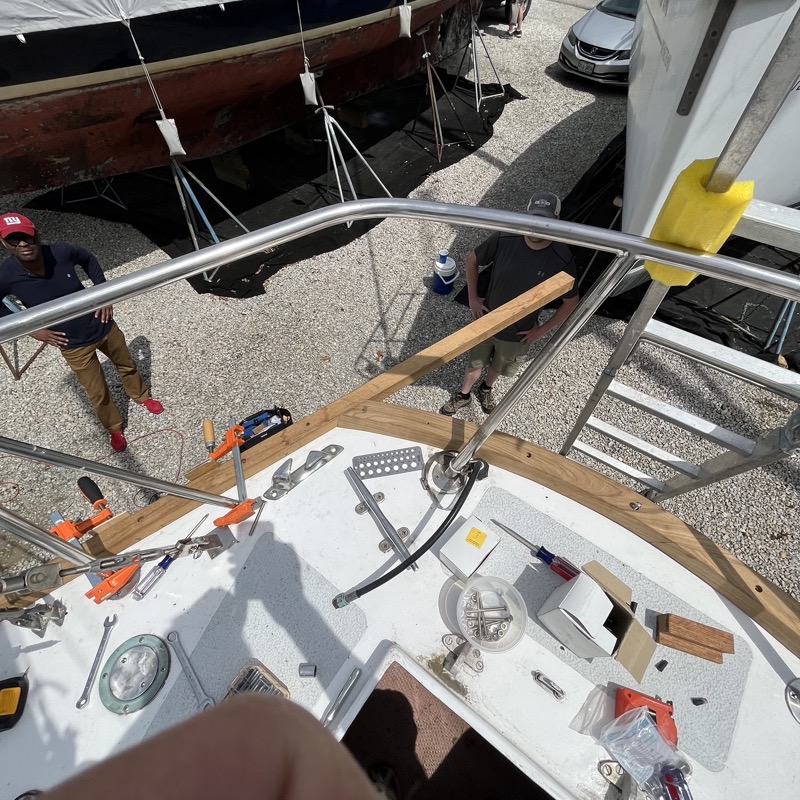
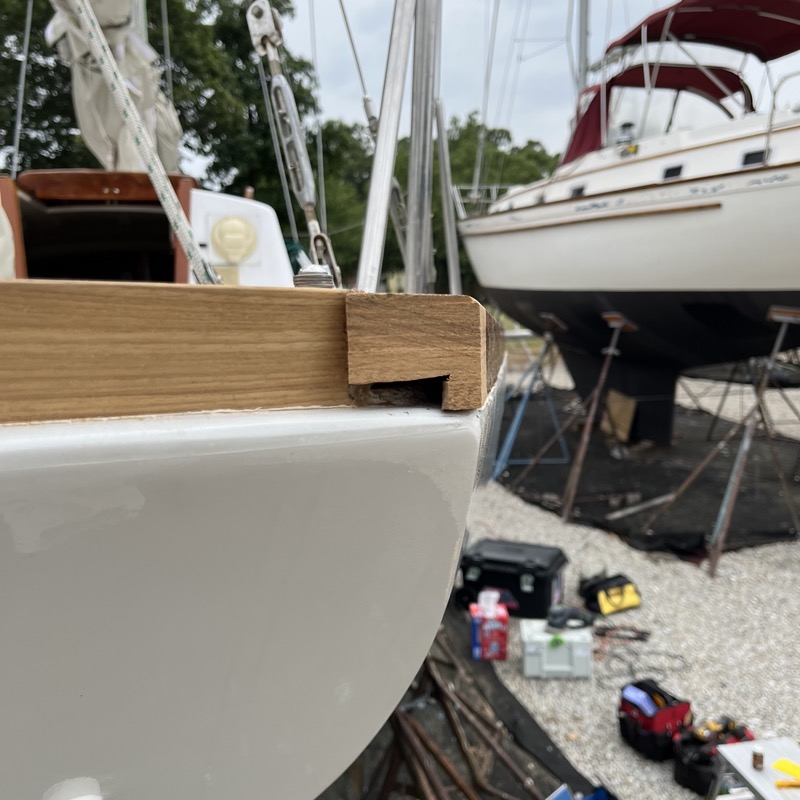
The previous picture shows one of three possible ways to cut the taffrail join. You can cut the taffrail “short” so that it joins the side of the toerail, which exposes the end grain of the toerail on the stern. Conversely, you can cross cut the toerail so that joints the side of the taffrail, which exposes the end grain of the taffrail on the port and starboard sides. Or you can cut both the toerail and taffrail with a diagonal miter cut from the corner formed by the hull and transom, which wouldn’t expose any end grain at all. While the last one was the most technically challenging, it was my first choice for aesthetic reasons. Ultimately though, we decided on the option pictured above because we felt we would need the extra mechanical leverage during final installation that the longer toerail afforded us.
What I didn’t realize was that the “short taffrail” join exposed the cutout made in the foot of the toerail to accommodate the Seabreeze’s deck-hull join. I didn’t notice this until the dry fit was totally complete. This would have to be fixed after the final install.
Before proceeding to remove the toerails and taffrails, I made light pencil marks where the toerail touched the deck. Particularly on the inside, these were useful when it came time to tape off before applying sealant. We then removed each toerail by unfastening each 1/4” bolt working from stern to bow. This took quite a bit longer than expected, particularly the first half or so bolts, because of the lateral pressure the rails put on the fasteners. Several of them bent on the way out, but fortunately I had plenty of spares.
With that, I proceeded with plans for the final “wet” fit and hoped that the scarf joints wouldn’t present any further issues.
Spoiler Alert: the scarf joints would definitely present further issues :(