Toe Rail Fabrication
By this point I’d purchased rough teak lumber from the local yard:
- 8 8/4 (just over 2” square) timbers, 8-9’ long
- 2 12/4 (3+” square) timbers for the bow, 8-9.5’ long
- 1 2x5” timber for the transom
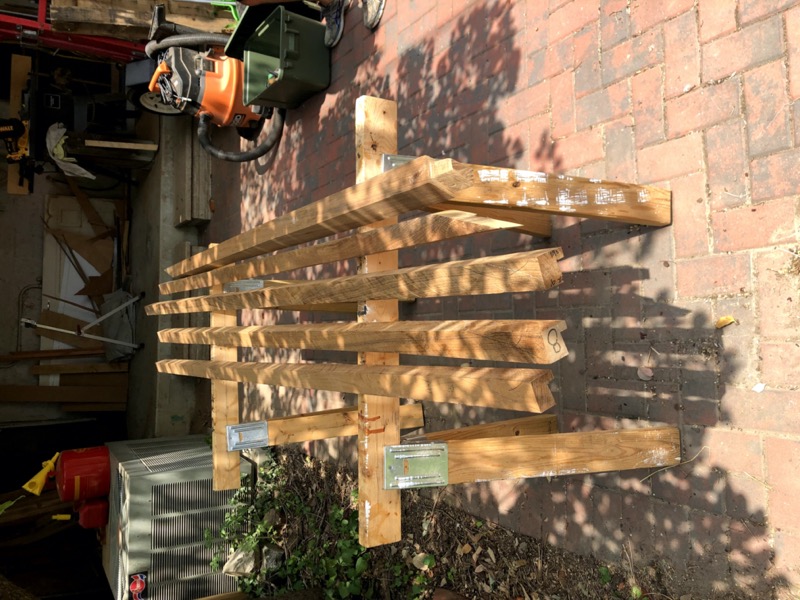
With 8” scarf joints each rail comes out to approximately 38’ overall length.
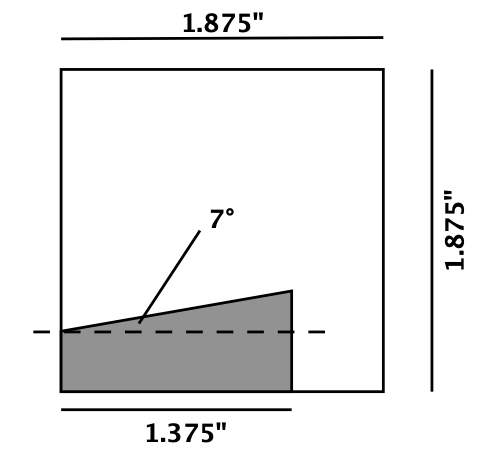
Using the old toe rails as a pattern, we cut the timbers, with the exception of the larger bow piece, to 1.875” square on the table saw.
Fabrication presented two major challenges. First, the step in the deck-hull join required that a bevel be cut into the bottom of each toe rail segment. Whoever did the old rails actually made a triangular cut into the bottom; we surmised this provided some breathing room when fitting the rail to the deck, as well as extra clearance for sealant, so we decided to take the same approach. Again, we used the table saw to make the two required cuts, one vertical and one with a blade angle of 7 degrees.
Teak sawdust is toxic, and the table saw threw off lots of fine sawdust, so respirator masks are a must. However, we tried to capture as much of it as we could to use later as epoxy thickener, thus providing a pretty decent color match.
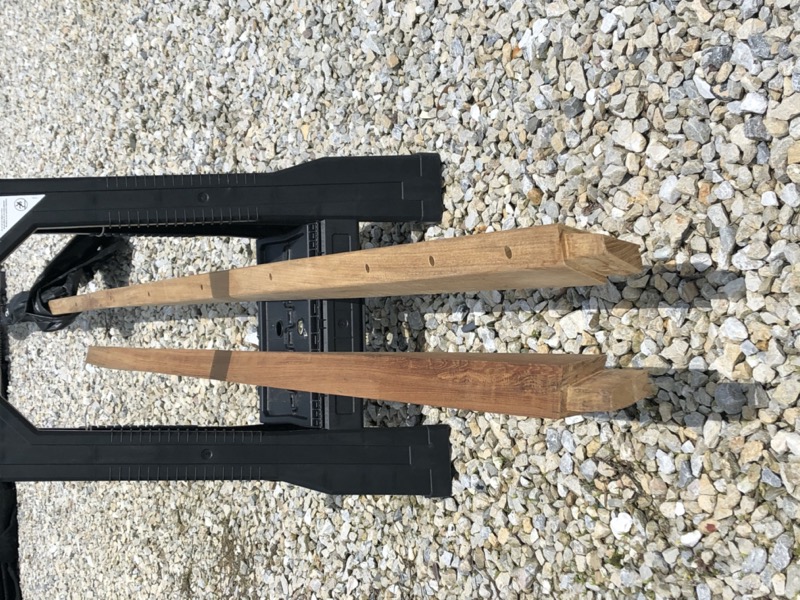
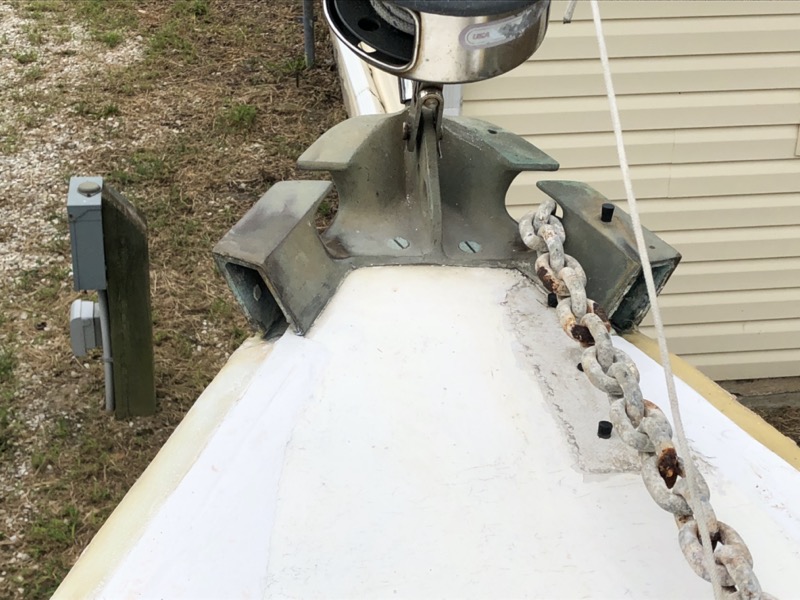
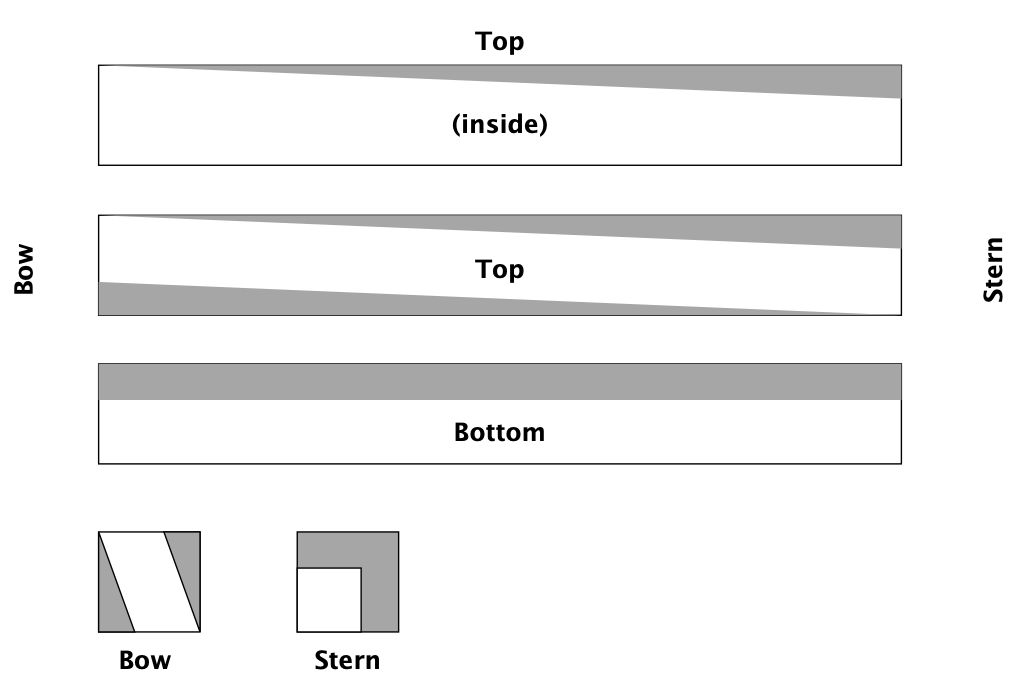
The second and trickier challenge was the “bow-most” section where the toe rail needed to mate with the casting at the bow. That meant cutting a plug to fit within the casting in addition to a canted cut that tapered from the square angles at the stern end of the timbers to a trapezoid at the bow end. This is why I needed larger timber for the bow piece.
Since neither of us had done this before, I bought a 4x4” piece of fir timber to use as a practice run. I’ve become a big fan of experimenting (or practicing) any new technique or material (especially paints and varnishes) before doing it “for real” on my boat. I’d rather make “rookie” mistakes on cheap scrap wood than with expensive teak. That said, table saws, planers, and routers all perform differently on teak than on softer woods like fir, so cheap experimentation has its limts.
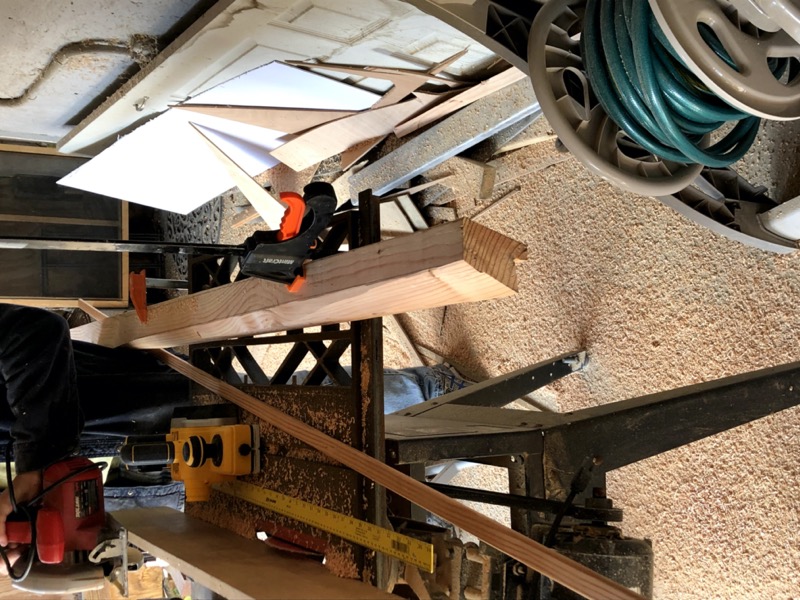
We did the canting by penciling a template into the timber (see below), doing some very rough wedge cuts on the table saw and finer cuts with an electric hand planer, often working on an angle. On our first rail we forgot to account for the scarf joint at the stern end, which meant some extra sanding and planing down the line. On the starboard side we anticipated this a little better.
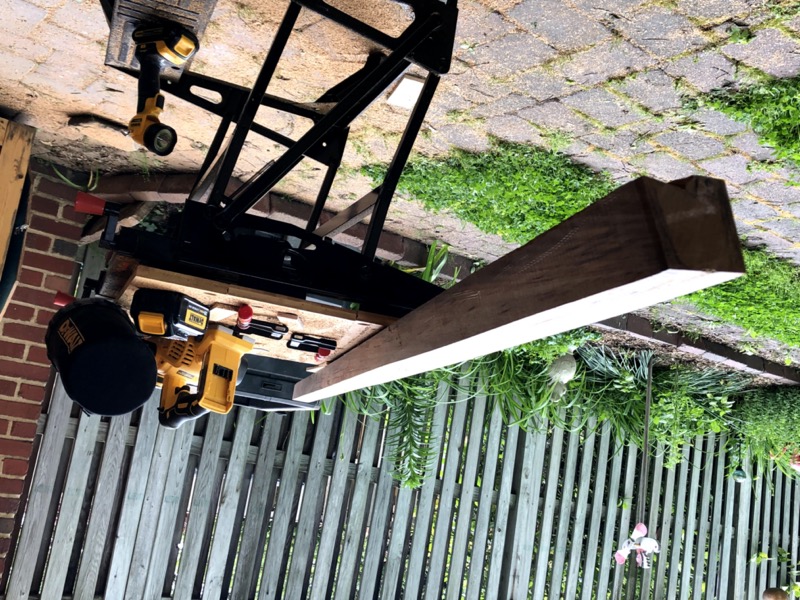
I learned the hard way not to be overly aggressive with the planer. Electric planers can take off a lot of wood quickly! Better to go slow and be conservative. It’s much easier to lightly sand a bit more wood off later than to put back what you hastily took off with a planer :)
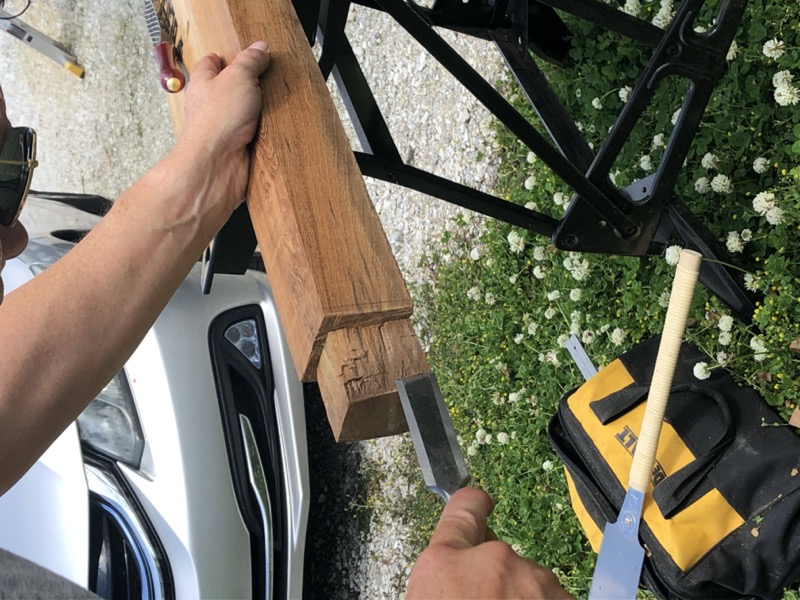
With the canting roughed out it was time to cut the plug to mate with the casting. This was a slow, manual process of chiseling away just enough wood to achieve a snug fit, with frequent test fits. I was more than happy to allow Sonny to work his magic here (plus he has better tools).
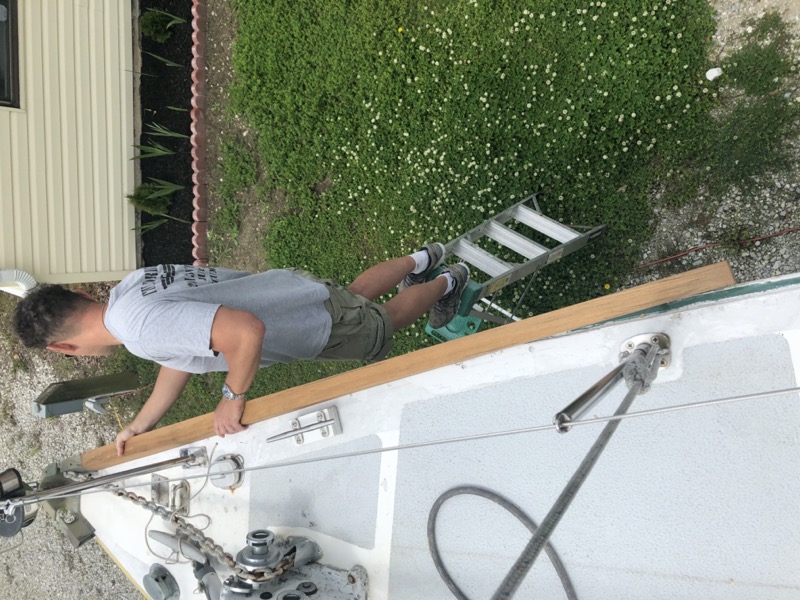
Here is a picture of the roughed out starboard rail alongside the mostly-finished port rail. I took this picture after we completed the scarf joins and finished a test fit as described later on.
