Deck repair and preparation
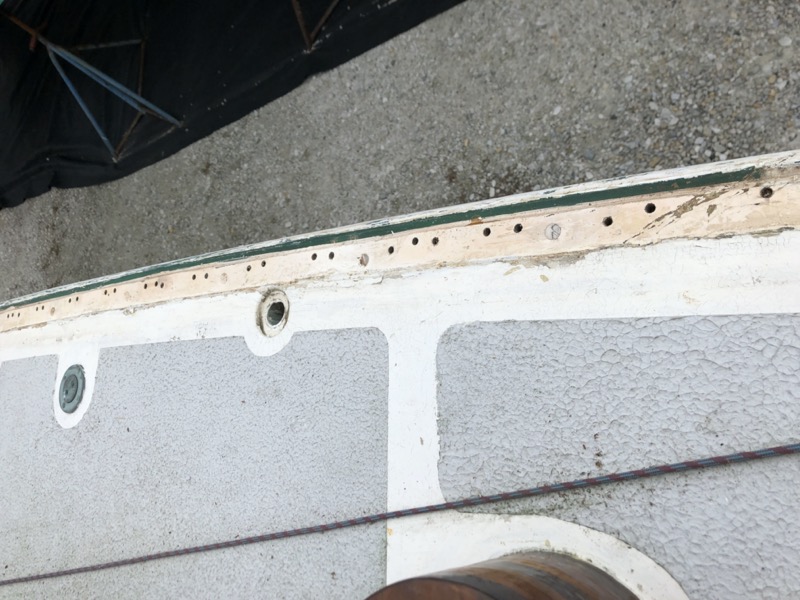
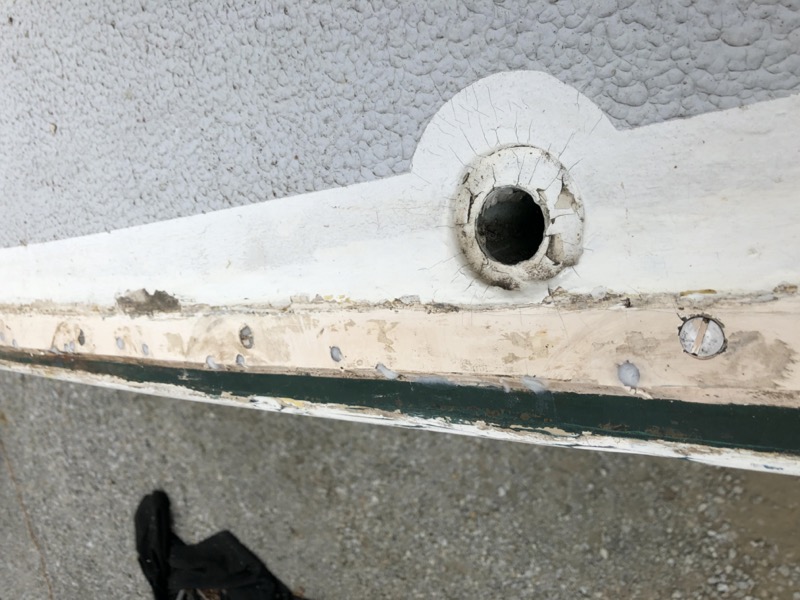
The removal of the toe rails exposed hundreds of fastener holes in the deck: way more than could be accounted for by the fasteners we’d just removed. These were mostly in the area of the genoa track, suggesting that at one point the track had been replaced, new mounting drilled, and the previous holes left as they were. Understandable, but… yikes! We briefly considered reusing the same mounting holes as the previous toe rail/genoa track used to avoid drilling yet another set of holes in the deck, but quickly decided this was foolhardy.

Instead, we filled all fastener holes with epoxy thickened generously with fumed silica. I taped the holes from beneath to keep the epoxy from dripping on anything below deck. Sonny had a clever trick where will filled a plastic sandwich bag with epoxy, cut a small slit in one corner, and squeezed the epoxy into each hole like an icing bag. Even though the finished rail project was still a long way off, this step was a huge step in solving a lot of those “mystery leaks” that had been plaguing me for years.

The other deck-related issue involved the deck-to-hull joint. The Seabreeze design employs an inboard joint which has become standard for boats with toe rails. As a consequence, the deck is about 5/16” above the hull at the joint, requiring a bevel cut into the bottom of the toe rail. We briefly considered levelling off the deck to avoid this and make the toe rail fit easier, but quickly decided it would be easier to tweak the profile of the toe rail (by sanding) than change the profile of the deck (by epoxy and fairing).
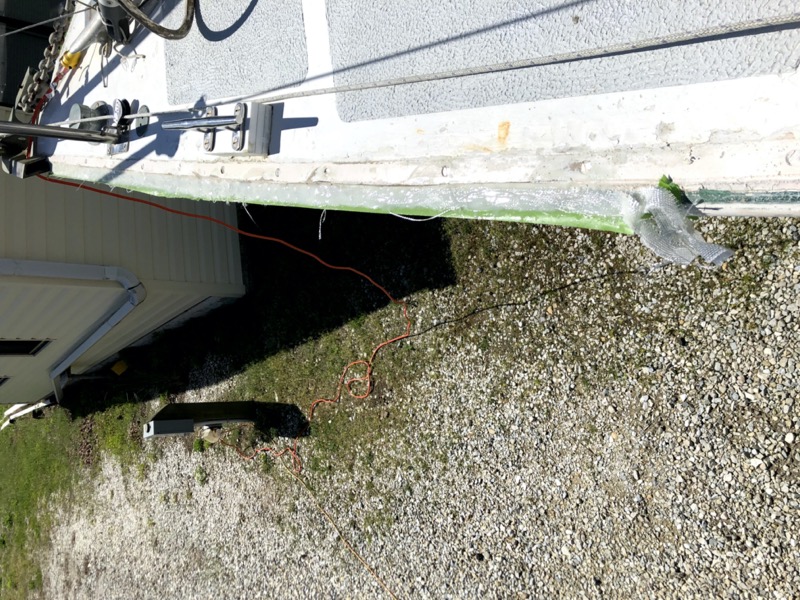
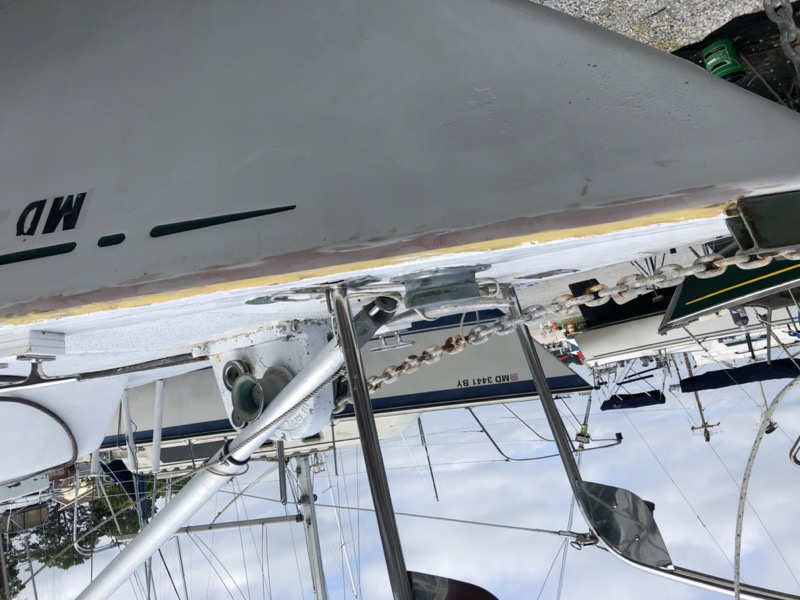
That said, we discovered that the deck-hull joint was not uniformly spaced around the boat; near the bow it was closer to 5/8” on starboard and early 7/8” on port. It’s not clear to me if this was by design or the result of a repair at some point. Whoever made the previous rails apparently resolved this by cutting a deeper bevel into the bottom of the rails which tapered to 5/16” as it went aft. We decided instead to fill in the port-side joint so that it was consistent with the starboard side.
To begin, Sonny sanded through the paint and gelcoat on the hull side of the joint to expose the fiberglass. We then made a dam with painter’s tape on the hull to keep the epoxy from running off the side. For strength we cut several strips of fiberglass cloth, which we laid over and pressed into the epoxy as we went (a couple of layers by my recollection). Once the epoxy cured we removed the painter’s tape and sanded the new area to be level with the existing deck-hull joint.

Afterwards, we faired the hull to make the profile of the modified bow as seamless as possible. This was about the point in the project where I started to think it was time to repaint the hull anyway ;)
