
Scarf Joints
With the segments cut to width and height and the bevel cut in the foot, the scarf joints were fairly straight forward. A table saw jig made the joint cuts quick and uniform.
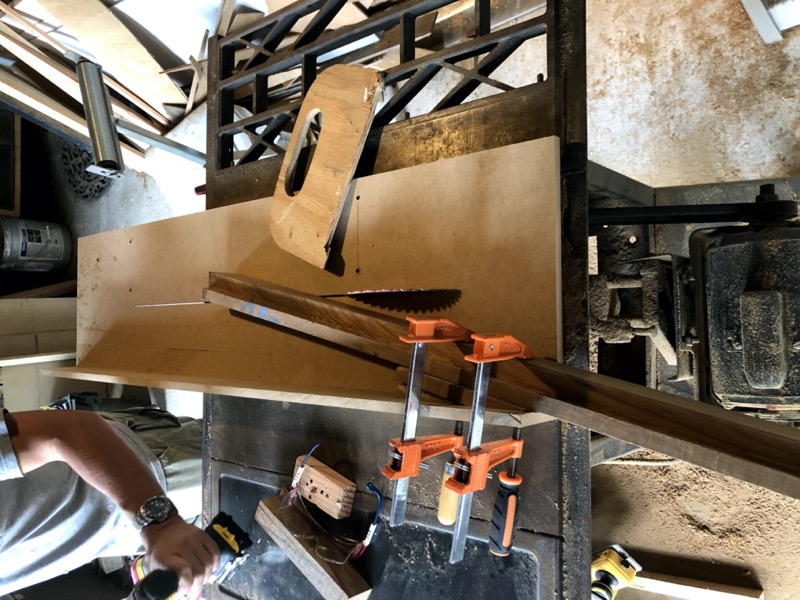
Note: As I’ll discuss a few posts later, the side-to-side scarf joints are not at all the right choice for this project given the types of stress the joints will be subject to. A better choice would have been top-to-bottom since the installation would exert shear force on the joints. Keep reading to see why, and how I’ve chosen to compensate.
For the glue-up we thickened the epoxy with teak sawdust that we collected from previous cuts with the table saw. This step is pretty straight-forward. We just lined up the segments as best we could and clamped them together on the flattest surface we could find (the table saw in this case). Plastic underneath guards against permanently gluing the wood to the surface beneath. Some seepage of epoxy from the joint is inevitable and even preferable.
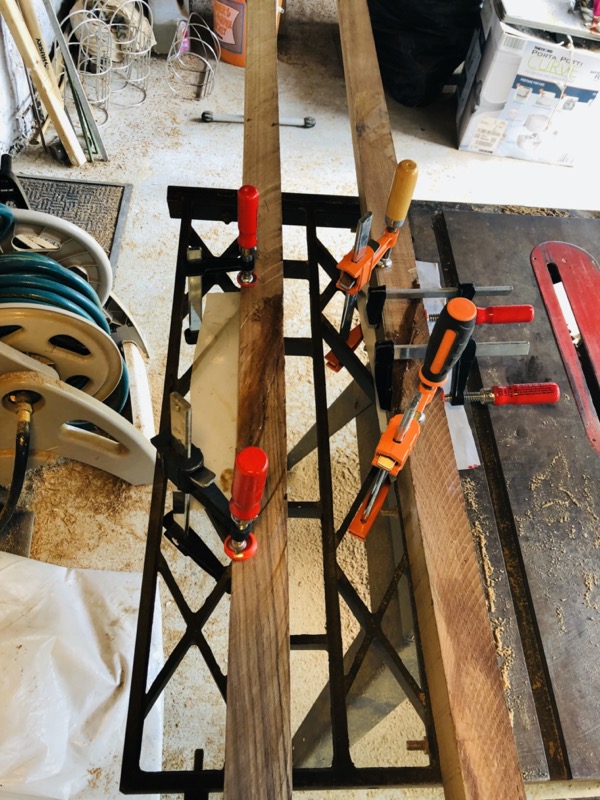
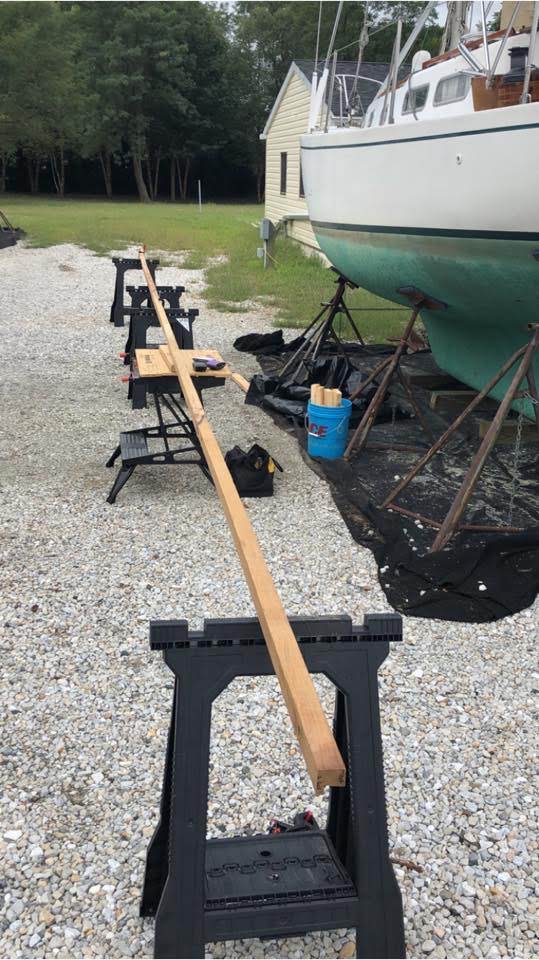
With a total of 5 segments per side, we could only join 2 segments at a time in Sonny’s shop; otherwise they would be too long to transport to the boat yard. We joined segment 1 to 2 and 4 to 5, then joined the middle piece in the yard.
Here is a close up of one of the scarf joints after the epoxy cured but before sanding. Despite our best efforts, not every scarf joint aligned perfectly. The important thing is to make sure the bottom side is as straight as possible since that’s what will mate with the deck.
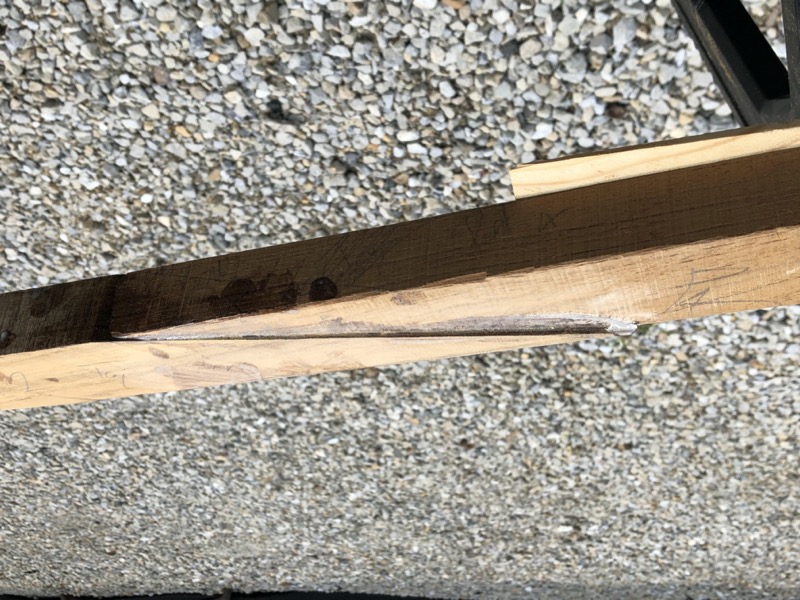
Here is the same joint after I’ve started to sand it with my multitool, first with 80-grit and then with 120- and 150-grit. If you zoom in you’ll notice that the joint is a bit shy on the inside; that can be filled in afterwards with epoxy if necessary. The sawdust thickener should provide a reasonably close color match, especially after the wood is sealed or varnished.
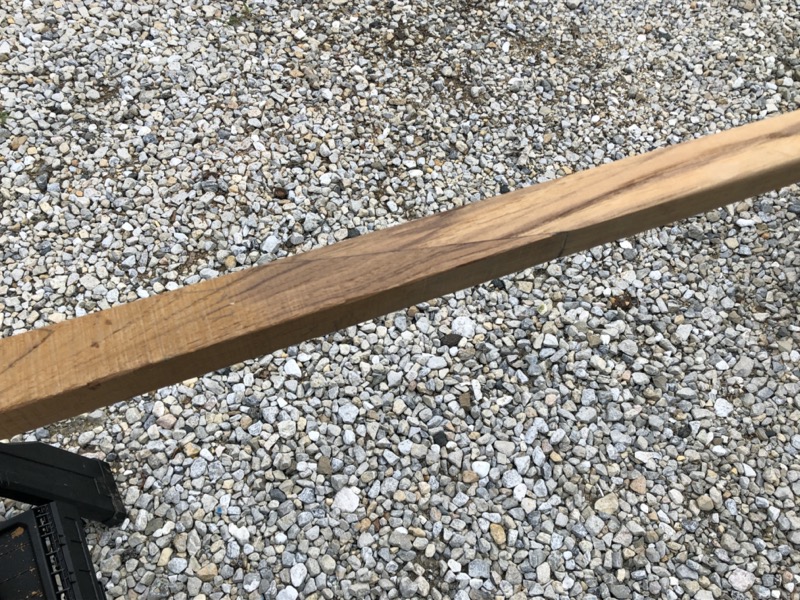
Finally, I sanded down the entire rail and rounded off the edges, starting with 80-grit and working up to 150-grit sanding pads.