Overview
I knew that someday I’d need to refinish and possibly replace my cockpit coamings, but I really wanted to avoid doing it now. I had too many other major projects that were preventing me from getting back in the water, and while my coamings were obviously in bad shape, they could wait.
Then I discovered they were not only in bad shape but leaking as well. My boat was blocked up on jack stands such that it “listed” slightly to starboard, and any accumulated precipitation was pooling on the storboard cockpit seat, compromising the varnish and rotting the coaming. There were some other leaks as well that were dripping into my starboard locker. Turns out this couldn’t wait after all. But fortunately, I could do a lot of work at home on days when I couldn’t afford the time to work in the yard.
My initial goals were relatively straight forward.
- First: repair any issues in the cockpit seat behind the coamings, including sealing the fastener holes for the coamings (I plan to redrill these when I reinstall them).
- Second: remove varnish, fit rot and other structural issues on the coamings with epoxy, seal the wood (also with epoxy) and apply varnish.
- Third: my coamings had as much as 1/2” gap between the bottom edge and the cockpit seat, and it’s always bugged me. The gap is an open invitation for dirt algae and all manners of gunk. So I had planned to crop in what are sometimes called Dutchman’s along the bottom edge to close the gap so I could seal the seam to the cockpit seat with something like 4000 (I since abandoned this idea and instead chose to plane the bottom to create a consistent setback; more on that later).
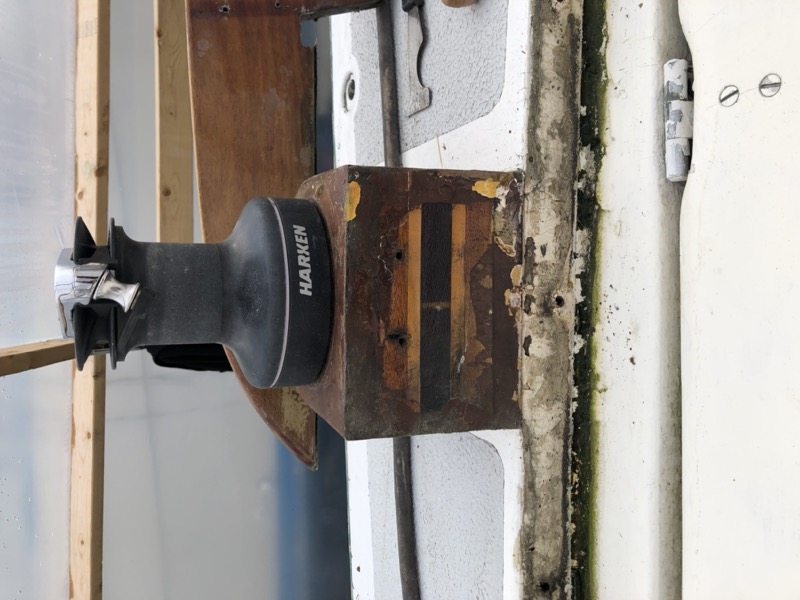
On my boat the three sheet winches are on blocks that are sealed to the coamings, but not structurally part of them. Initially I planned not to do anything with these but that too changed in the course of the project.
Starting Out
This is the sort of project where preliminary photos are a huge help. My coamings have a lot of attached hardware such as cleats, bimini mounts, dodger snaps, etc. If I don’t take pictures from every conceivable angle I’ll forget where stuff goes when it’s time to put it back. On the other hand, this is an excellent time to reconfigure hardware on your coamings if you are so inclined.
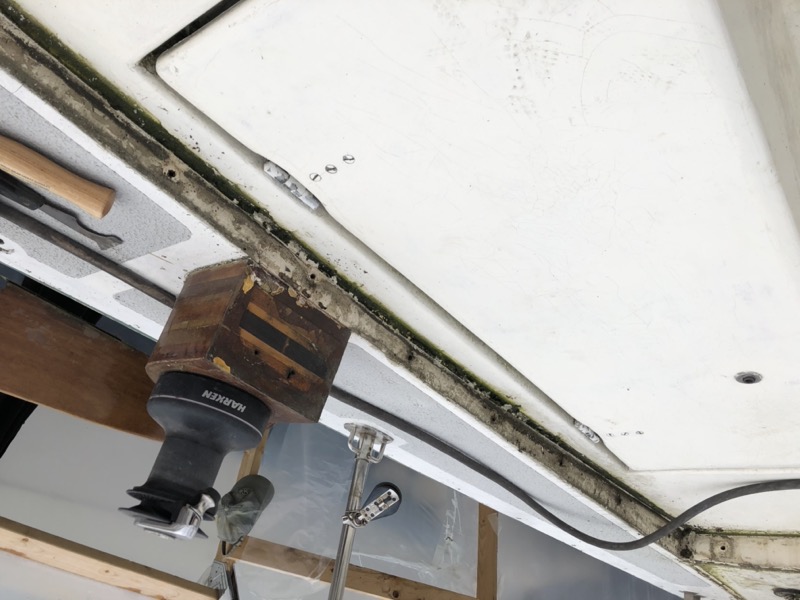
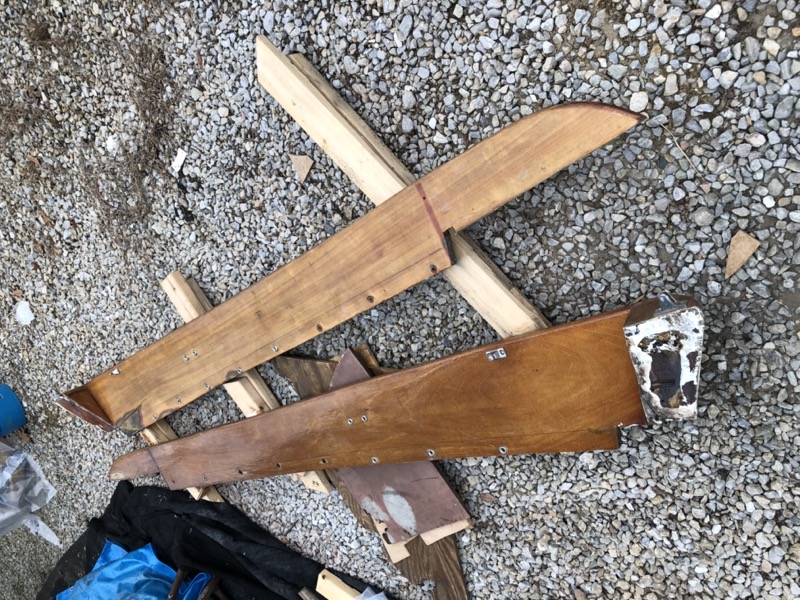
Here are just a few preliminary pics showing some of the repair issues I’ll be dealing with.
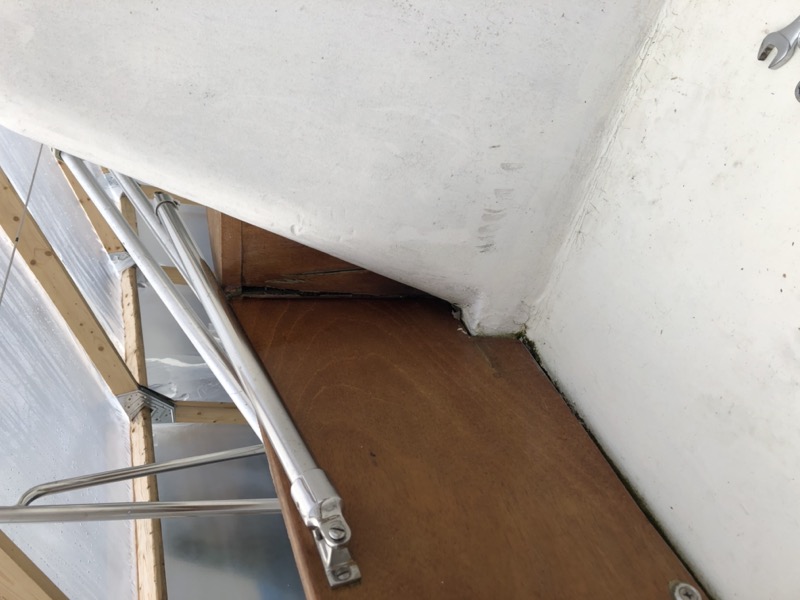
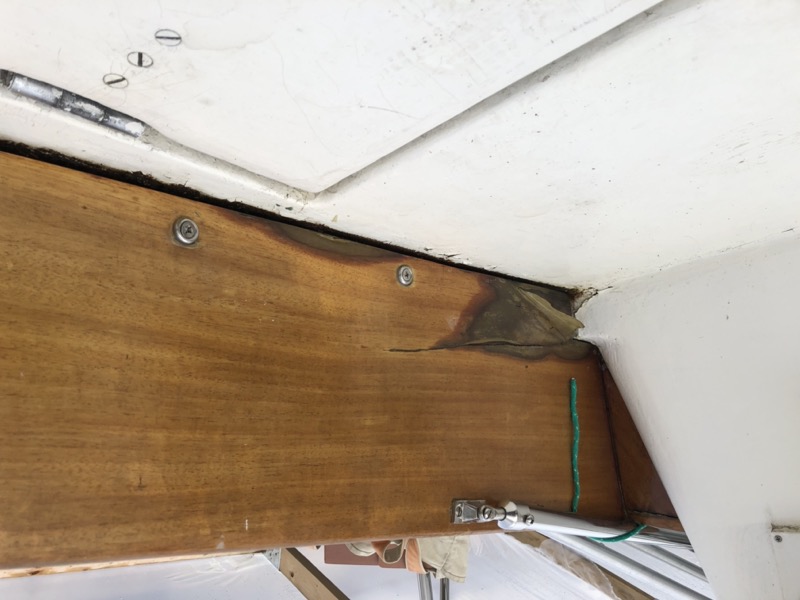
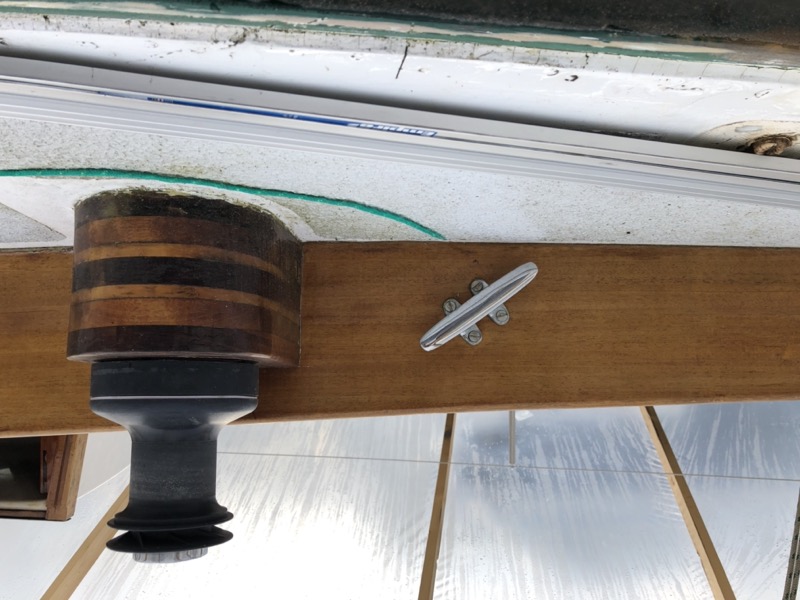
The second thing I did before removing the coamings was to measure the gap between the bottom edge of the coamings and the cockpit seat. I took the longest straight edge I had (the track from a saw guide), laid it on the seat against each coaming, and traced the top edge onto the coaming with a pencil. That way I had a record of the existing setback should I need to make changes later. A piece of PCV trim from the big box store would also fit the bill.
Then I removed the fastener bolts, broke the seal on the existing sealant, and removed the 3 sections of the coaming (including the stern part). This step was straight-forward, if a bit tedious. Once they were off I got my first good look at the state of the cockpit fiberglass hidden by the coamings. As expected, there was a lot of gunk and the fastener holes were pretty strressed. But I also found several spots where the fiberglass had deteriorated in places that lined up nicely with the rotted sections, which were the likely points of egress for water leaking into the lockers. Also, the strip of cockpit bench looked like the paint was in pretty bad shape and showed some pocking I had never seen before but would need to be addressed.
