Port Side Coaming
I decided to try to completely finish the port coaming first before moving to the starboard one. For one reason, the port side needed more repairs, specifically, some rot issues near the tail and a nasty split in the “shoulder” where the coaming attaching to the cabin. For another, I wanted to wait until the boat was closer to launch before installing the starboard coaming, since it was currently off keel and water tended to collect on the starboard cockpit seat. That meant I had a lot more time for that side, and more important projects to complete in the meantime.
Preparation
First step was to remove cleats and any other hardware, along with any finish washers still stuck in the varnish. As much as possible I tried to keep screws with the hardware so I didn’t end up guessing later at the right length and width for the fasteners.
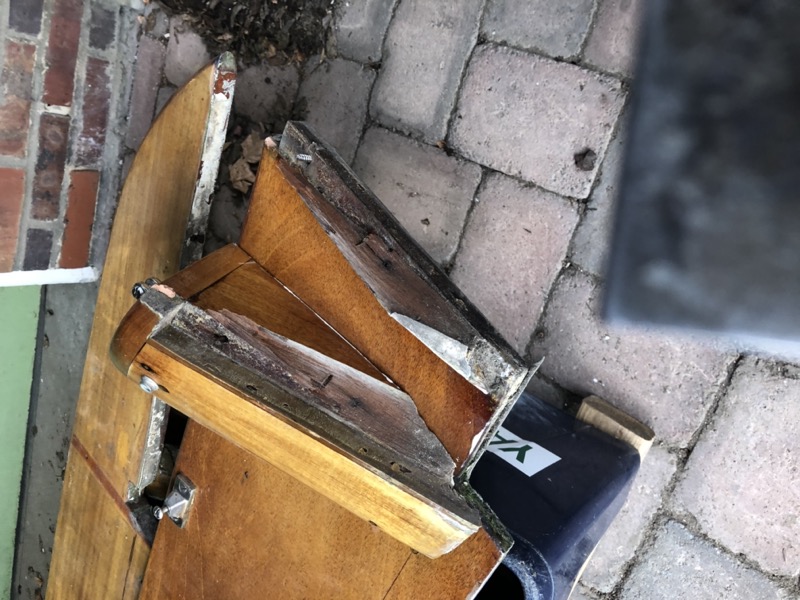
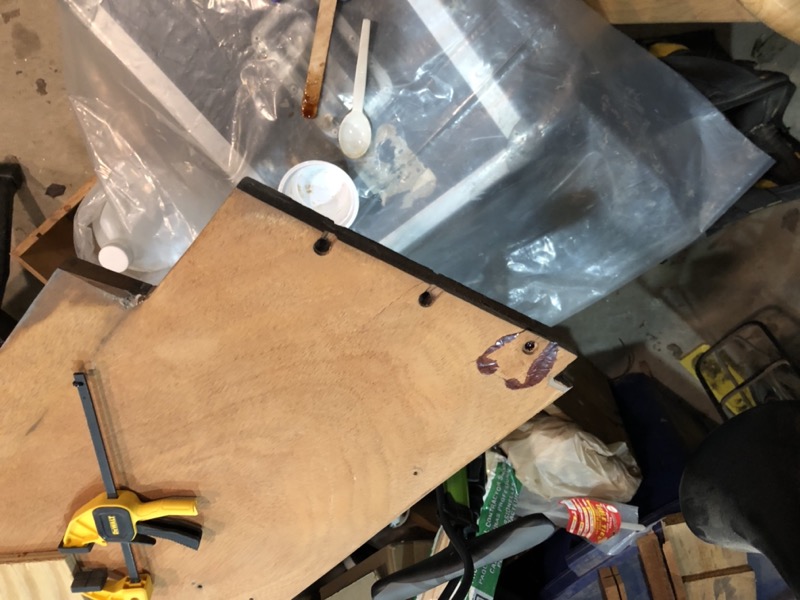
Next I wanted to tend to that split shoulder. The larger part came off easily in my hand, leaving a sizable shard attached to the coaming. I really wanted to try to keep this piece intact if I could because that would make the epoxy repair much easier (and at all costs I did not want to have to create a replacement shoulder from scratch!). . So I drilled out the bungs on the exterior side and removed the screws you see in the picture. After that, the shard released quite cleanly and easily with a paint scraper; I got lucky.
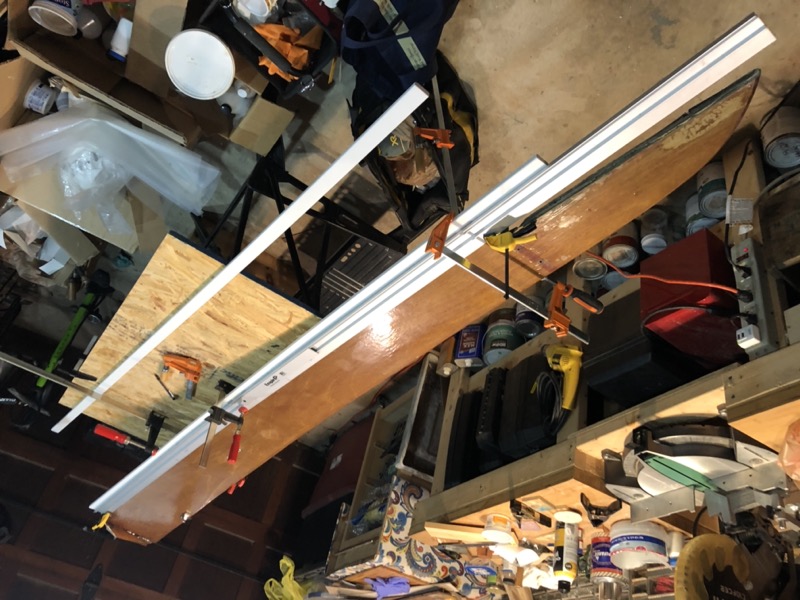
Before going any further, I wanted to get a good reconstruction of the space between the bottom of the coaming and the cockpit seat. For this, I clamped my straight edge back in place against the line I marked while the coaming was still fastened in the cockpit. The bottom edge of the straight edge now approximates where the seat lay. Then I clamped a piece of cheap, flexible PVC trim underneath the straight edge and drew a pencil line along the bottom of it. Voila! At this point I was still thinking of cropping in a slim piece of mahogany to close that gap, and now I had a close approximation of the (variable) width I’d need. Although I changed my mind later, this was still useful to document where the gap is too small and the bottom edge of the coaming needed to be planed down a bit.
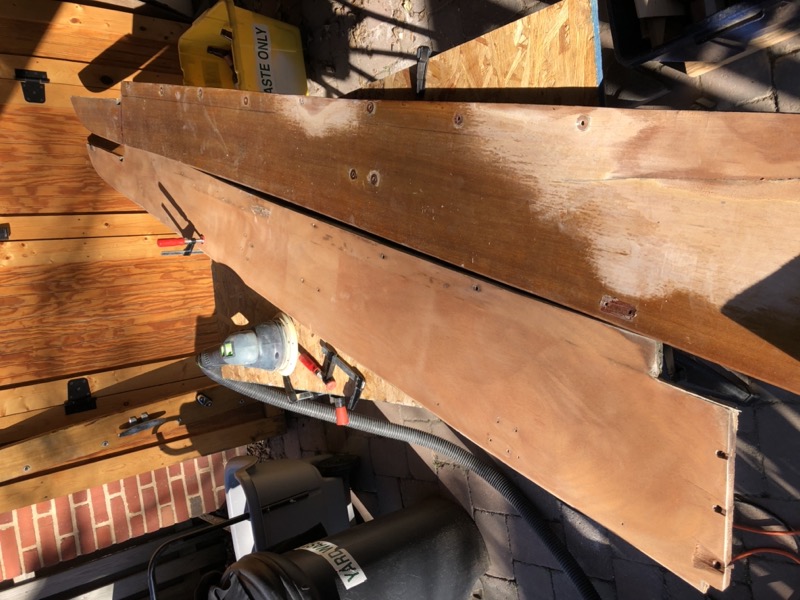
Next, it was time to sand off all that old varnish. I’ve nothing but praise for the Festool RO 150 sander, recommended to me by Andy Miller over at Boatworks Today (PS: subscribe to his channel!) The sander made quick work of the varnish removal. And it turns out that even in the spots where the varnish had completely failed and the wood was exposed, some steady sanding brought most of it back to life. There were a couple of spots where the wood had splintered a bit, but that would be repaired with epoxy. I was sure to carefully save the splinters.
Epoxy Repairs
The port coaming needs 3 epoxy repairs: 1) the holes for the screws that fasten the coaming to the end cap, especially one that splintered; 2) some splintering and minor rot at the tail end, and; 3) sealing the through holes along the bottom edge.
For the first two I simply mixed up regular epoxy mixed with wood flour to thicken somewhat. I keep mahoogany sawdust from previous projects for this purpose so the color is a decent match. Once the epoxy is applied and the carefully preserved splinters replaced I cover the lay up with epoxy and clamp it together. The cured repairs looks messy but is easily touched up with a detail sander. At this point though I was prioritizing strength over appearance.
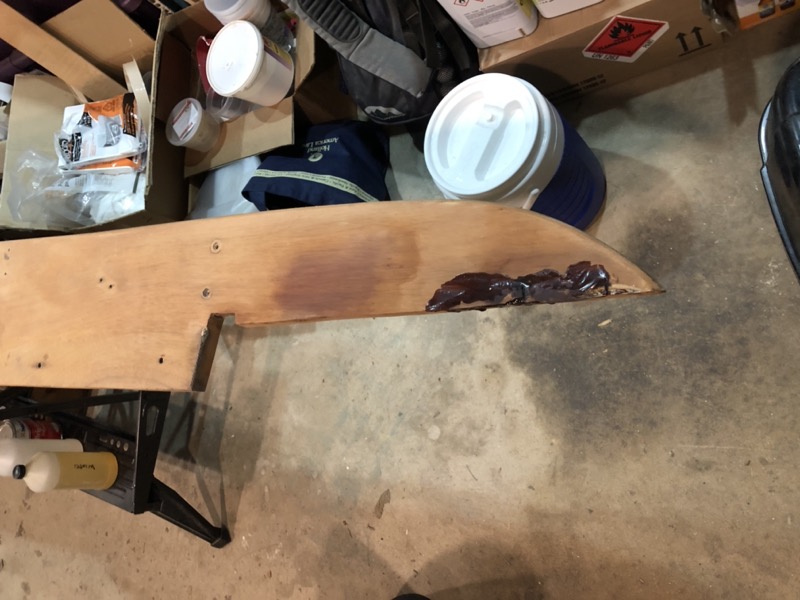
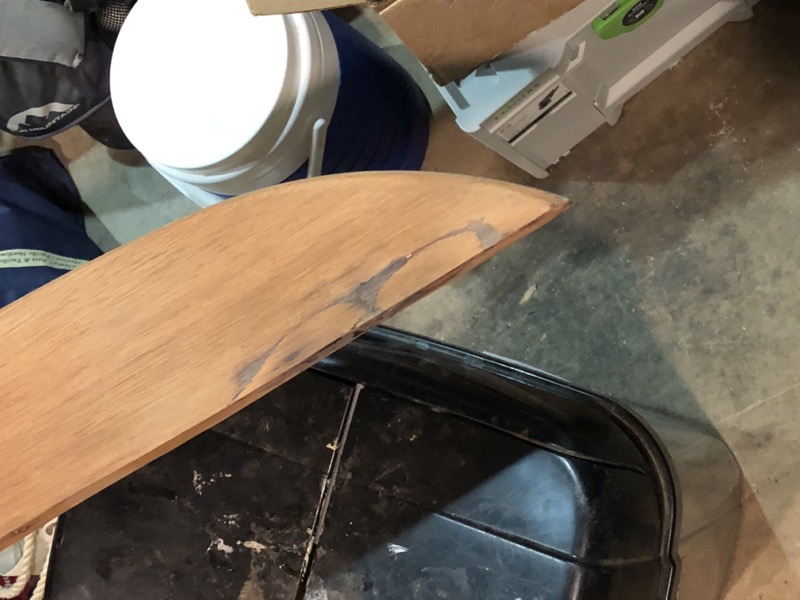
The third repair involves sealing the fastener holes with epoxy to prevent water from getting behind the fasteners and rotting the wood from within. The fasteners are 1/4” bolts. I drilled out the holes to 3/8” to seal the wood really well. The dark color of the sawdust from the drill bit confirmed there was already some water agress. Then I filled the holes with epoxy again using my mahogany wood flour as a thickener. The finish washers will cover the entire epoxy area so even the wider 3/8” holes won’t be visible.
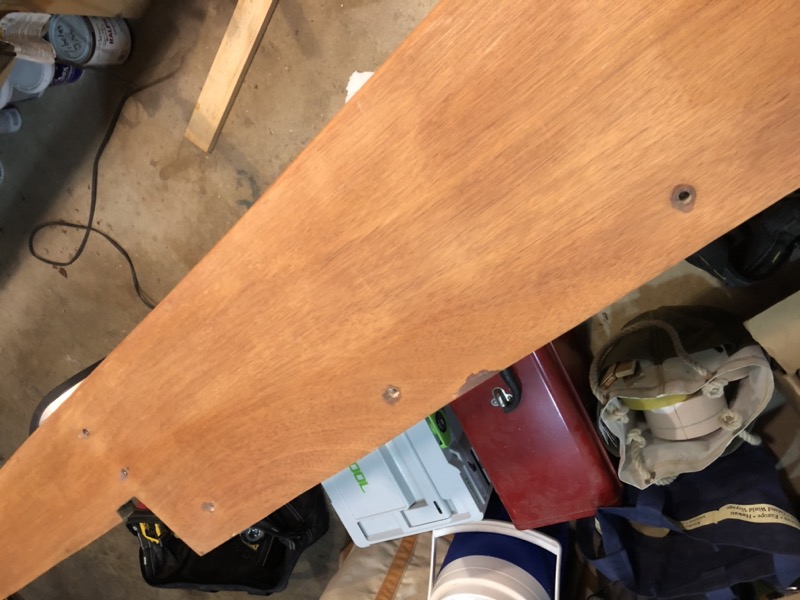
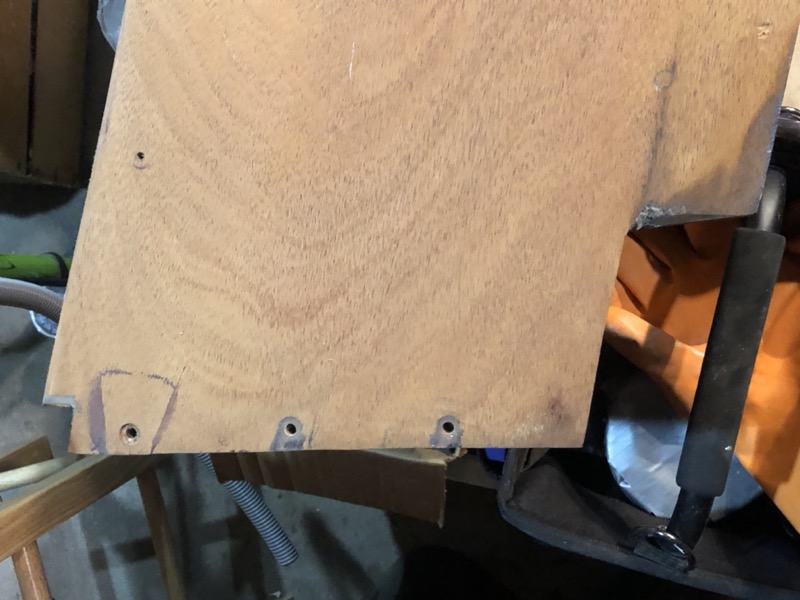
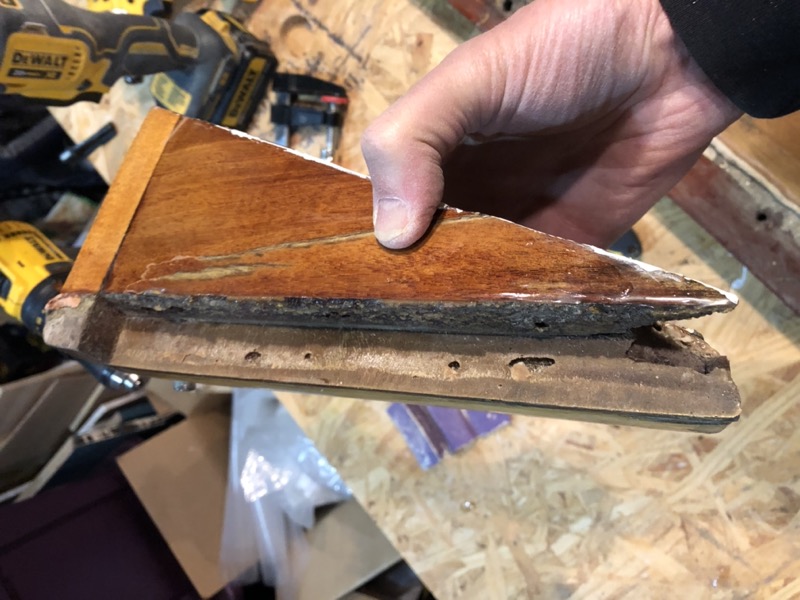
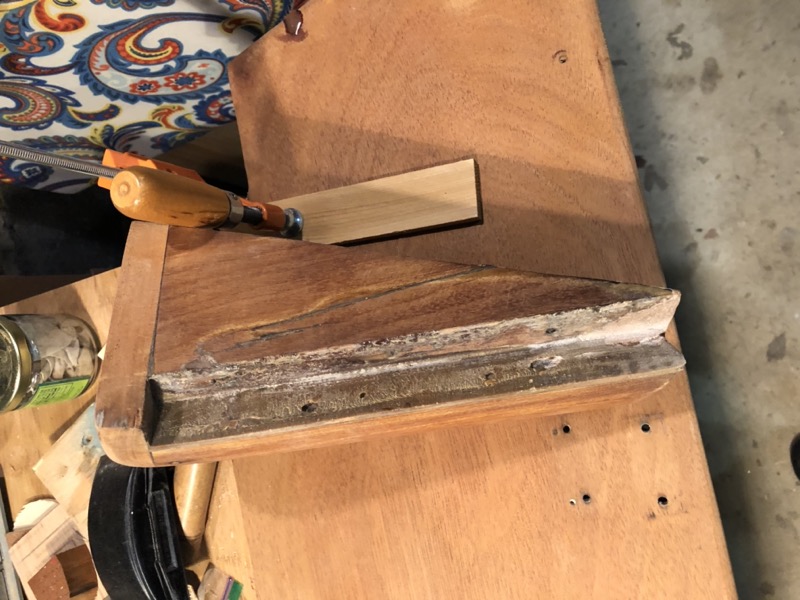
Next, I turned to the shoulder. The area to be glued was unfinished on both sides, so to get the two pieces to fit as tightly as possible I wanted to do the repair before sanding off the varnish. The picture below shows how well the pieces fit together. After the epoxy cured I removed both the varnish and the excess epoxy with the Festool. Then I did a second round of epoxy to fix that weird gouge at the bottom as well as fill in all the old fastener holes.
Fitting and Reattaching the End Cap
At this point I realized I didn’t have a good measurement of how the end cap should attach to the coaming. This would be critical because the end cap needs to mate exactly both with the coaming and with the side of the cabin, so the measurement needs to be made on the boat.
I brought both pieces back to the boat, and with Sonny’s help we temporarily bent them into place just by using one of our feet to push the coaming against the winch block. Then we dropped the end cap into place, and I pulled the two pieces together as tightly as I could and marked the join with a pencil. I also laid a piece of plywood across the top of the join and traced the profile of the inside edge; This will provide a horizontal alignment template.
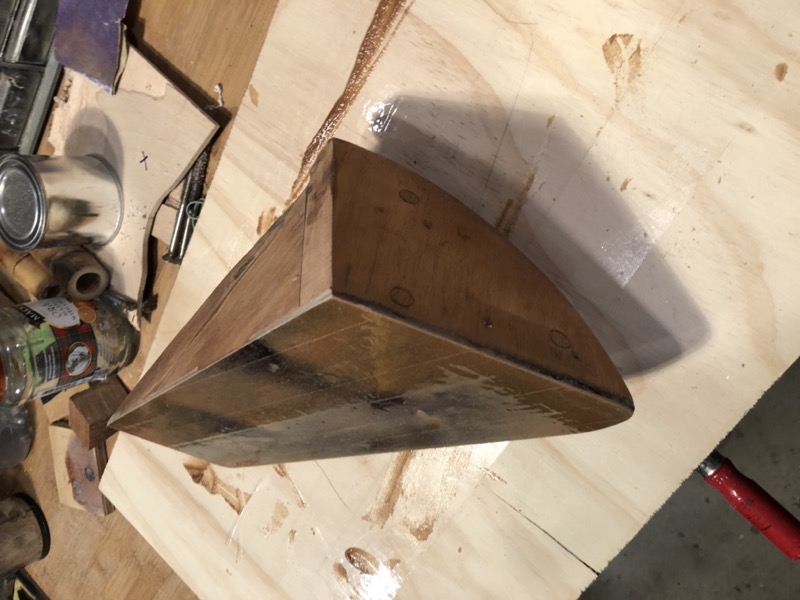
We also noticed that the end cap didn’t mate perfectly with the cabin. This could certainly be filled in with sealant, but the surface of the end cap can also be faired with epoxy to improve the mating.
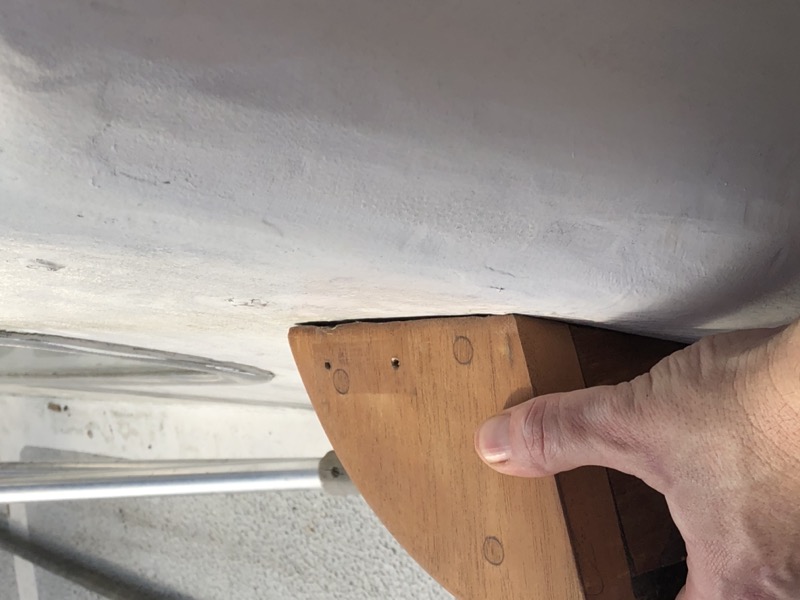
Here’s how I did it; it’s the same technique I used on the next page to level the top of a winch block. It’s a bit crazy but I’ve done it twice now and it works like a charm.
The basic idea is to find or create a fair surface and cover it with clear packing tape so that epoxy won’t adhere to it. I used a piece of scrap plywood clamped to my (fair) workbench. Then mix epoxy to a peanut butter thickness, enough to cover the entire surface to around 1/12” thick, and smear it on the uneven surface you need to fair up. Be sure to get really even coverage around the edges. Then place the object epoxy side down on the packing tape, apply steady pressure to squeeze out the excess epoxy, and remove the residual with a mixing stick or putty knife. I used fast cure hardener so the epoxy started to set within 20 minutes.
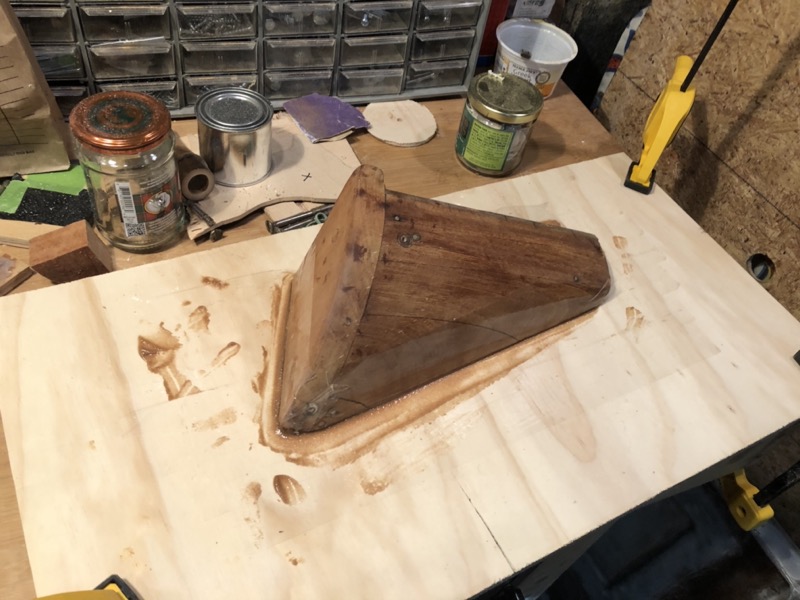
Once the epoxy cured I separated the end cap from the plywood with a putty knife. A blunt crowbar would also work if you have a notch somewhere for leverage.
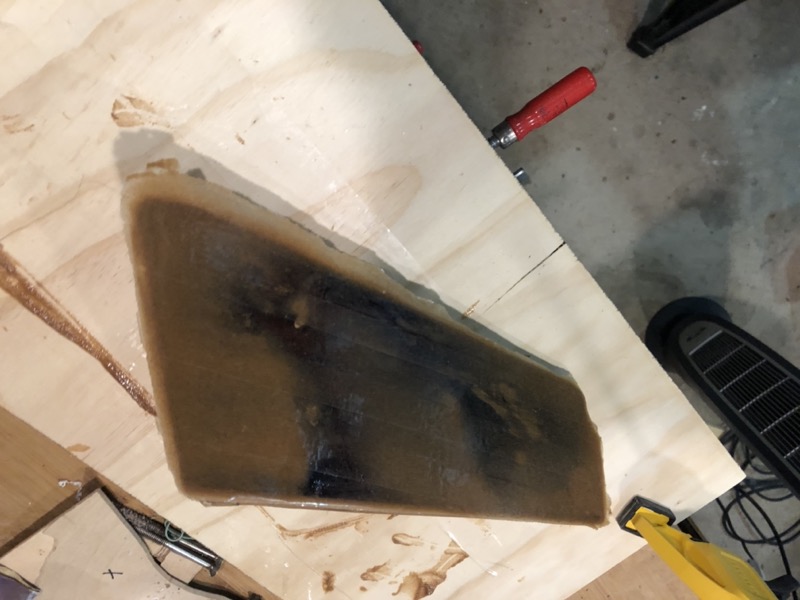
Finally, I sanded off the excess epoxy by hand and made sure the new edge was reasonably level with the mahogany.
