Cockpit Repair
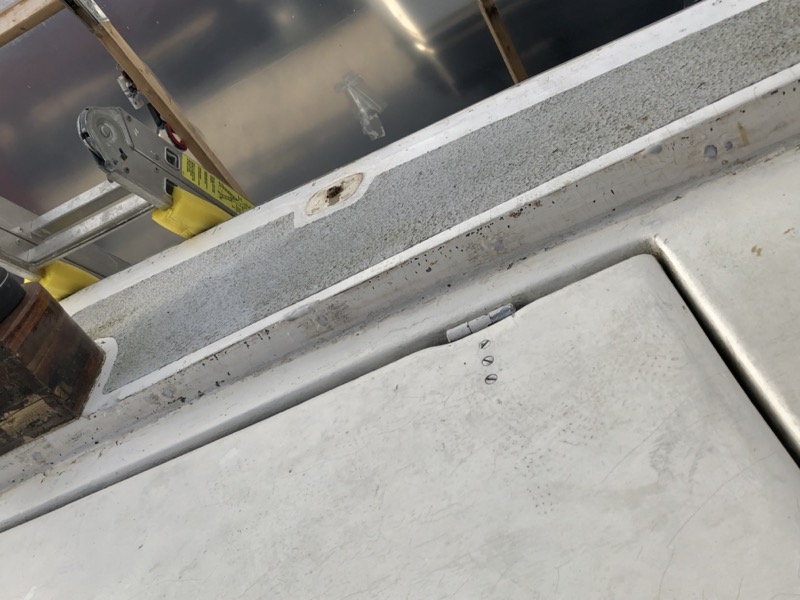
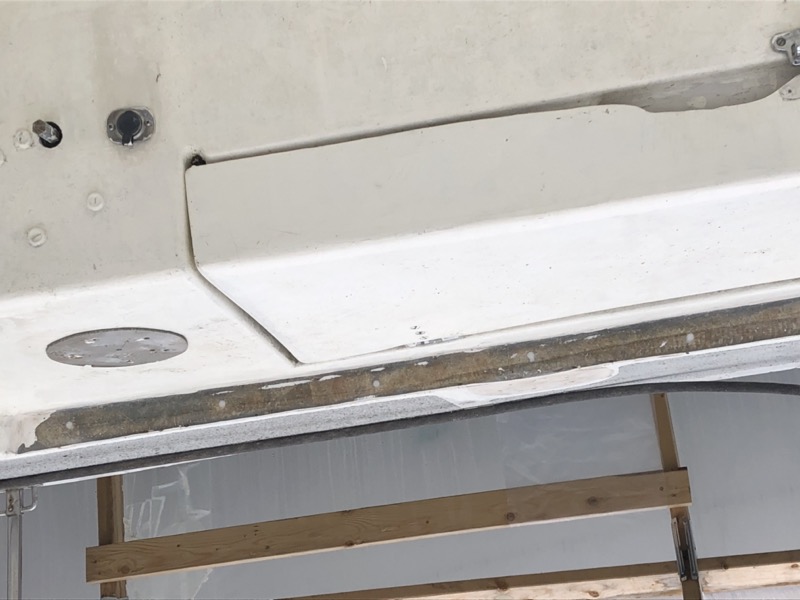
As for the cockpit, I was not really looking for a perfect paint job since the area in question will be almost entirely covered by the refurbished coamings. My main concern was that the area be water tight and the surface smooth and durable enough that I can more easily clean the space between the coaming and the seat.
After cleaning the area (scrub brush, soap and water) I drilled out the old fastener holes to 3/8” and filled them with thickened epoxy. Oversizing the holes ensures that the fiberglass has a good seal when I later drill new 1/4” fastener holes. There will also 3-4 spots where the edge formed by the deck and cockpit had deteriorated allowing water to get behind the coamings, so I filled those in as well.

With the area cleaned up and sealed, the state of the paint became more apparent and worrying. I’m not sure why there’s so much pocking in the paint since it’s never seen the light of day, but one possible explanation is that it’s the fiberglass underneath that’s actually in bad shape. In any case, I ended up sanding off nearly all the old paint while also sanding over the epoxy repairs. Sure enough, there were lots of tiny spots where the fiberglass was chipped away. I filled the biggest voids with epoxy and finished it with a couple of coats of primer followed by two coats of Interlux Brightside.

At this point I also over-drilled the fastener holes for each of the three winch blocks: 5 bolts for each of the jib winch blocks and 6 for the smaller main block. All three blocks were bolted through cored deck. Over-drilling the holes, filling them with thickened epoxy, and then drilling fresh holes is an excellent way to prevent core rot. But first, I made sure to make templates out of 1/8” MDF for the original layouts so I could accurately drill the holes again come installation. Unfortunately, I don’t have pictures of this step.