Paint Removal and Surface Repairs
I had already decided to remove the previous paint job and try to get back to the original gelcoat. But before removing any paint I measured and recorded the width of the boot stripe at intervals of about 2-3 feet so I could reproduce it later.
The transom seemed the best place to start since the paint there was in the worst shape. At this point, without a good sense of how many coatings were even on the hull, I started by using a paint scraper and my Dewalt random orbital sander. This proved very slow going. I switched to my multitool with the triangular sanding attachment, but even then the pace of work was prohibitively slow, and I was burning through sander attachments at an alarming pace. Clearly I needed better tools or better strategy or I’d have to rethink this whole project.
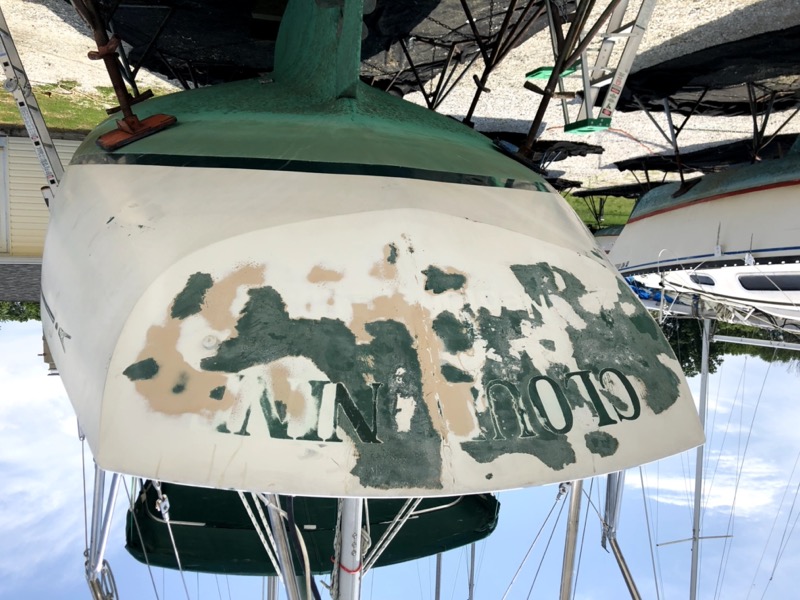
Just sanding the transom took several days, mostly relying on my stressed out multitool sander. But at least I had a good idea of what was on the hull. Underneath the white topcoat was some sort of epoxy-based beige undercoat that was proving incredibly hard to remove. It was too hard to be primer, and too ubiquitous to be fairing compound. It was also chipping off in several places which is why I decided to remove it rather than leave it. I still have no idea what it was. Immediately beneath that was the original gelcoat which turned out to be dark green.
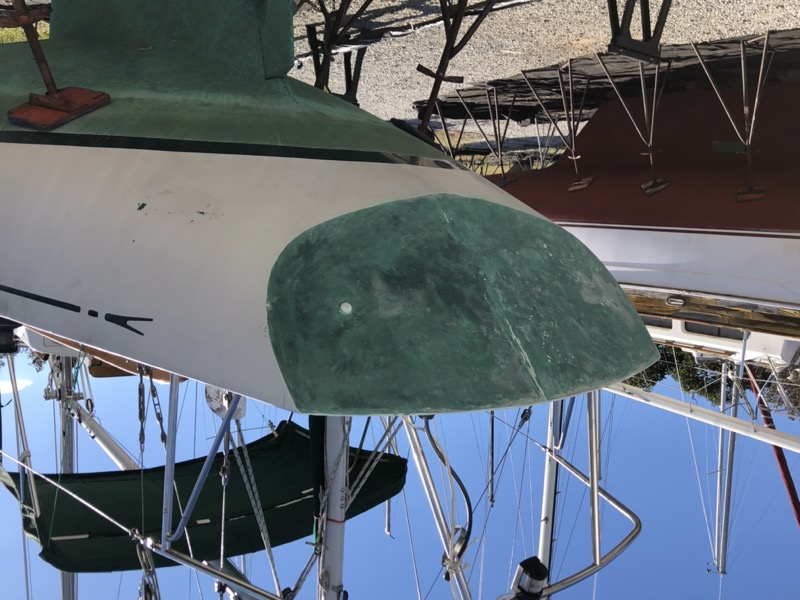
At this rate and working part-time it would be months before I completed initial sanding. Fortunately, Andy Miller came through with the suggestion of a Festool RO-150. The RO-150 is a multi-mode sander than can run either in random orbital mode or “coarse” mode, which, like a belt sander, is used for fast removal of material. The RO-150 is super expensive—and worth every cent. It sped up the initial sanding by at least four-fold. If you’re interested, here is a video of my initial test of the Festool RO-150.
Armed with the Festool it took about 3 full days of sanding to remove the old topcoat and another 3-4 days to remove that beige undercoat and bring the entire hull back to the original green gelcoat. In other words, it took just over twice as long to sand the hull with the Festool as it did to sand the just transom with my previous toolset! That made me a true believer. I’ve since used the Festool for all kinds of sanding work. It slashes the time of tedious jobs like sanding fiberglass or removing varnish, and has quickly become one of the favorite tools in my arsenal.
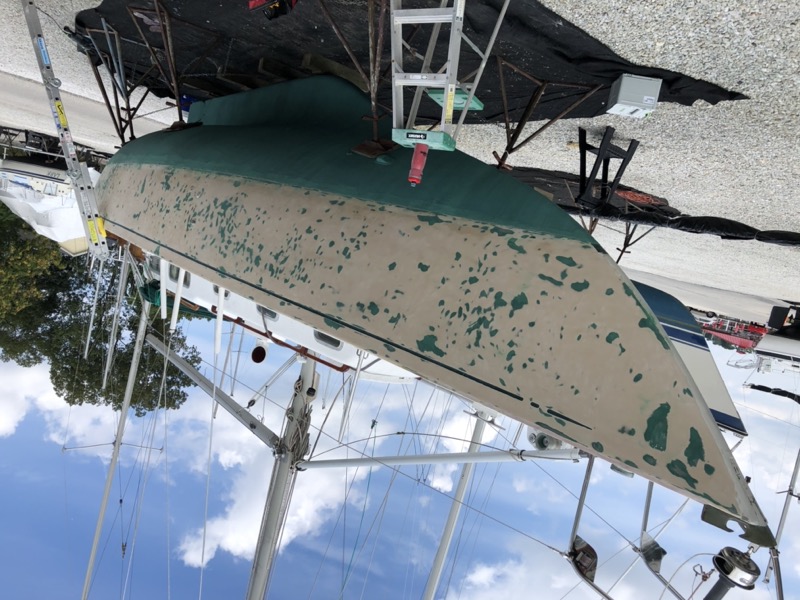
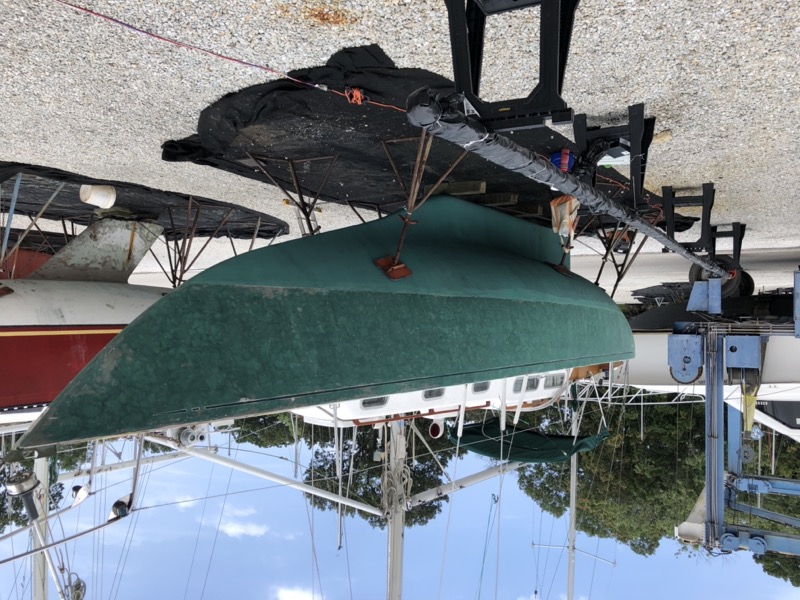
A close look at the picture above will show that I sanded off the boot stripe but not the cove stripe. The cove stripe was already in pretty good shape, but more importantly, it was recessed on my boat and very hard to sand without changing the stripe’s profile, or worse, inadvertently sanding too deep into the gelcoat. So for the most part I left it (I would later repaint both the boot and cove stripes).
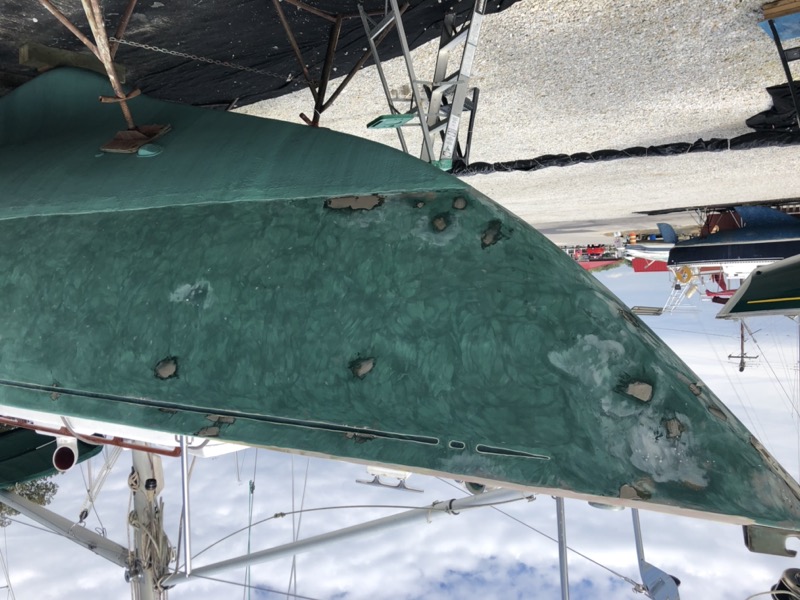
Sanding off the original paint also revealed a series of blemishes ranging from “pin holes” to major hull repairs. On starboard there was evdience that she had previously been in a serious collision. Fortunately, this repair seemed to have been very well done and needed no further work.
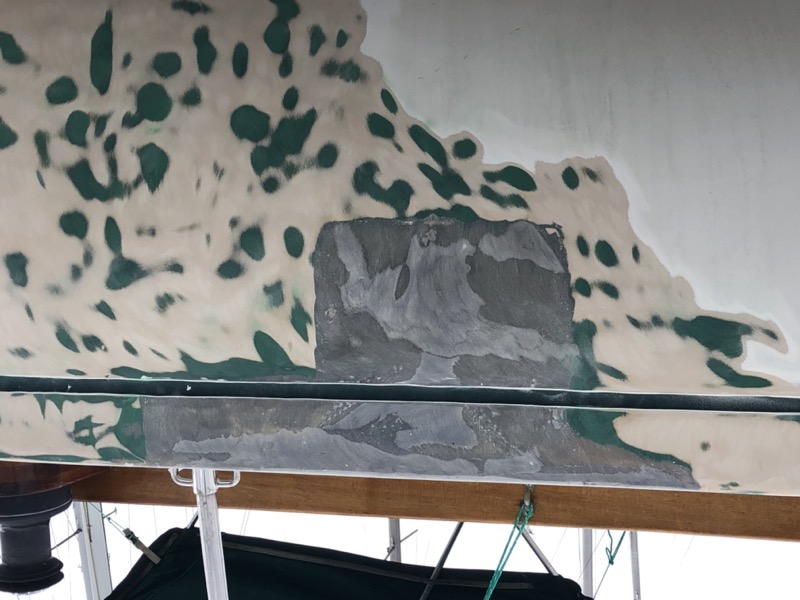
That said, the dozens of “pin holes” etc would need to be filled and faired. The gelcoat varied quite a bit in terms of thickness (which probably led to the first paint job decades ago), and I suspect that many of these imperfections were beneath the surface from the beginning, exposed only now by my sanding. My approach to fixing these was to dig out the holes with a metal scraper, fill them with fairing compound—I used standard epoxy mixed with microspheres—and sand them smooth. Boatworks Today has a great tutorial on pin holes and other fixes if you’re interested.
Looking back on this stage of the project, there are two things I might have done differently. First, I discovered Total Fair about halfway through this project (after I’d started fairing), and if I had it to do over again I would definitely have used Total Fair for filling and possibly all fairing. I found the hand-mixed fairing epoxy difficult to mix to a consistent thickness; either it mixed up slightly thin and would drip out of the repair, or it would mix too thick and be difficult to work into the repair. Total Fair is easy to mix to a consistent thickness every time that is perfect for this kind of work. And sanding is super easy; here’s a quick video that shows how.
Second, I spent several days trying to find and fix all the pin holes, thinking this would be my last chance to do so before applying a barrier coat. The reality turned out to be not quite so absolute. I would fix a batch of pin holes, sand them smooth… and then find another bunch of holes I didn’t see previously. I would fix and sand those smooth and a few more would pop up. It was like playing Whack-a-Mole, and I sometimes wondered if the sanding process itself was exposing new holes each time. As the project progressed, I found that each new round of sanding, whether of fairing or even primer, would surface fresh pin holes. Fortunately, I found it was just as easy to fix these later in the project, and if I had realized this earlier I wouldn’t have been quite so obsessive about finding every last pin hole in the initial stages. At the same time, I realized it was unlikely that I would ever be able to fix every last pin hole for good. pin holes happen, I’ve concluded, and to at least some extent they are probably inevitable given the hull’s age and history. I had to come to terms with that.
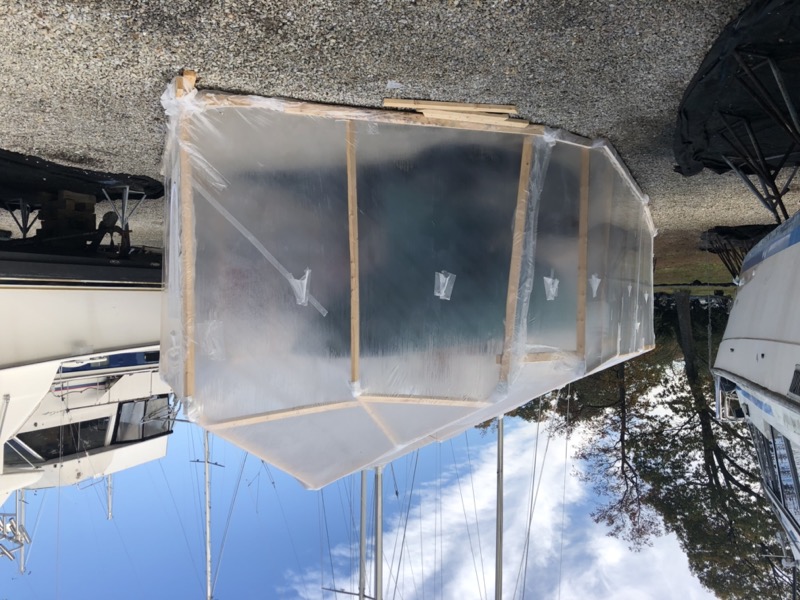
By this point I was well behind my initial project timeline and the calendar was well into autumn. I decided to built a frame (this was before lumber prices spiked because of the 2020 pandemic) and have one of the local marine service companies enclose it with shrink wrap, complete with access doors and windows. A shed building kit provided gussets and fasteners to make basic frame construction easy. The enclosure let me keep working through most of the winter and eventually served as a painting enclosure. Initially I had planned to use a propane heater to warm the enclosure enough to paint over the winter, but by the same I got around to painting it was already spring.
