
Sealing and Fairing
After several rounds of finding and filling holes, I moved on to applying a barrier coat of epoxy. This coat would serve both to seal the hull as well as provide a guard layer underneath the fairing to prevent me from sanding through the gelcoat (any further). This step was fairly simple. With Sonny’s help we simply wiped down the surface and rolled on a coat of neat (unthickened) epoxy using 1/4” foam rollers. As the epoxy tends to drop a bit, we were careful to tape off the bottom coat area of the hull with plastic. This step was strangely satisfying, as it was quick, easy, and turned the hull from a dull green into a smooth shiny surface.
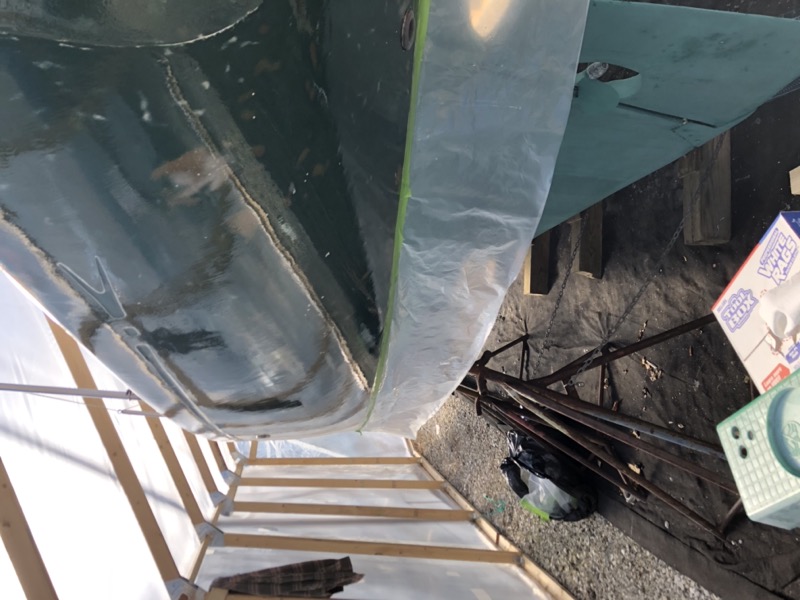
The next step was to sand the epoxy coat thoroughly, wipe it down, and apply a coat of fairing compound.
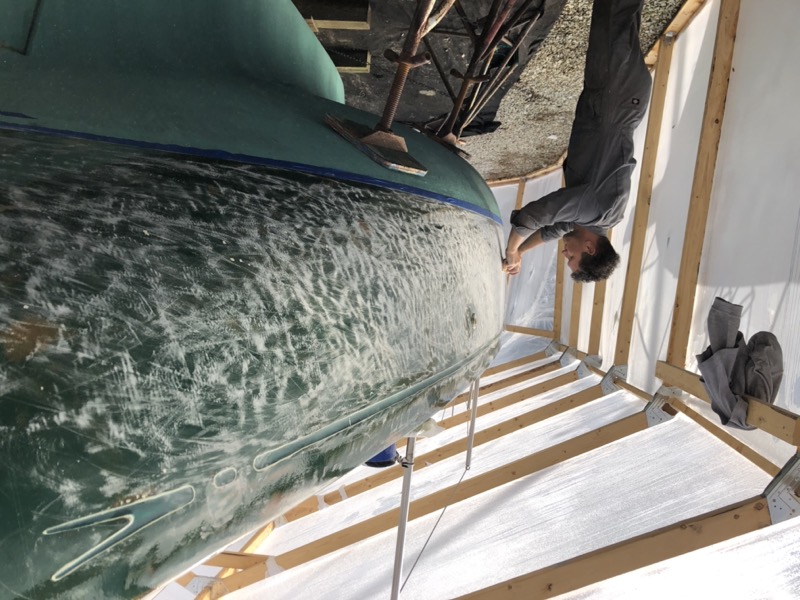
For this we used the same stuff I used previously for filling: regular epoxy thickened with microspheres. Unfortunately I don’t have any pictures of this step, but basically we mixed about 24oz of epoxy at a time since that’s how much we could apply before it started to kick off. I applied the fairing compound in large swaths with a wide putty knife after which Sonny would smooth it out using a large rubber squeegee blade.
Here is roughly how the hull looked after the fairing compound cured, although I had already started to sand this section somewhat:
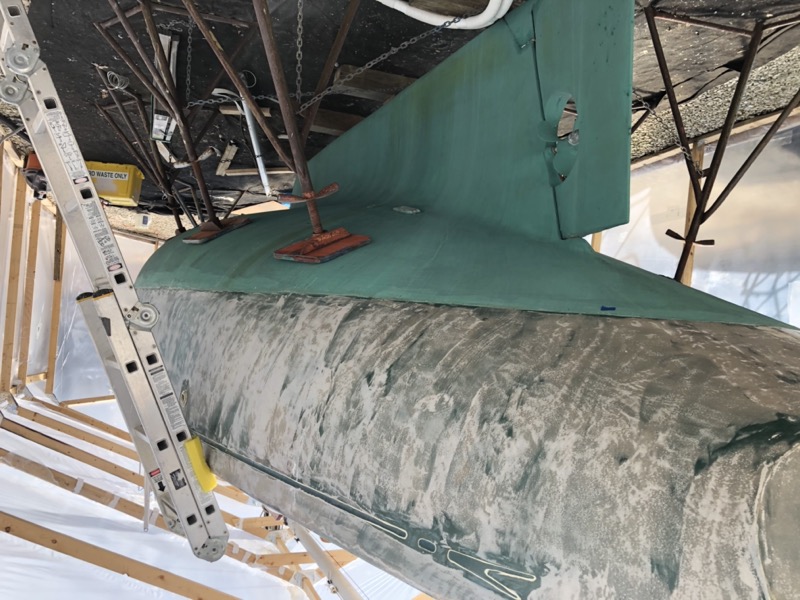
Fairing a hull of this size is a long and tedious process without good shortcuts. Power sanders would of course go more quickly but also leave an uneven surface, which of course is the whole point. That means sanding the surface by hand with longboards.
Oneline videos that demonstrate fairing suggest you can make your own fairing boards out of plywood and whatever handles you prefer and are often disnissive of “store bought” tools as unnecessarily expensive. I started with several homemade varieties (different thicknesses of 2.75” wide plywood and MDF) and using sticky-back sandpaper bought from Amazon. I gave up almost immediately. The sanding process was way too slow, the sandpaper wore out too quickly, and the dust was getting everywhere. Again, Andy Miller came through with a solution: a Flexisander paired with Abranet sanding mesh.
Flexisanders are 4.5” wide and range from 16.5” to to over 5 feet in length. They provide a much larger, stronger yet flexible surface than a homemade plywood tool, and importantly, come with a dust port option. Abranet is a mesh that allows dust to be sucked through the fairing board into whatever collection system you have. It’s super expensive compared to cheap sandpaper but (in my opinion) worth it and cost effective on the long run, especially considering the dust containment. I went with the 22” Flexisander which runs just over $150 with the dust option. I lost count of how much 80 grit Abranet I went through but I would guess at least 70 yards.
Before I found the Flexisander I had already purchased a smaller longboard from Hutchins manufacturing. I bought it for the dust extraction. It’s smaller (16” long and 2.75” wide), plastic, and no match for the Flexisander, but it also takes Abranet in 2.75” widths. I ended up using both tools as described below: the 4.5” wide Flexisander for large areas and the 2.75” wide longboard for more smaller more stubborn spots. I’m not sure how available the Hutchins board is at this point but Flexisander makes a similar model, although unfortunately without the dust port.
Armed with these and some hose adapters to connect the dust ports to my shop vac, I went to work. Here’s a quick demo:
What the video doesn’t show is that I took frequent “micro breaks” every few minutes to clean the surface of the fairing boards. My shop vac did a good job of keeping dust out of the work area, but the Abranet still gummed up quickly. Disconnecting the shop vac hose from the dust port and running it over the Abranet cleaned the surface in a few seconds and gave my shoulders a brief respite.
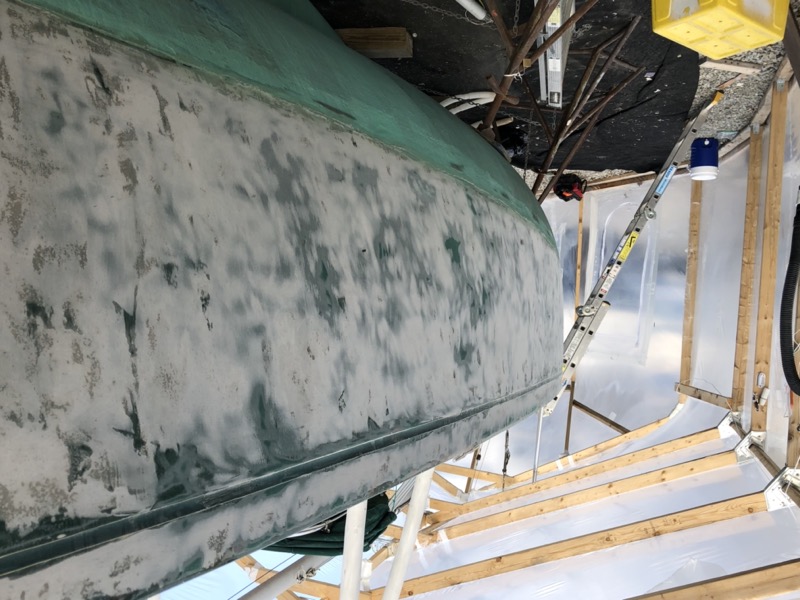
I suppose everyone develops their own process for fairing. What I ended up doing is working in three passes. The first passes involved broad sanding strokes with the Flexisander to get the hull to what I called the “80% done” stage, where most of the fairing compound looked translucent but still with lots of high spots. In the next picture, the dark areas are actually “low,” i.e. the fairing board couldn’t reach these yet because the surrounding areas areas were too “high” and needed to be brought down further:
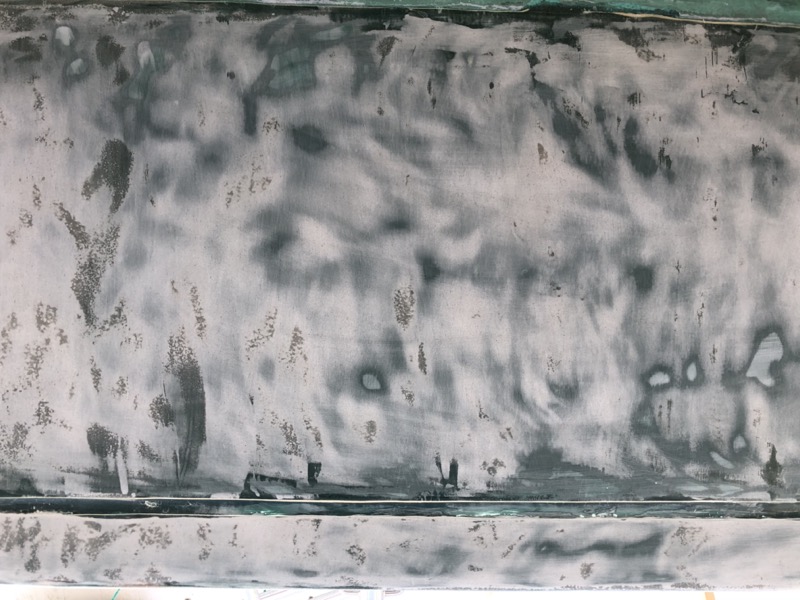
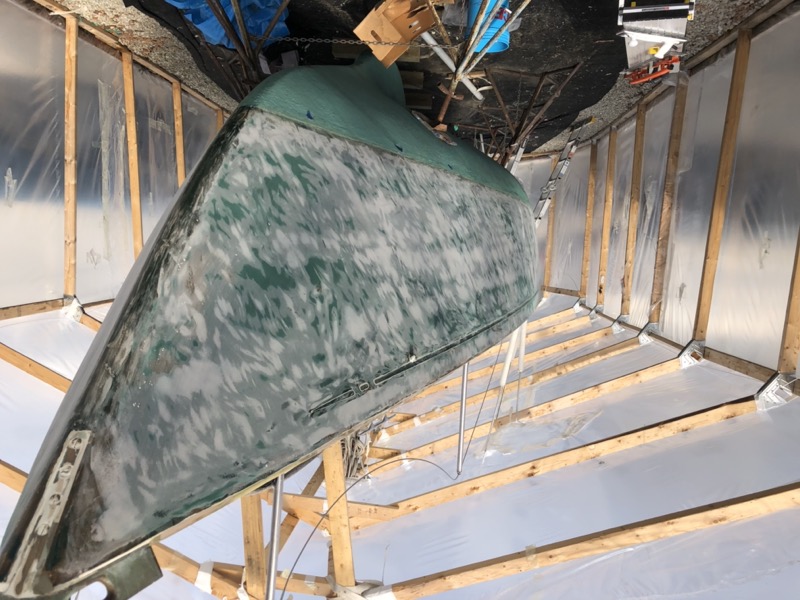
In the second pass I focused more narrowly on the remaining high spots, changing angles more frequeently to avoid sanding areas too flat:
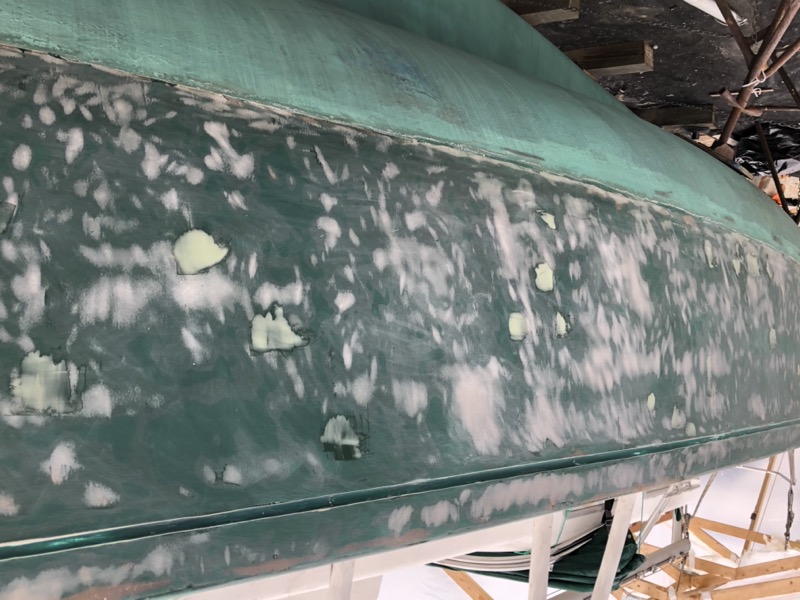
In the third pass I switched to the 2.75” wide sander to smooth out any remaining stubborn spots, hopefully without creating flat areas or sanding too far through the barrier coat:
At this point the hull was about 98% complete and I couldn’t finish the remaining spots without sanding into the gelcoat. Most likely the original fairing coat went on a bit thin in these areas (Andy had the same problem). So I simply added a touch of additional fairing compound in those few spots and sanded them level with the surrounding areas. By this point I had started to use Total Fair for some smaller projects and found it much more convenient to use, especially on smaller jobs. That’s because Total Fair is very easy to mix, cures quickly and sands incredibly easy. I sanded the half dozen spots shown below with a sanding board in about 10 minutes.
Fairing was by far the most time intensive phase of this project. I didn’t keep exact time, but I estimate I was fairing about 2-3 feet of hull an hour on average, and if I multiply that by the size of my hull it comes out to 5-6 days of sanding. That sounds about right.
There are a couple of things I might have done differently that may have made the fairing process easier. First, I would strongly consider using Total Fair in lieu of hand-mixed epoxy with microsphere thickeners. The latter has the benefit that you can mix the fairing compound thinner or thicker, and it might have a slightly longer working time. The downside is that it’s very easy to mix the fairing compound too thick, which means more high spots and more sanding, or too thin, which may cause sags. Total Fair eliminates the guess work and mixes to a perfect thickness every time. I also found it much easier to sand. However, I’ve only mixed Total Fair in small batches of 8 ounces or less, and I’m not sure how difficult it is to mix larger batches, or what the working time of larger amounts would be.
The second change would be to use a filling board to apply the fairing compound instead of a squeegee. This is basically a Flexisander without the hook-and-loop backing to attach sandpaper. Andy has a video that demonstrates how these work. I suspect that the more rigid but flexible surface would have produced a more precise application and left a lot less fairing compound on the hull, which would have meant a lot less sanding. Even 1/16” less fairing compound would have saved a lot of sanding time!