
Final Surface Preparation and Priming
By this point I had a hull that felt fair to the touch but was so mottled I could no longer tell for sure. Time for a first coat of primer! This wasn’t so much to begin the painting process as it was to get the hull to a more uniform color so I could see what work remained to be done. Since the Alexseal primer is epoxy-based, I could apply additional (epoxy based) fairing compound even over the primer, then just sand and apply another coat.
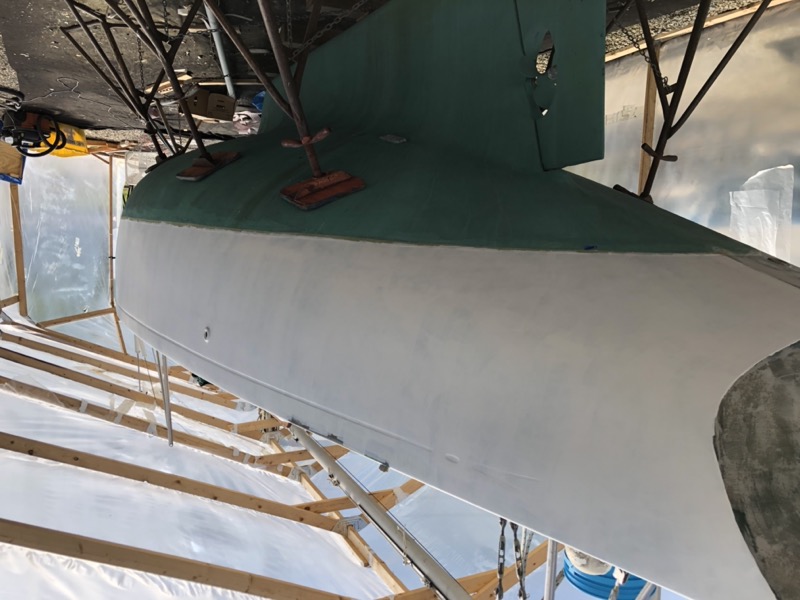
Sure enough, there were lots of remaining pin holes throughout most of the hull. In fact, there were so many (several dozen) I don’t know how I missed them previously. I suppose it’s easy to miss tiny holes in a hull that is smothered in dust. Or perhaps the fairing process dug deep enough to expose additional holes. I’m not sure if the age of the hull increased the likelihood and frequency of these annoying things. In any case they would need to be fixed.
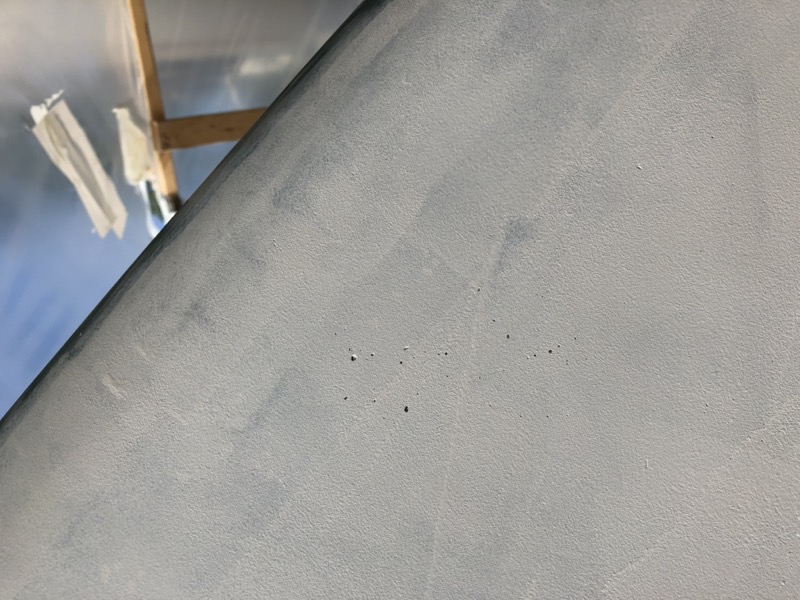
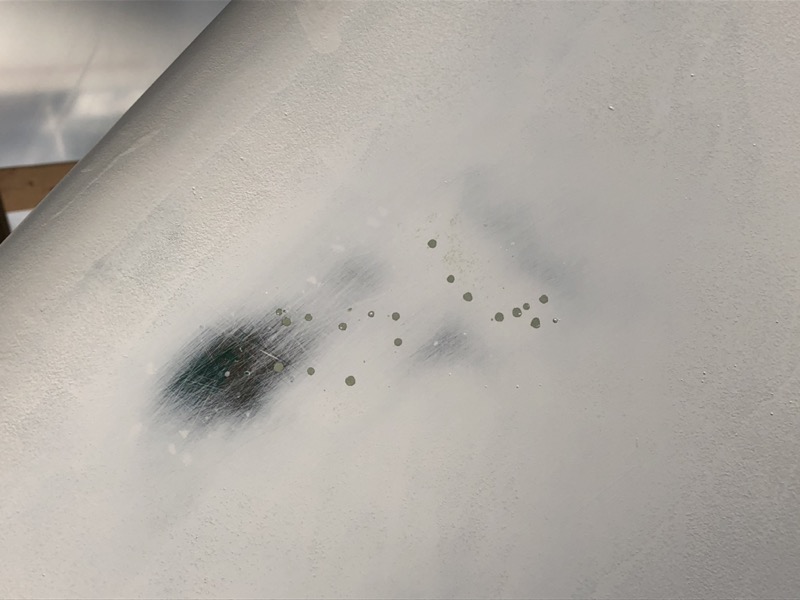
As annoying as they were, I found pinholes surprisingly easy to fix once I got the hang of it. I started by digging out each hole with a scraper, knife, or other tool with a sharp edge. Often the underlying bubble would be 1/8” or even 1/4” or more in diameter.
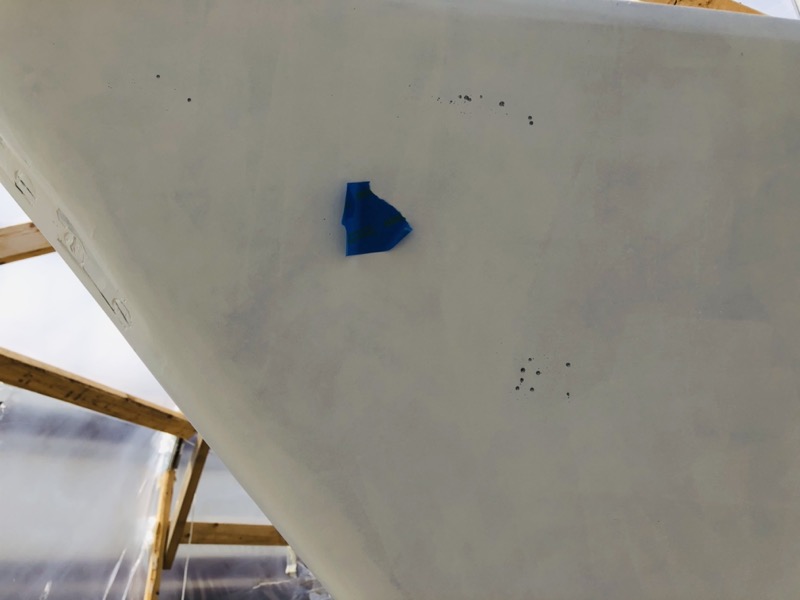
Then I simply mixed a small batch of Total Fair and (after cleaning the surface) pressed a small amount as firmly as possible into each hole, allowing the fairing compound to crown slightly. The repaired spots looked like green calamine lotion applied to a rash.
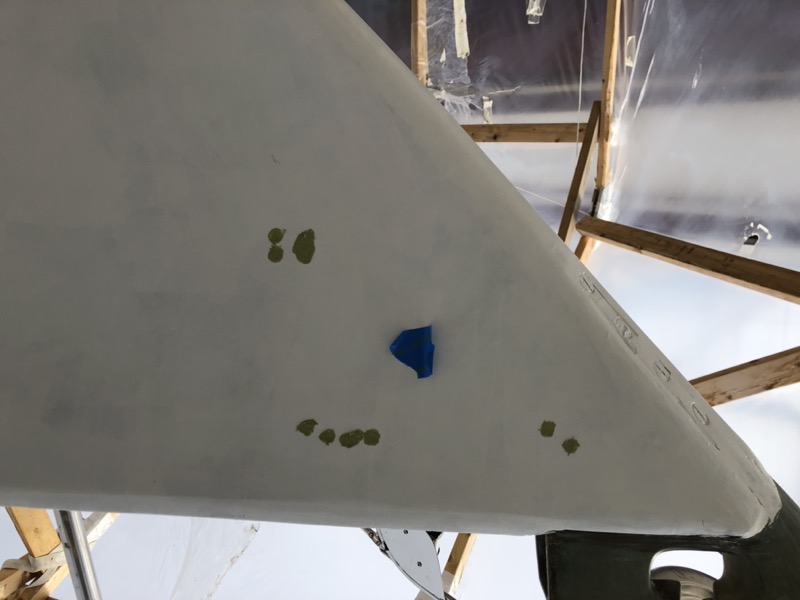
Once cured, each of these spots is easily and quickly sanded smooth. Here is what a typical repair looked like after sanding; it wasn’t uncommon to sand back through the primer, but I would soon be applying many more primer coats anyway.
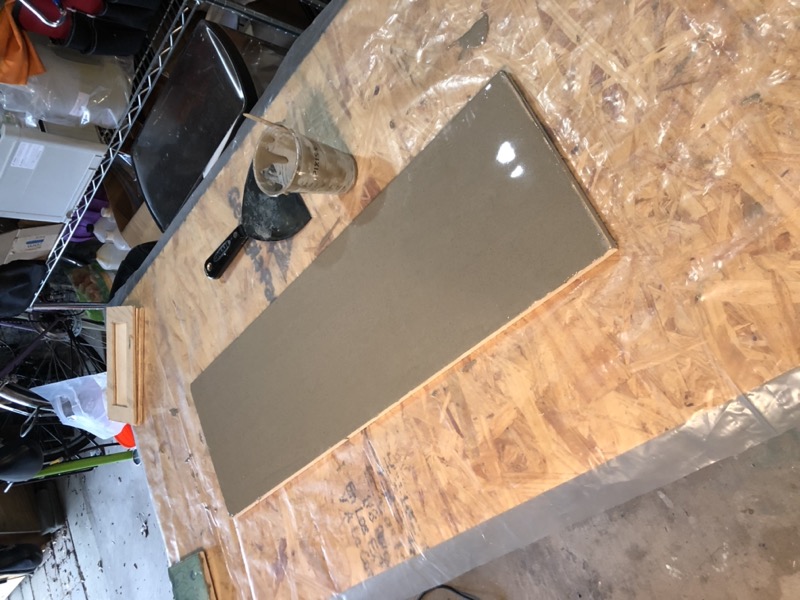
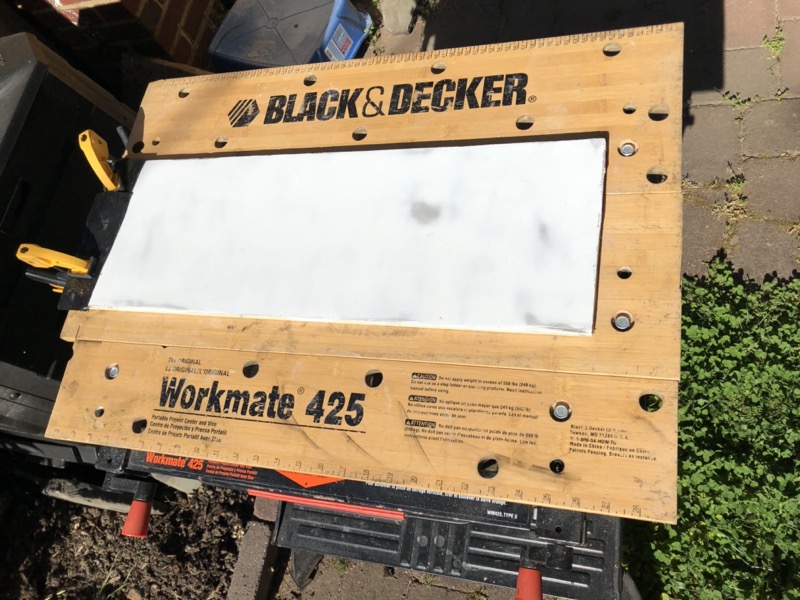
Meanwhile, I made a quick test panel from some extra plywood by just covering it with a skim coat of fairing compound and sanding it smooth. My plan was to prime, sand and paint the test panel just ahead of doing the same work on the hull so I would never be doing something for the very first time on my boat. This allowed me to experiment a bit at home, test the limits of the paint, and build my confidence. I would later use the same test panel to practice striping. The panel wouldn’t be fair, but otherwise it would be close enough to the hull for my purposes.
Applying and Sanding the Primer
Primer is probably the least difficult part of the project. As mentioned previously, Andy Miller had been posting a series of videos in a sort of “master class” demonstration to see how well Alexseal with the “no tip” rolling additive would work. The series is here, and it was immensely useful. Much of the hull prep, while interesting, wasn’t directly applicable to my project. But the last two videos where he demonstrates priming and topcoat are exactly the techniques and tools I tried to use. For the primer you simply roll it on after sanding the entire surface and wiping it down.
The big lesson for me at this point is that “more is more” when it comes to primer. I had been a bit nervous that I’d have enough primer to finish the job. Although Alexseal says their coverage specs assume you’ll apply two coats of primer, the gallon I ordered would just barely cover. It turns out I needn’t have worried and Alexseal’s coverage specs are very conservative—almost to a fault. I had enough primer to apply three coats with plenty left over.
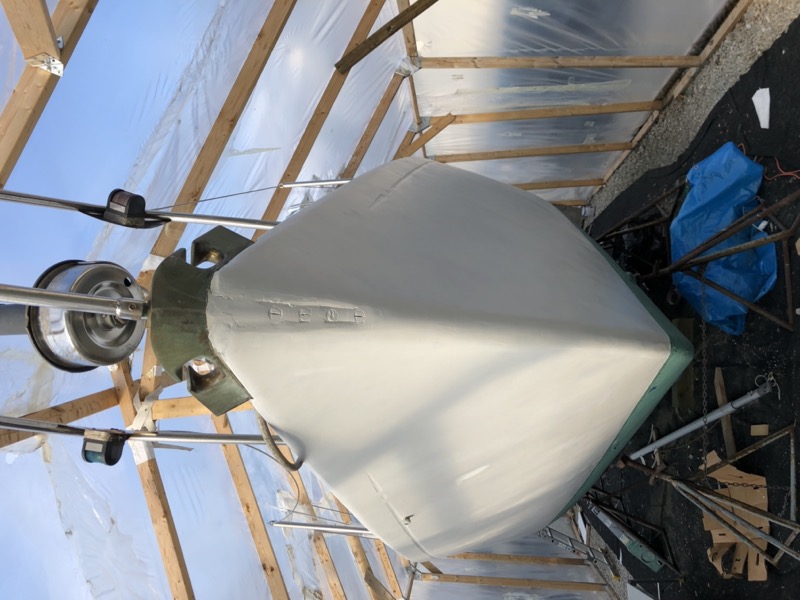
One big benefit of Alexseal is that you can apply multiple coats without sanding in between so long as you recoat within 24 hours. Temperatures inside my painting enclosure were well above 90 degrees Fahrenheit, and each coat was touch dry after about 90 minutes. I was easily able to apply three coats in a day. So there was absolutely no excuse to go short on primer! The more coats I applied, the less chance of sanding back through (I could have probably used a fourth coat).
The primed surface now had to be sanded smooth before topcoat could be applied. Andy recommended using a guide coat and this would be my first experience (I used Mirka Dry Guide Coat). At first I worked in small sections of about 8 feet at a time, working with different grits on both the Flexisander and the Festool RO 150 until I figured out what worked best, i.e. quickly smooth the surface without burning completely through the primere in too many places. I found that using 320 grit on the Flexisander for most of the work and 400 grit on the Festool to quickly get the final bits was about right, and I could sand about 8-10 hull feet per hour.
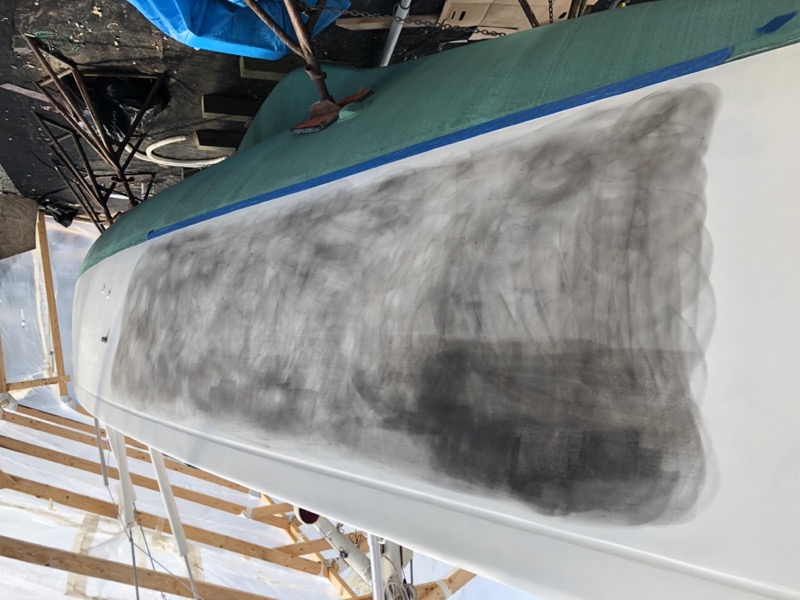
Here is what the hull looked like after sanding. The darker areas would need touch-up primer (and resanding) but the translucent areas were fine to paint.
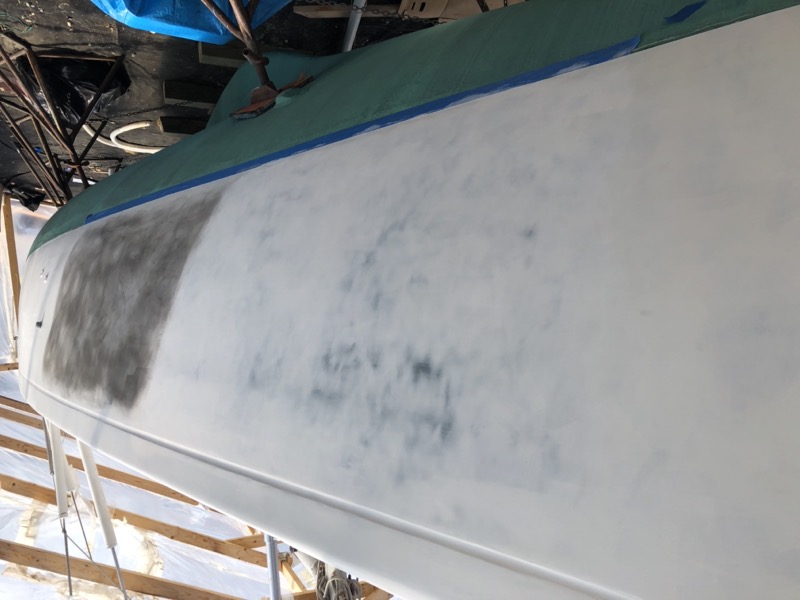
Are guide coats worth the extra effort? Absolutely. With a large hull sanding white paint it’s easy to miss spots, especially as your eyes and body get tired in the heat. And you won’t see your mistakes until the finish coat dries, which is obviously too late.
There were about 6-8 spots where I had sanded through the primer, which I had to touch up with fresh primer and repaint. At this point things were looking and feeling really good; that is, until I started wiping down the surface, and then…
More pin holes!
Aaagh!
Where do they come from? Would they ever end?
I don’t have enough experience to fully answer those questions. Maybe it was the age of the hull. Every fresh round of sanding and wipe down was surfacing a new batch of pin holes. I was starting to understand that I wouldn’t be able to find and fix every one without delaying this project a lot longer. And to my surprise, I came to accept that fairly quickly.
Nonetheless, this fresh round of pin holes would need fixing. Since I had now switched to the Alexseal product line and wanted to stick to the application guide, I was prepared to go get one of their fillers in lieu of the Total Fair I had been using. However, a little bird that I trusted (not Andy) said that any epoxy-based fairing compound or even Bondo would suffice so long as I primed over the repair. So I stuck with Total Fair, fixed the pin holes as before, applied fresh primer, and sanded the repairs smooth.
Here is a demonstration from this point in the project showing how easy it is to fix pin holes using Total Fair: