
Topcoats
Both Andy and Brian Champlain (the Alexseal rep) said the same thing about topcoats:
- Roll on 2-3 coats one after the other (no sanding required if recoats come within 24 hours)
- Wait 3-4 days
- Smooth sand and wipe down
- Roll on the final coat
Don’t overwork the paint. Let the rolling additive do its thing. Trust the paint.
Okay then, I had a plan. I would paint in two stages. For each stage I scheduled one long day to smooth sand the entire hull and the next day to wipe down the hull and clean the surrounding area. On the third day I would start as early as possible and apply topcoat. Then I would wait about a week (in part to celebrate my wedding anniversary with my wife) and do the same schedule with the final coat.
By now it was early June, and the mid-Atlantic was in a heat wave. Unfortunately, I’d picked very warm and very sunny days in which to sand, clean, and paint. Outside, the temperature was peaking around 96 degrees Fahrenheit. Inside my painting enclosure it was over 115! I had to start as early as possible, take frequent breaks with lots of water, and stop working entirely during mid-afternoon when the sun was directly overhead.
I’ve already described the first step of smooth sanding the primer coat. For cleaning, I wiped down the hull three consecutive times using Total Boat’s Dewaxer and Surface Prep. I also ran my shopvac over the deck to get rid of the dust and bugs that had been accumulating, threw out several weeks of trash, and moved as much equipment as possible out of the enclosure. The next morning, I wiped down the hull one final time, and hosed down the ground to minimize dust. It was time to paint.
Alexseal topcoat has a 15-minute induction time after mixing the paint and the converter. This was just about enough time for me to tape off the waterline and clean the first roller. As a reminder, I followed Andy’s tutorial almost to the letter (including cleaning the rollers) so I won’t go into too much discussion of technique since he covers it better than I could.
One of the trickiest things to anticipate is how much paint I would need per coat. The primer step gave me only a rough sense. Mixing too much paint would obviously be wasteful (and I was still worried about running out), but too little might mean having to stop in mid application, mix more paint, and wait 15 minutes for the induction time. At these temperatures I didn’t want to have a long gap that would affect the wet edge of the paint. So I decided to measure out about 12 ounces of paint in my first batch, and 8 ounces of paint in each of 2 additional mix cups to keep in reserve. If I started to run low, I could take a quick break to add the converter to one of these backup cups to start the induction process while I continued with the first batch.
This whole plan turned out to be completely unnecessary as the first batch was more than enough to cover the entire hull. A little Alexseal goes a very long way! If memory serves it took just under 16 ounces of mixed paint (8 ounces of paint, 4 ounces of converter and 4 ounces of reducer plus a bit of rolling additive) to cover my Seabreeze once. The second and third coats took slightly more for some reason: just under 20 ounces. Fortunately, the working time on the topcoat was about 4 hours, even at these temperatures, and since the paint was touch dry in less than 2 hours I didn’t waste any of that initial batch.
To keep both myself and the paint relatively cool I set up a mix station just outside the tent in some nearby shade. I poured just a few ounces of paint at a time into the rolling pan: about enough for five minutes of work. This kept most of the paint cool (the tent was reading 110-115 degrees) and allowed me frequent breaks.
There was no way to avoid a seam between where I started and finished each coat but I could position it as discretely as possible. I started at the stern under the transom, worked my way up the port side and down the starboard side, and left the transom itself for last. I tried to be careful about rolling up and over the hull-to-deck join, which was tricky because it was above my head. Painting a high gloss white hull in daylight is not easy, and I found myself sighting down the hull and checking each application from multiple angles to make sure I didn’t miss any spots (spoiler alert: I missed several spots).
The first coat took about an hour to apply. Even though the primer was still showing through quite a bit, it looked amazing! Bubbles rose to the top, popped and left a perfect, glassy finish just like they promised. That rolling additive, which eliminated the need to top, was totally worth it. Unfortunately, my painting enclosure was throwing shadows and prism effects, and my pictures weren’t doing it justice.
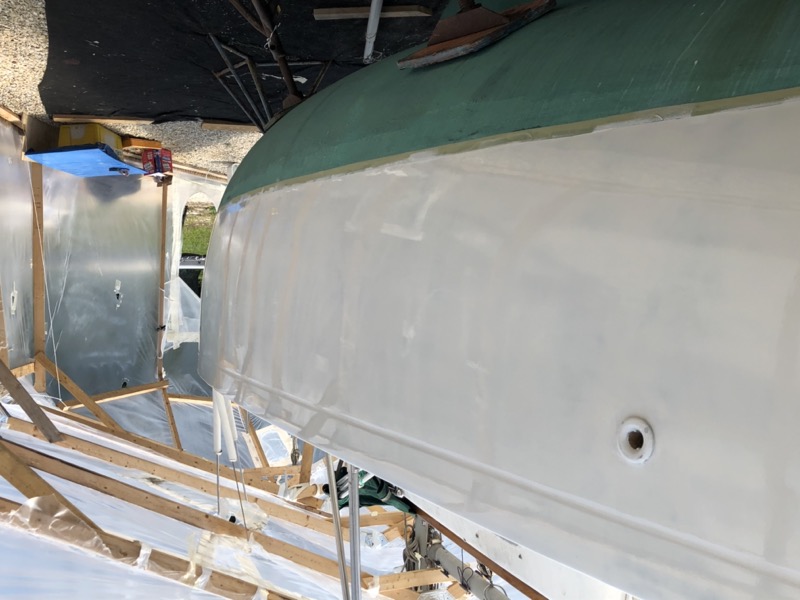
Once again, the topcoat was touch dry after about 90 minuutes in the enclosure. Although the application guide said I had 24 hours to repaint without sanding, I wasn’t not sure that held true at 115 degrees. While I had hoped to wait until things cooled down a bit, I decided to paint sooner rather than later. The second coat went on after about 2.5 hours. I think I drank about 10 pints of water during that coat. By the third coat things had started to cool down a bit to around 104 degrees in the enclosure. This felt downright comfortable by comparison.
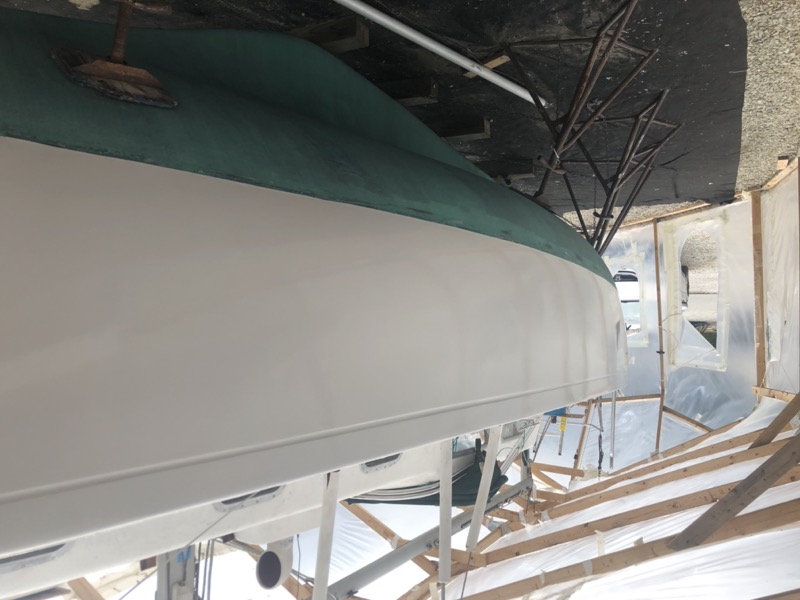
By the next day the paint had fully cured and tightened up. It looked fantastic, even under the enclosure! There was definitely some ripple (or orange peel) by the third coat, and a couple of spots where the green gelcoat was printing through. These were spots where I had sanded through the primer a bit and misjudged whether they needed touch up. But with one more coat yet to come, things were in great shape.
The only thing I did poorly was the deck-to-hull join. Not surprisingly, the coverage there was spotty, but most of it would be covered once the toerails were installed. Just to be sure I mixed up a small batch of topcoat and touched up the join (on the deck side) with a 1” foam brush.
Final Application
After a week I started the process of applying the fourth and final coat much as I did the previous three. One full day was devoted to smooth sanding, the second day to wipe down and cleaning the space, and the third day would be relatively short: just one coat of topcoat.
This time I sanded using the Flexisander alone and 400 grit Abranet, again with a guide coat. Andy suggested that hand sanding (vs using the Festool) would give me a better finish, and I thought it would actually go a bit faster than sanding the primer. But it actually took a few hours longer, mostly because I had more difficulty with the guide coat. When applied to the primer, the guide coat came off with no residue and I simply sanded until the surface was completely white. The topcoat also sanded easily, and when I looked directly at a section or felt it with my fingers it seemed fine. But from an angle the same section showed what looked like faint orange peel that I couldn’t remove even with the Festool. There were sections like this over the entire hull and I started to freak out a bit. In hindsight, I shouldn’t have worried. Once the guide coat no longer showed any obvious texture and the surface felt smooth to the touch, it was ready to go.
There were about five spots where I still managed to sand through not only the topcoat but the primer as well. These mostly fell along the edges of the transom or the deck where paint coverage tends to be thin. So at the end of the day I cleaned and applied a couple of coats of primer to these spots, along with the thin spots noted previously, let them cure overnight, and quickly sanded them the next day.
“When it comes to the final coat, cleanliness is next to Godliness,” Andy said in his video and said that he “must have wiped down this hull a dozen times.” I didn’t know how I would wipe down the hull that many times or if it was even necessary, but point taken. I think I wiped the hull down five times plus one more the next day, and that may even have been overkill. I tried the commonly recommended “two rag method” (applying solvent with one rag and wiping off with a clean second rag) but the solvent was flashing off so quickly in the heat that the second rag didn’t seem to do much. What worked for me was a single rag method, wiping on solvent in a single direction so that “dirty” sections of the towel never touched the hull.
I also noticed that after four passes or so the topcoat started to look translucent in places. I was using the Dewaxer and Surface Prep and this is probably the one thing I would want to do differently than Andy’s videos. The Dewaxer/Surface Prep might be a bit too harsh, especially if you’re wiping down lighter pigments several times over. Next time I would use Alexseal’s recommended Wipe Down Solvent which appears to be less aggressive.
At the end of the day I thoroughly cleaned the work area as before, and even ran the shopvac like a vacuum cleaner over the drop cloth to get rid of stray leaves sanding dust and bugs. The next day I sprayed the entire work area with garden hose to keep down dust.
After one final wipe down the next morning, I applied the final coat essentially the same way as I did the first coat. I tried to take it as slowly and carefully as I could so I didn’t miss any spots. Perhaps inevitably I did miss some, and since this was the final coat I found it hard to resist the temptation to “touch up” several of those spots with a bit of extra paint. So long as I caught them quickly, like within 5 minutes, I could often get away with it. I’d had some success that way on the first coat and thought I could get away with it again. But overall I caused more problems than I solved.
To be clear, the final coat looked amazing, especially from ten feet or more, and better than any DIY paint job I’d seen up until that point. But close up it was easy to see the half dozen spots where I had succumbed to temptation. My “touch ups” tended to show up as “orange peel” or even a bit worse. The advice given me multiple times to “roll it out once and don’t touch it” was exactly right! While I was happy with the final product and relieved to finally be finished, I still had the nagging feeling that I could have done better.
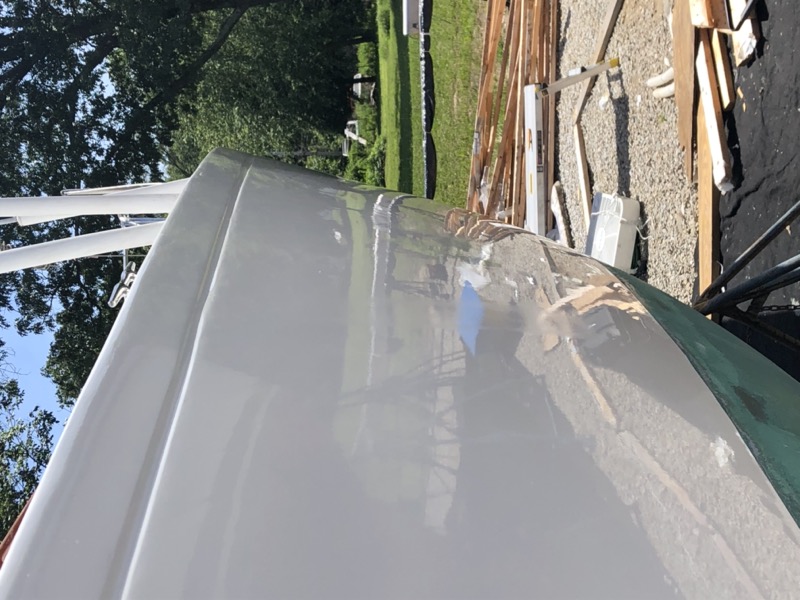
The more immediate issue was to remove the enclosure so I would no longer be working in life-threatening conditions (I was also concerned about the upcoming tropical storm season). Without the plastic overhead it was easier to get a good look at the final coat and get some close ups that showed where I screwed up.
Final Application: Part II (the sequel)
A few days off from the project gave me time to reflect, and I decided I could have done a better job on that final coat. I figured I had a few factors working against me. First and foremost, the plastic enclosure definitely was throwing strange shadows and prism effects that made it difficult to see what I was doing. The 100+ degree temperatures inside the enclosure probably didn’t help my concentration either. And I probably could have taken my time and gone a bit slower.
So I started considering whether I should apply a second final (i.e. fifth) coat. The guys at Alexseal assured me this was not a problem; just sand the surface again, wipe it down, and apply the a fresh coat. I had plenty of leftover paint. Although I no longer had the protection of the enclosure against weather, dust and insects, the forecast was favorable so long as I painted early in the day. I decided to “take a mulligan” as golfers would say. The process would be exactly the same as the previous coat except without the enclosure.
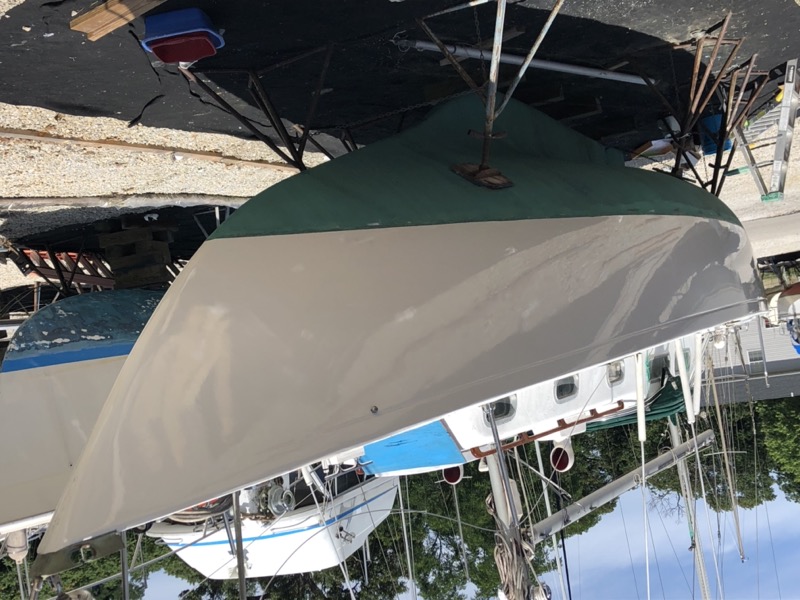
The end result was definitely worth the extra three days of effort. I could see much better without the shadows and refractions from the enclosure, and this time I wore my reading glasses! I don’t know why I didn’t think to wear them the first time. The weather and wind cooperated nicely. The gnats and hornets were more of a nuisance, but for the most part I was able to gently lift the 2-3 curious bugs out of the paint with an Exacto blade before the paint started to cure. I took my time, rolled out the paint more slowly and avoided “touch ups” at all costs.
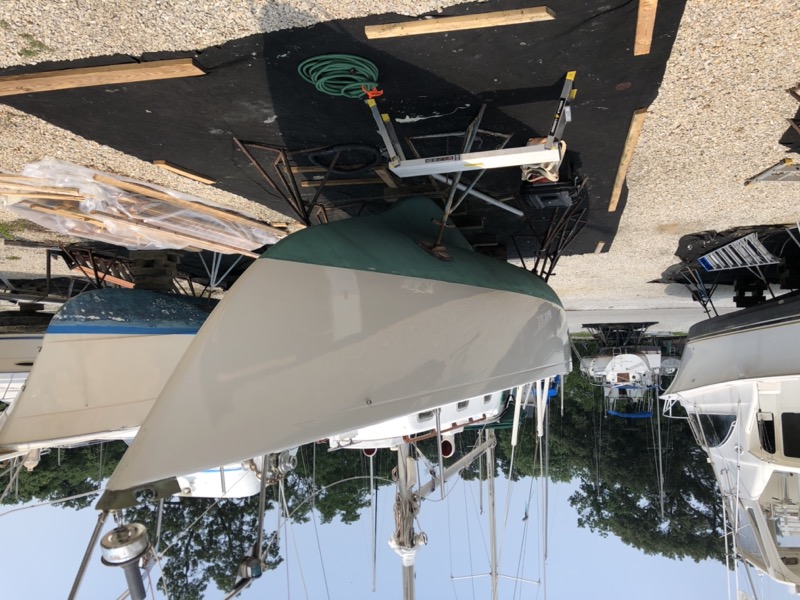
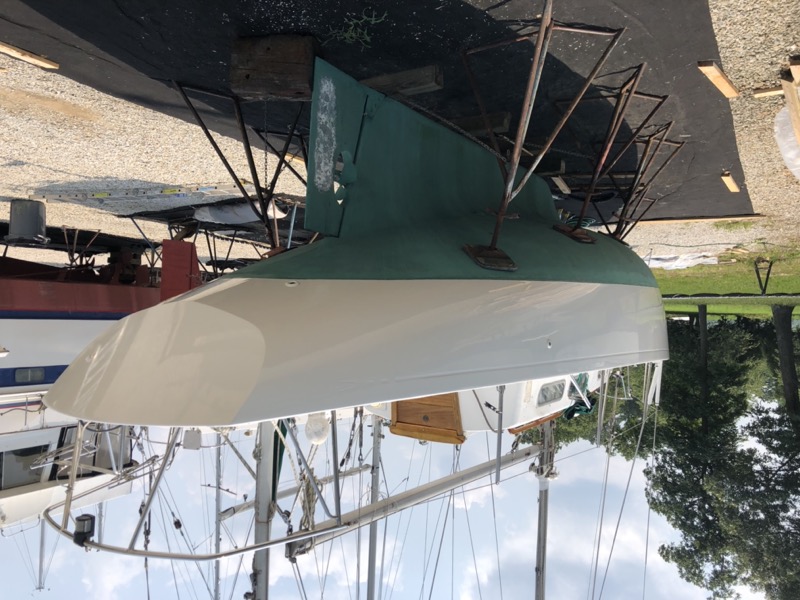
In all honesty, there are still 3 or so spots about the size of my fingernail where I “missed,” and if you look from the right angle they appear dull. They are all along the deck line where I was painting above my head. I refer to them as “beauty marks.” Maybe some day I’ll buff them out—if I learn how to buff paint. But even if I don’t, chances are that few people aside from myself will notice them.
In either case, the “mulligan” coat is about as good as I’m capable of as a DIY painter, and I’m totally happy with how the job came out.
Also: Alexseal is every bit as good as its reputation, and probably better. iPhone pictures don’t do it justice. Holy moly.